Lower Shing Mun Reservoir: A Dam Good Hike!
Contents
- Essential Information
- Hike Highlights
- Google Route Map
- How to Get There
- Quick Route Summary
- Lower Shing Mun Dam
- Cool Wildlife
- Secret Lion Rock Viewpoint
- Interesting Bridges
- Loop Back to End the Hike Early
- Climbing the Dam
- Upper Shing Mun
- The Way Back
Essential Lower Shing Mun Reservoir Hike Details
- District: New Territories
- Duration: 2 hours
- Distance: 6.7 km
- Highest Elevation: 230ish meters
- Difficulty: 1.5/5
- Facilities: Toilets and food kiosk at the end point (kiosk open from 8/9am - 4/5 pm daily, cash only)
Why Hike Lower Shing Mun Reservoir?

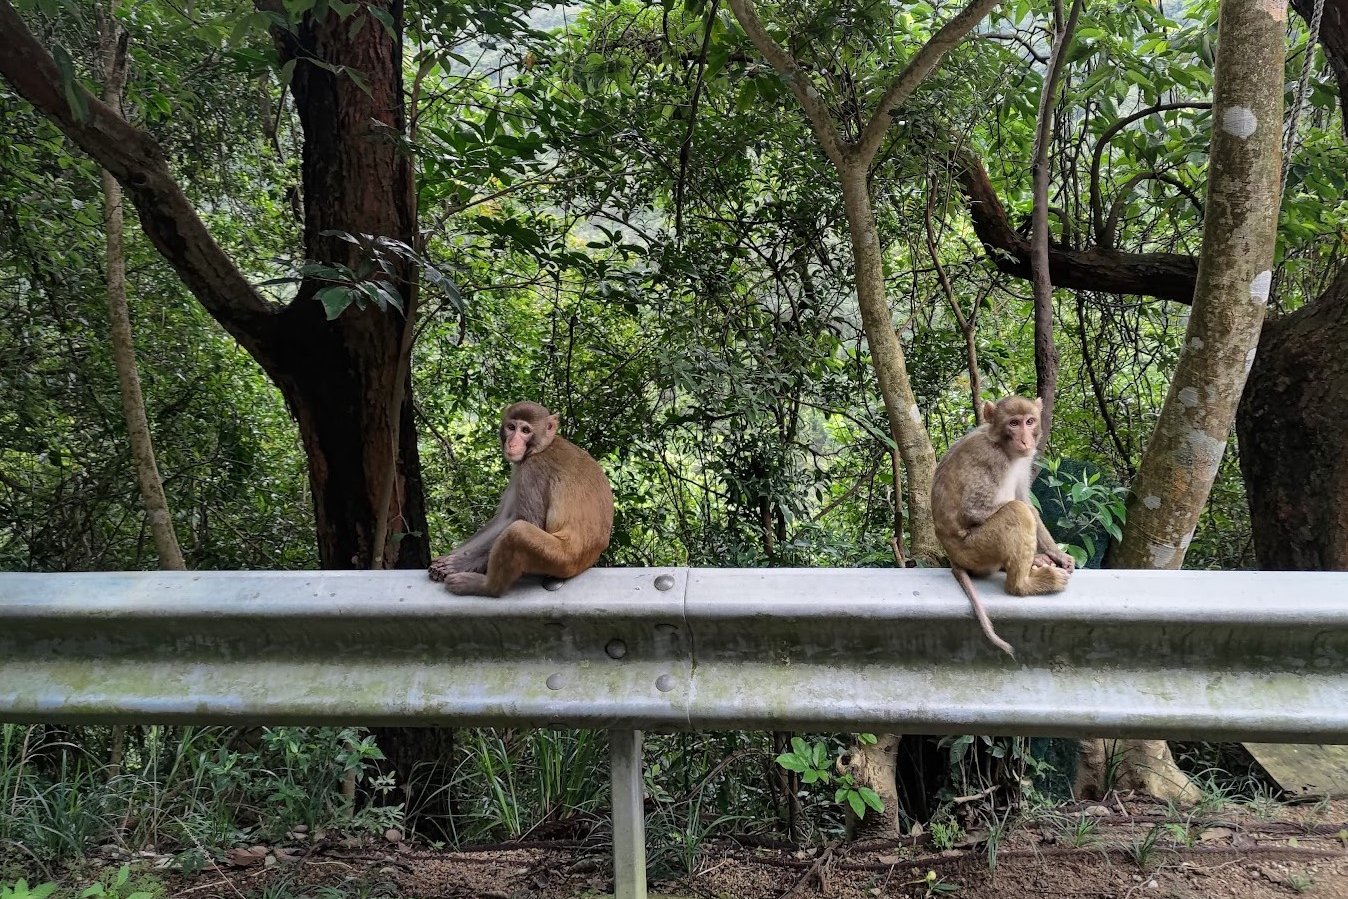
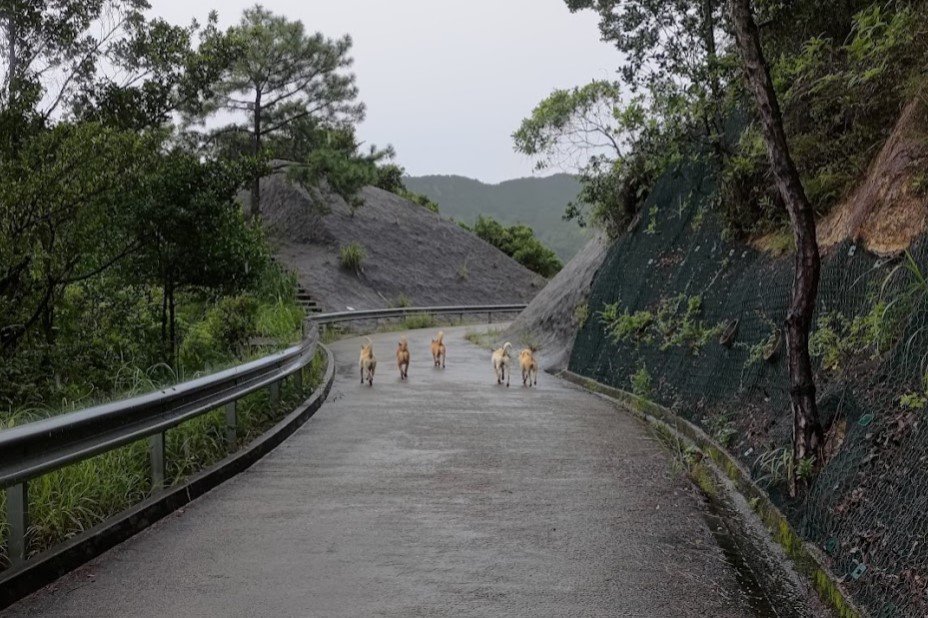
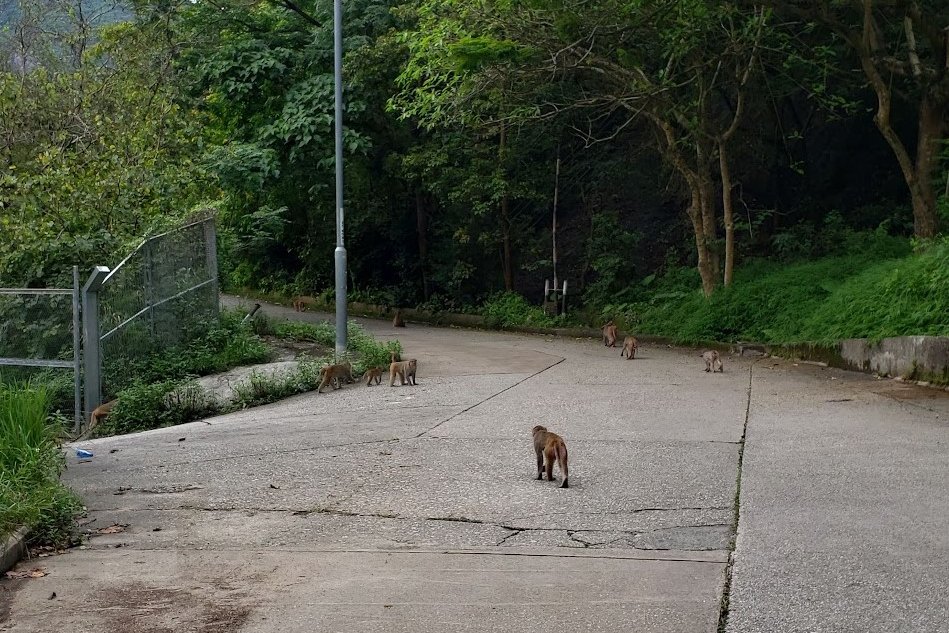
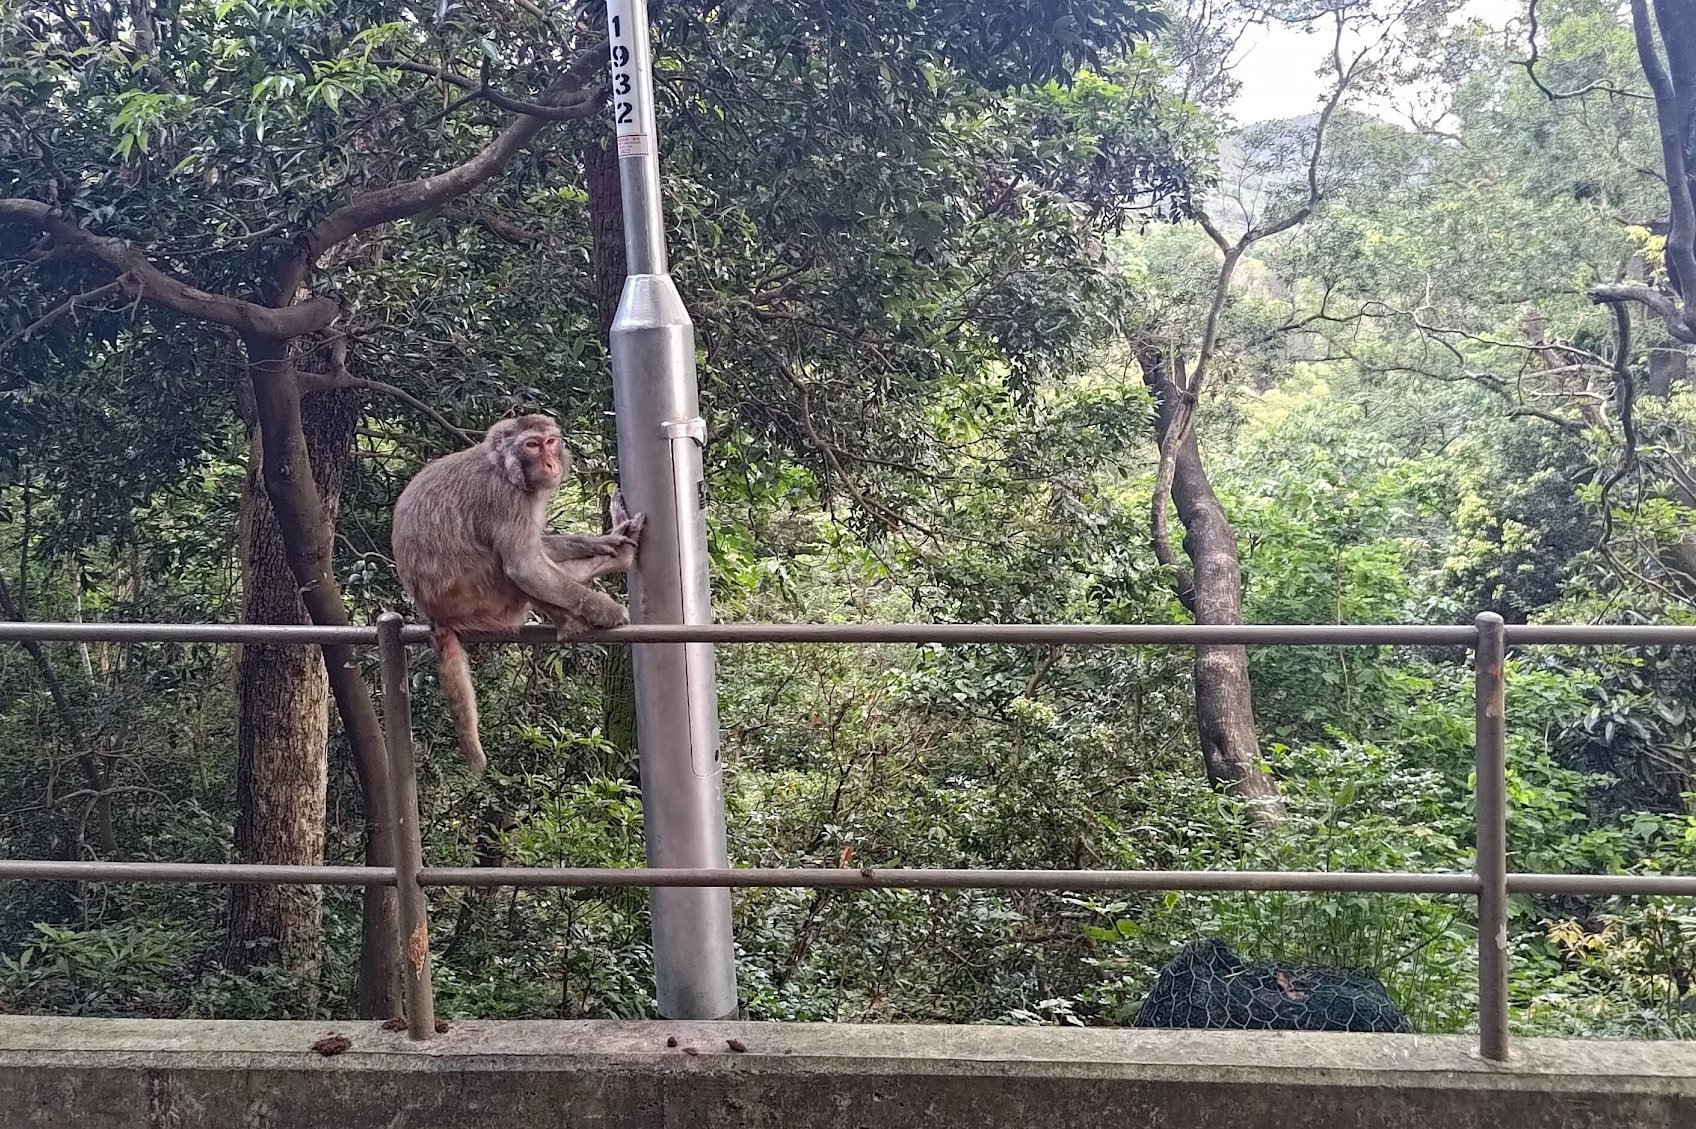
Nestled in the depths of Tai Wai is the Lower Shing Mun Reservoir, a quiet and underappreciated spot that doesn’t get many visitors - even on weekends. As with many reservoirs in Hong Kong, this is a prime location to spot wild monkeys frolicking through the trees or socializing by the roadside.
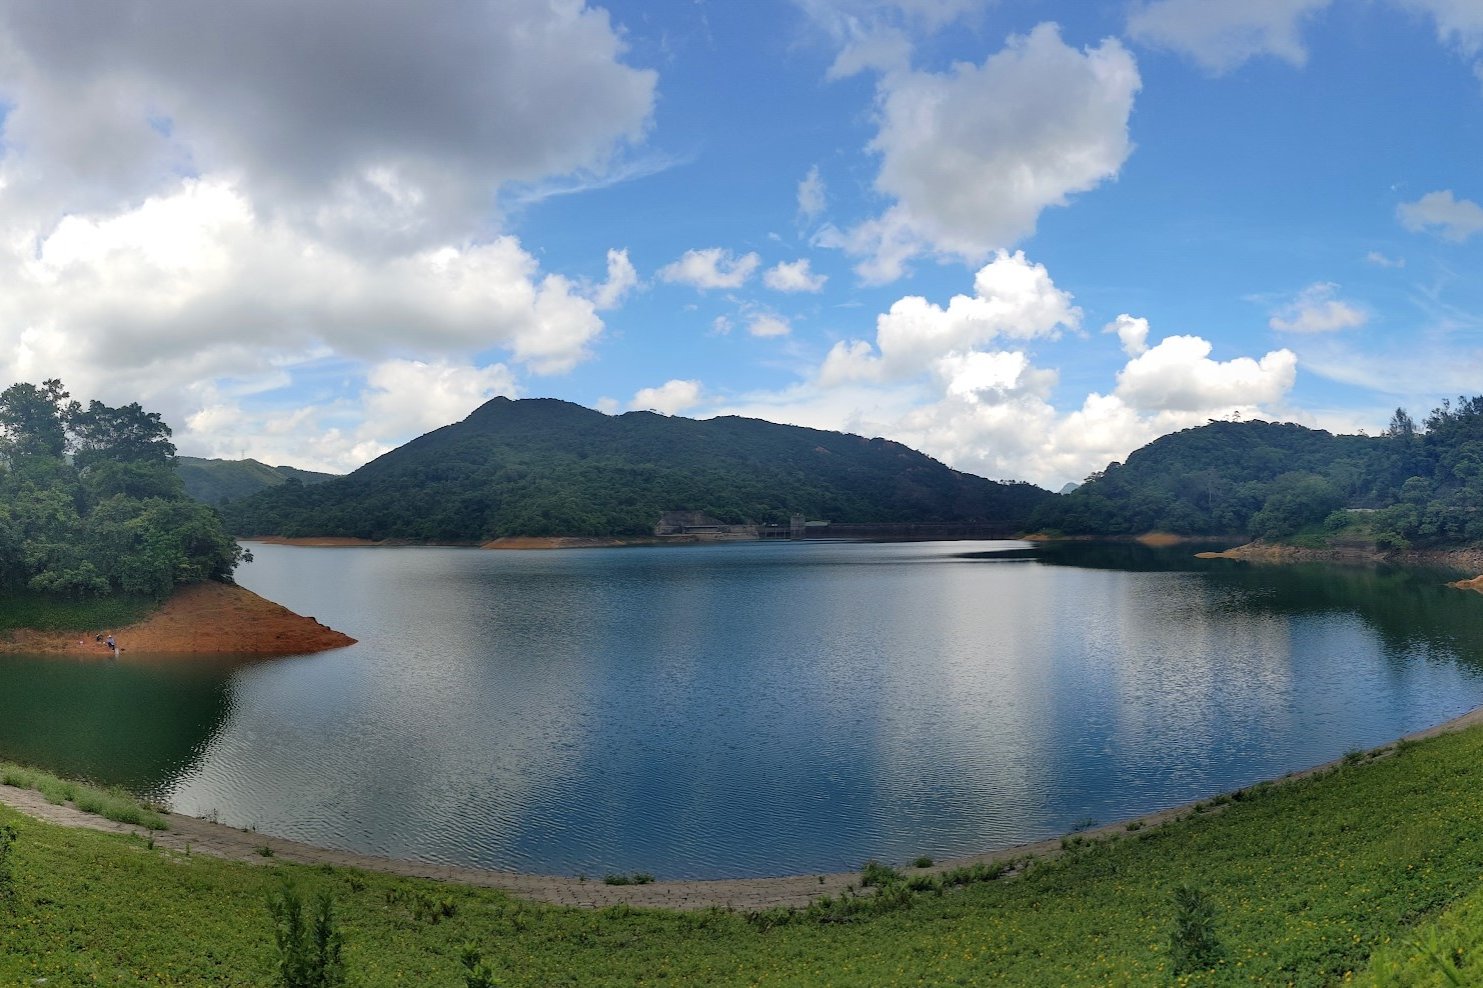
Apart from the monkeys, Lower Shing Mun Reservoir is a wonderful place to soak up glorious views of mountains like Needle Hill and Lion Rock while unwinding from the constant noise and stress of Hong Kong life.
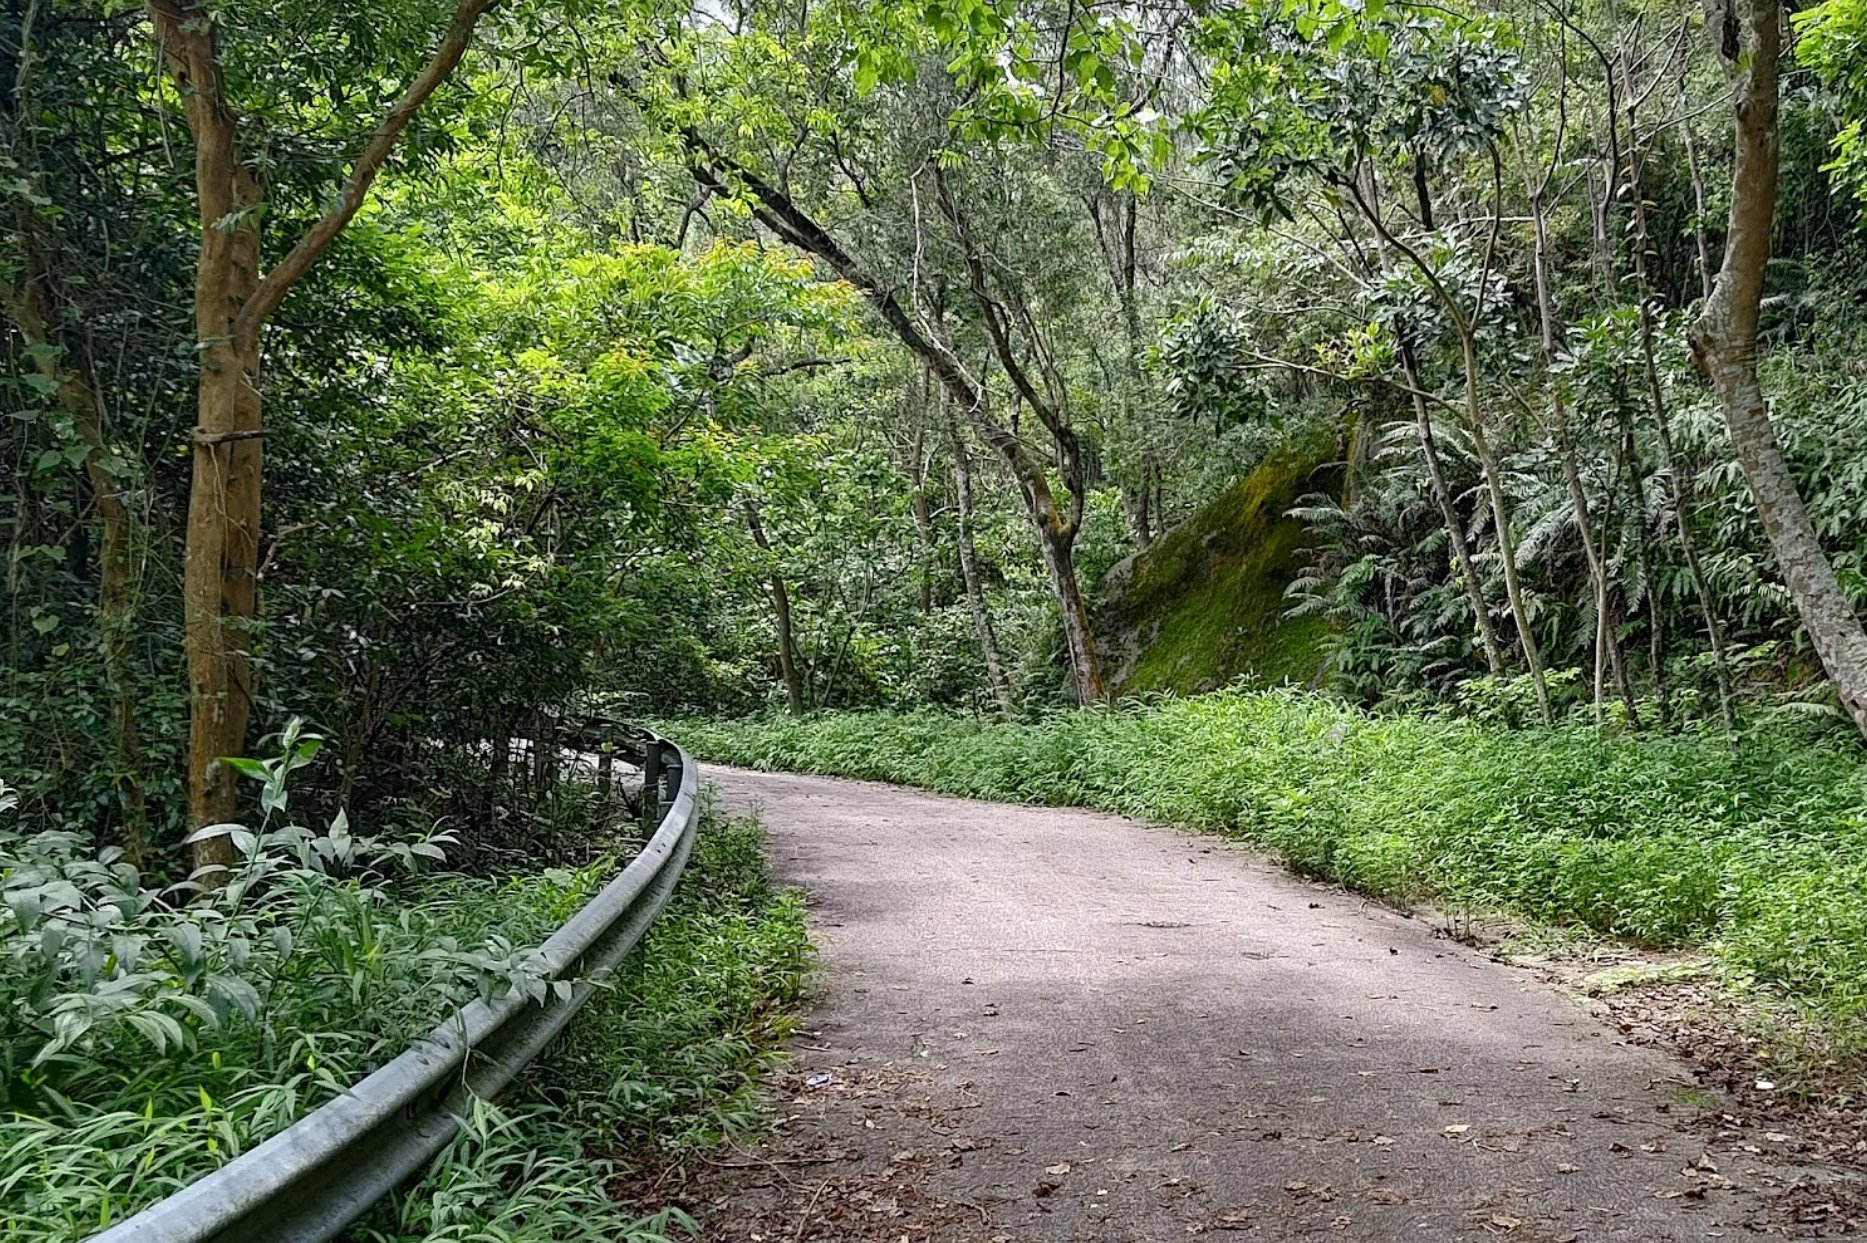
The trail itself slopes upward almost constantly, but the incline is gradual and gentle, with no single section standing out as particularly gruelling or harrowing. A concrete road guides you for most of the way.
The main highlight of the hike is the climb to the top of the Shing Mun Reservoir Main Dam, which is steep, but quite an epic experience.
This hike is ideal for beginners with a decent level of fitness, intermediate hikers and advanced hikers looking to conquer a new trail. I wouldn’t say this trail is challenging or technical given that it’s almost entirely on concrete paths, so it’s certainly possible to bring children along.
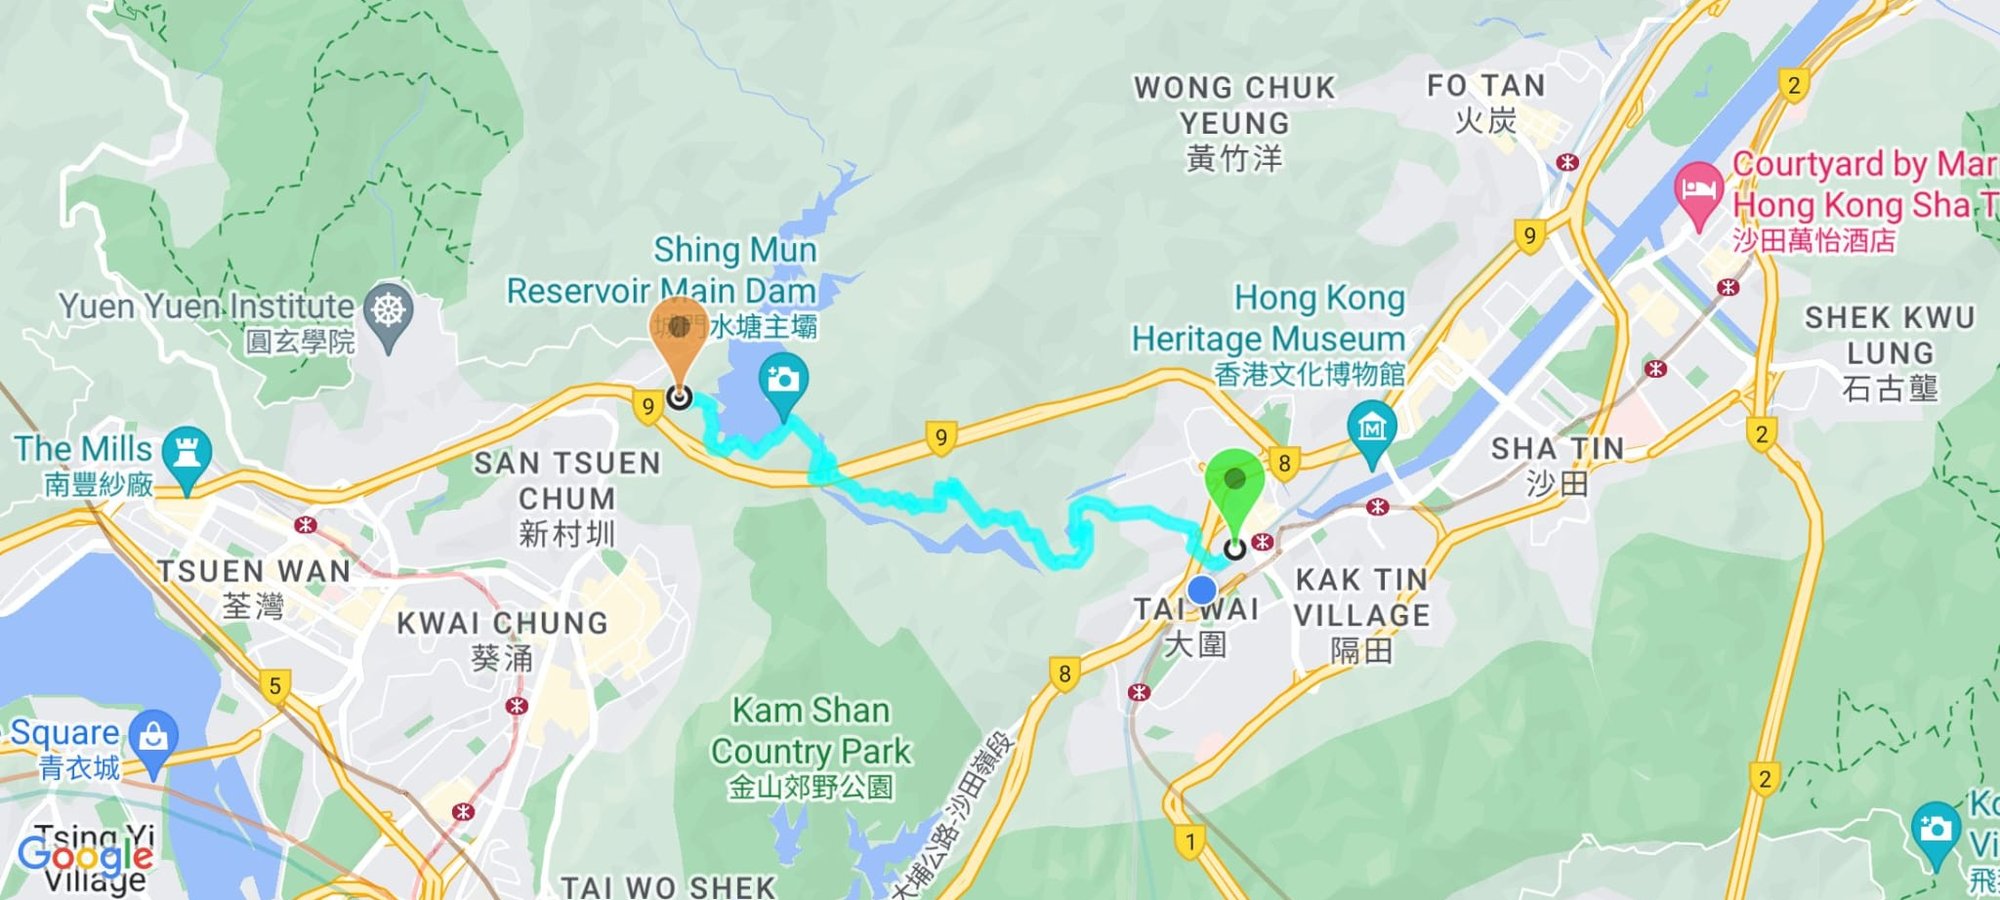
Google Route Map
How to Get to Lower Shing Mun Reservoir Hike Start Point
The hike is located in Tai Wai, so take the MTR to Tai Wai station and get out at exit G (Chik Wan Street) or exit D or E (cross the pedestrian flyover to Chik Wan Street).
By Bus:
You can take the 64k Minibus from Chik Wan Street directly to Po Fook Memorial Hall (the start point).
Or
You can walk to the start (20ish mins)
How to Walk from Tai Wai to Lower Shing Mun Reservoir Hike Start Point
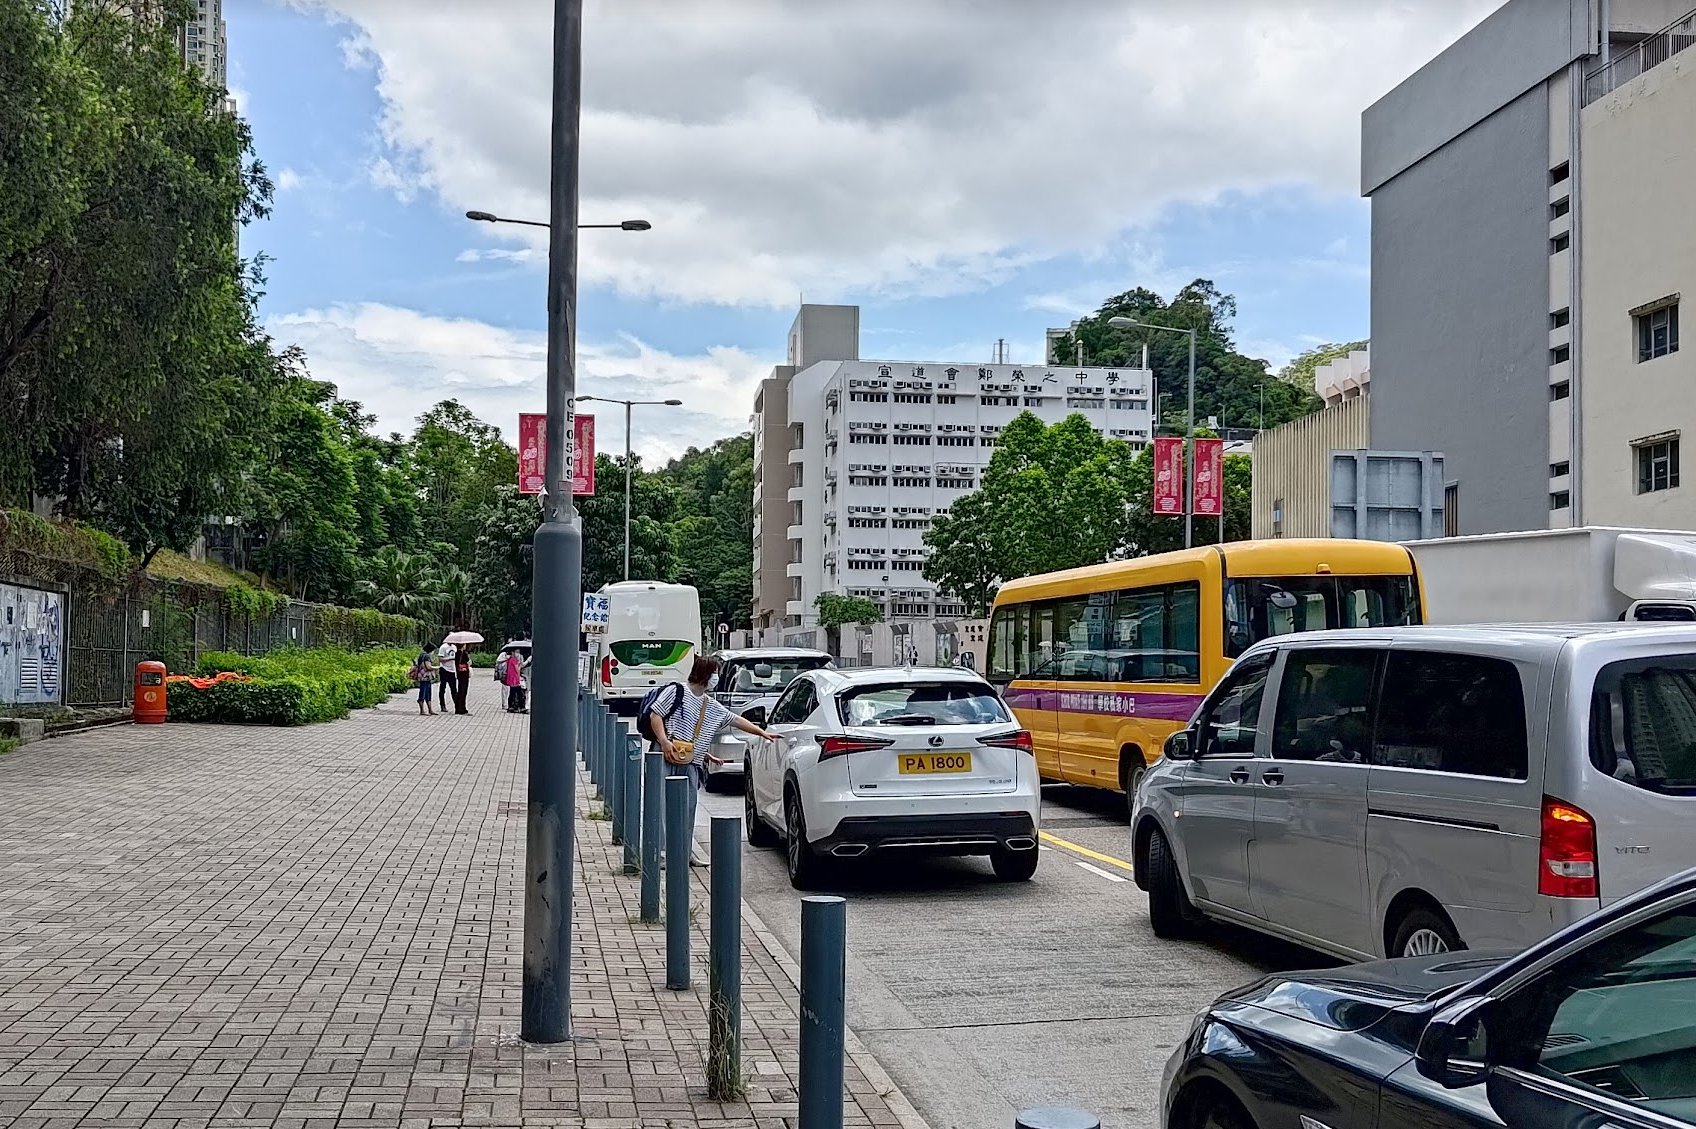

- Follow Chik Wan Street past the Christian Alliance Cheng Wing Gee College (that’s a mouthful)
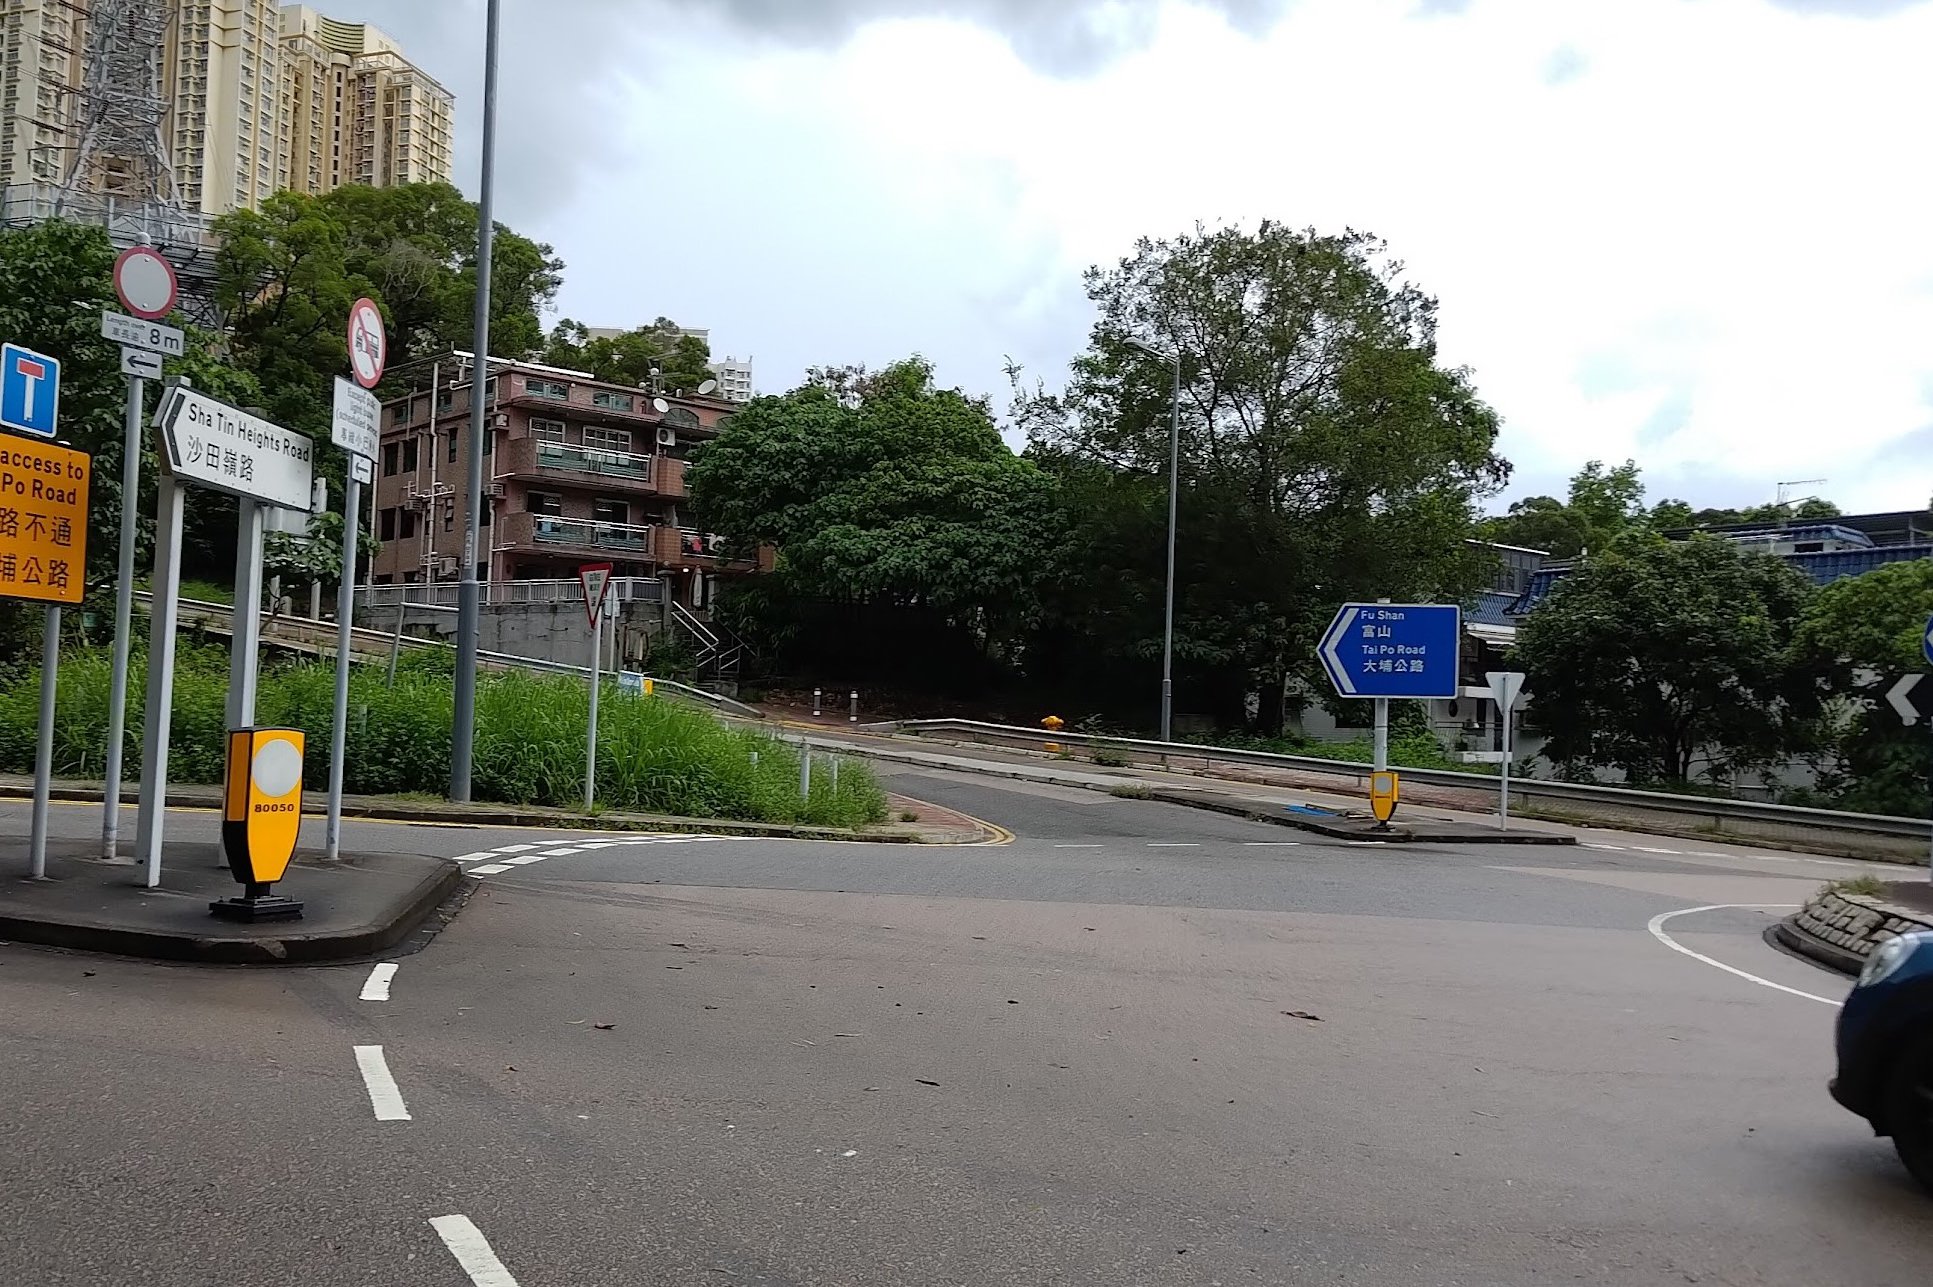
- At the roundabout, cross to Shatin Inn and then cross again to Lower Shing Mun Road
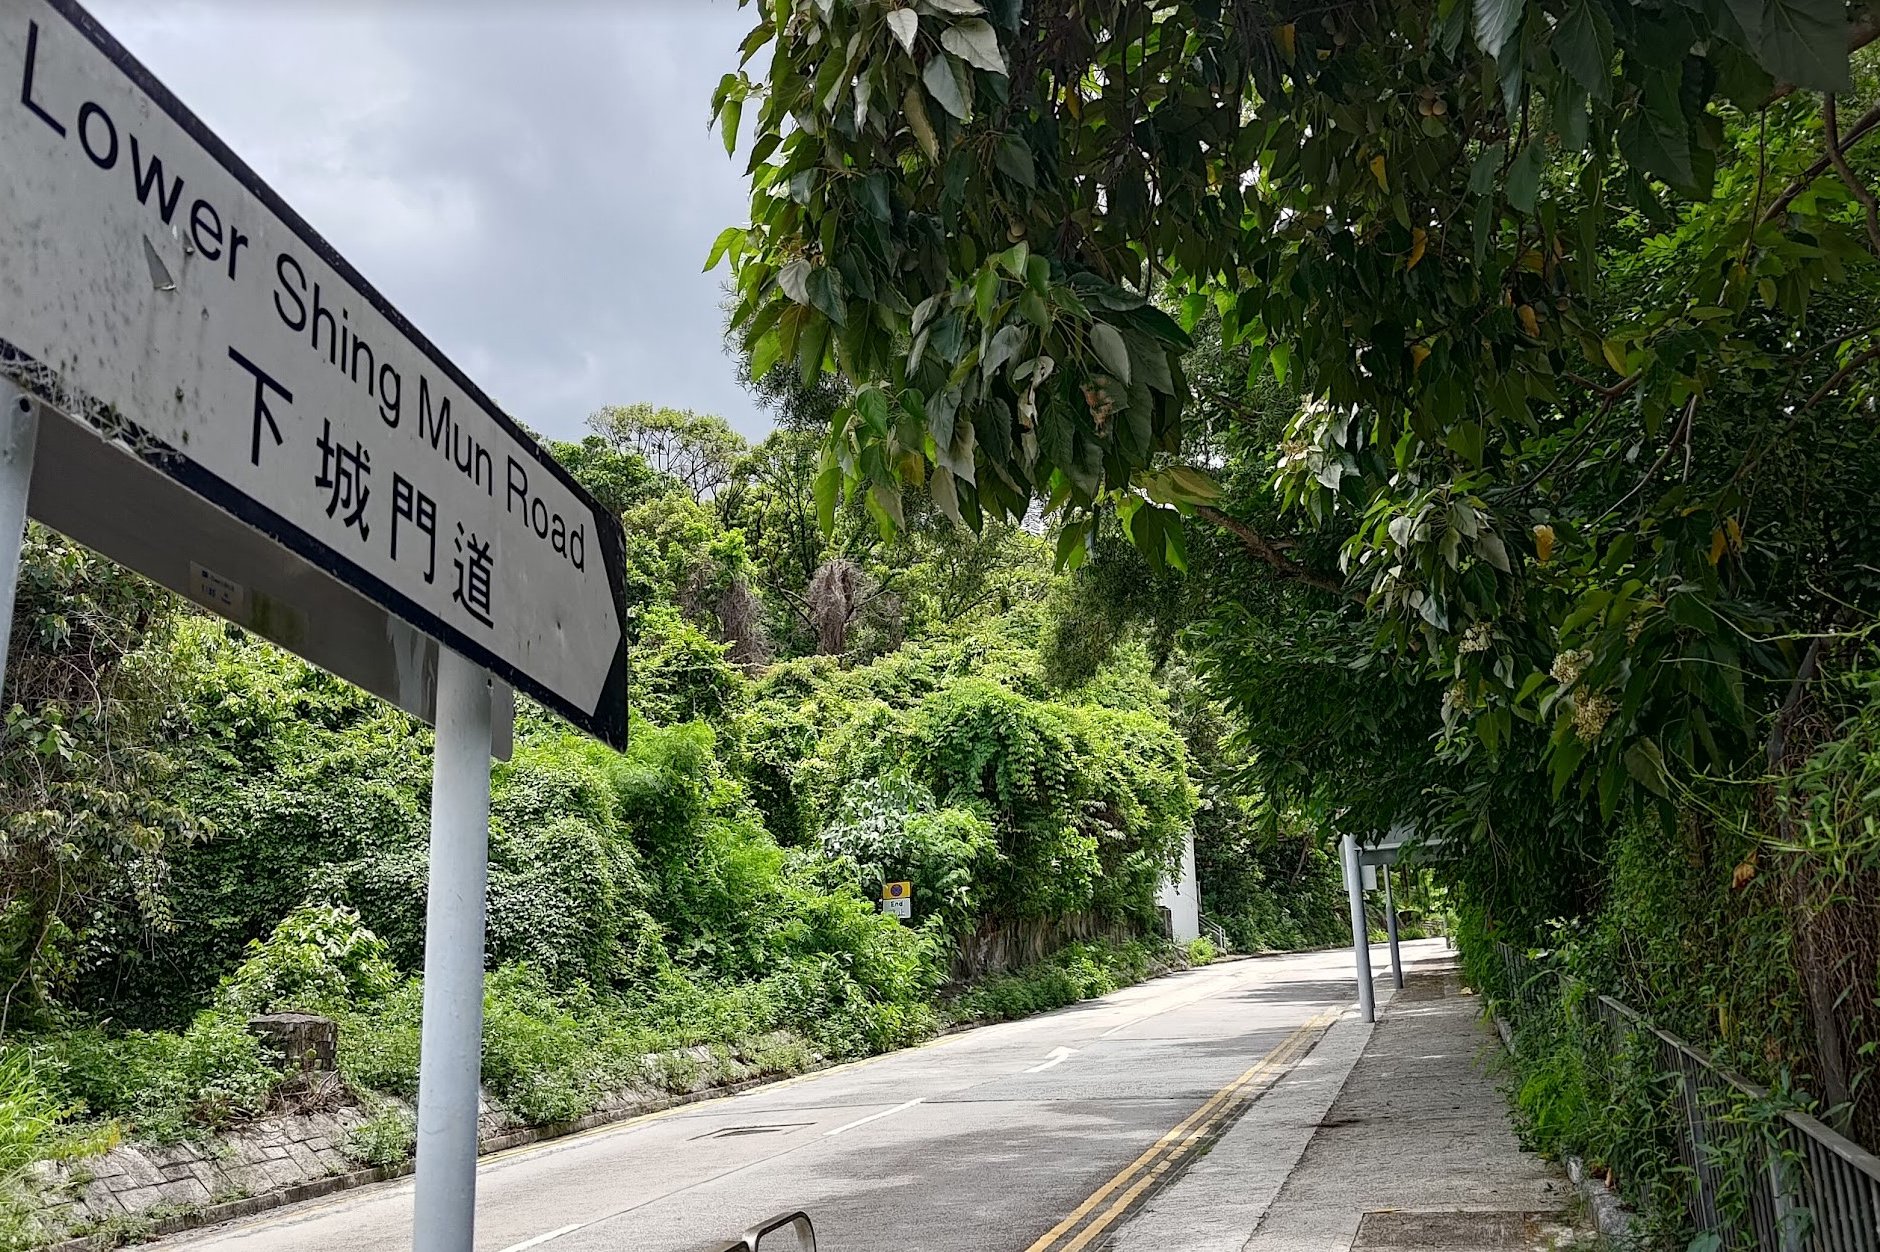
- Climb up climbing up Lower Shing Mun Road until you arrive at Po Fook Memorial Hall (the start point)
Quick Lower Shing Mun to Upper Shing Mun Hike Route Summary
- Walk past the Fu Shan Crematorium along Lower Shing Mun Road
- Cross the Lower Shing Mun Reservoir Main Dam
- Go past the black and white barrier and waterworks sign at the end of the dam
- Keep following the main concrete path. Ignore any smaller paths
- Look out for the stairs to a secret reservoir viewpoint just a few minutes after the rusty barrels
- Follow the path downward after the pavilion
- Take a right after crossing the bridge beneath the highways
- Follow the blue railing path
- Climb up the ringed metal ladder
- Take the stairs to the left if you want to loop back to the start of the dam
- Climb the dam to reach Upper Shing Mun Reservoir
- Go left at the top of the dam stairs and follow the road around the reservoir
- Get to the bus stop (20-30 mins) and take 82 green minibus to Tsuen Wan MTR station (last stop)
Lower Shing Mun Road to Lower Shing Mun Dam
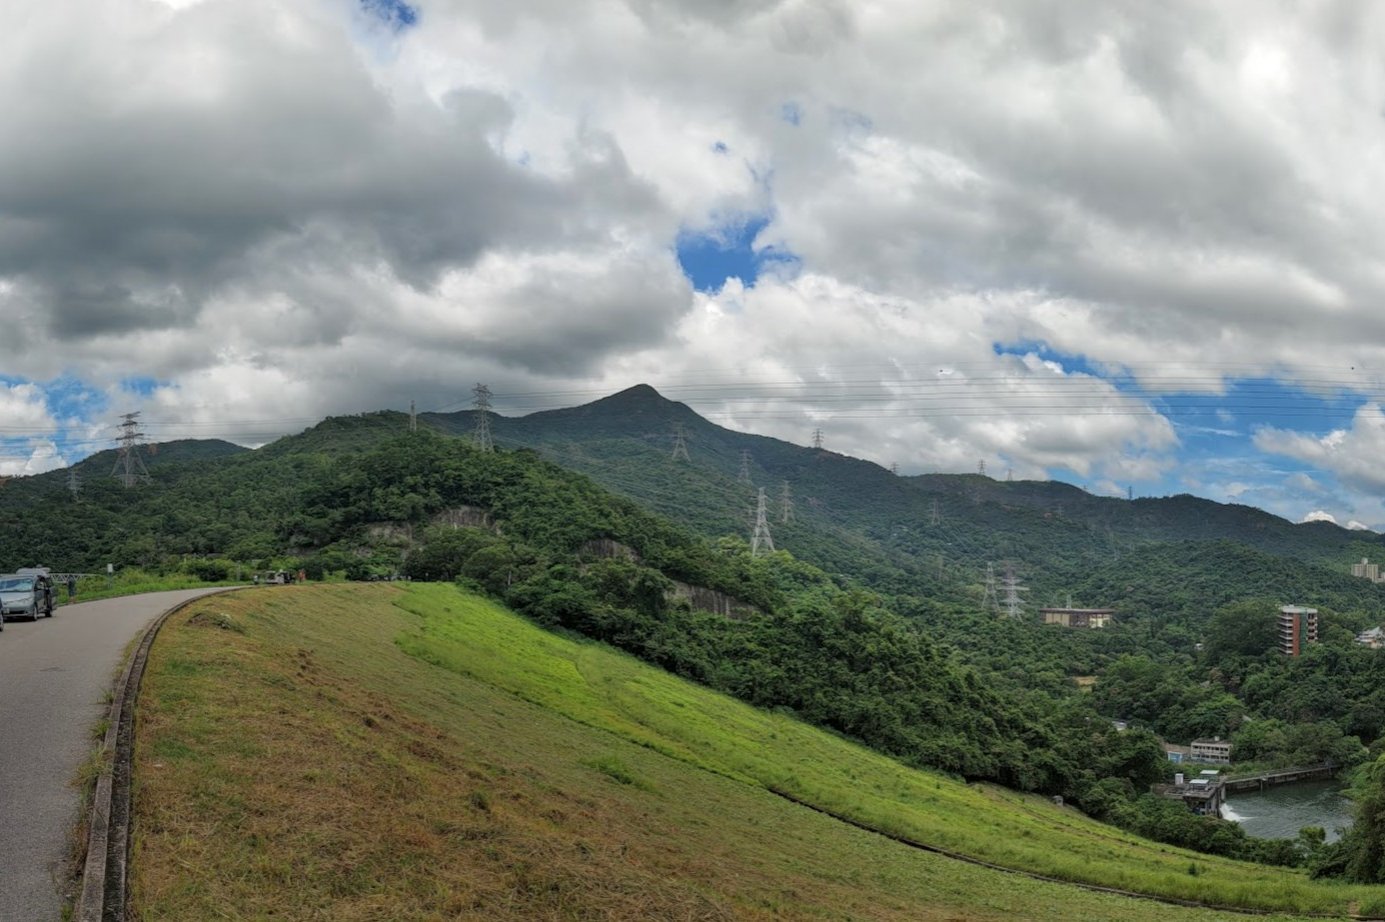
After walking past the Po Fook Memorial Hall and Fu Shan Crematorium, follow the meandering road upward, enjoying views of Lower Shing Mun Main Dam and even Needle Hill! Be careful to avoid any cars along the way.
At the top of the road, you’ll see the Lower Shing Mun Main Dam.
Surprises in the Sky

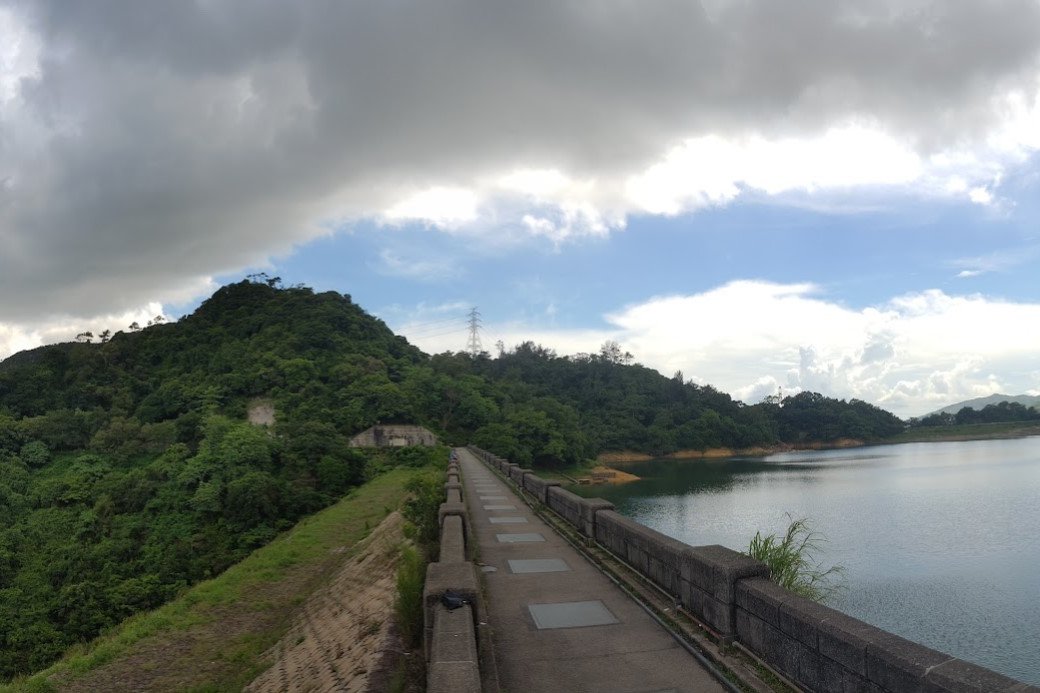
Walk across the Lower Shing Mun Main Dam.
There’s a high chance you’ll see people flying remote controlled planes from the top of the dam. I’ve seen everything from slow gliders to fast jets and even helicopters. Some of these hobbyists are extremely skilled, so take some time to appreciate this unique art form.
The views to either side of the dam are also amazing. You’ll get your first glimpse of the actual reservoir to the left and to the right, you’ll be able to see parts of Tai Wai
Go Past the Black and White Barrier
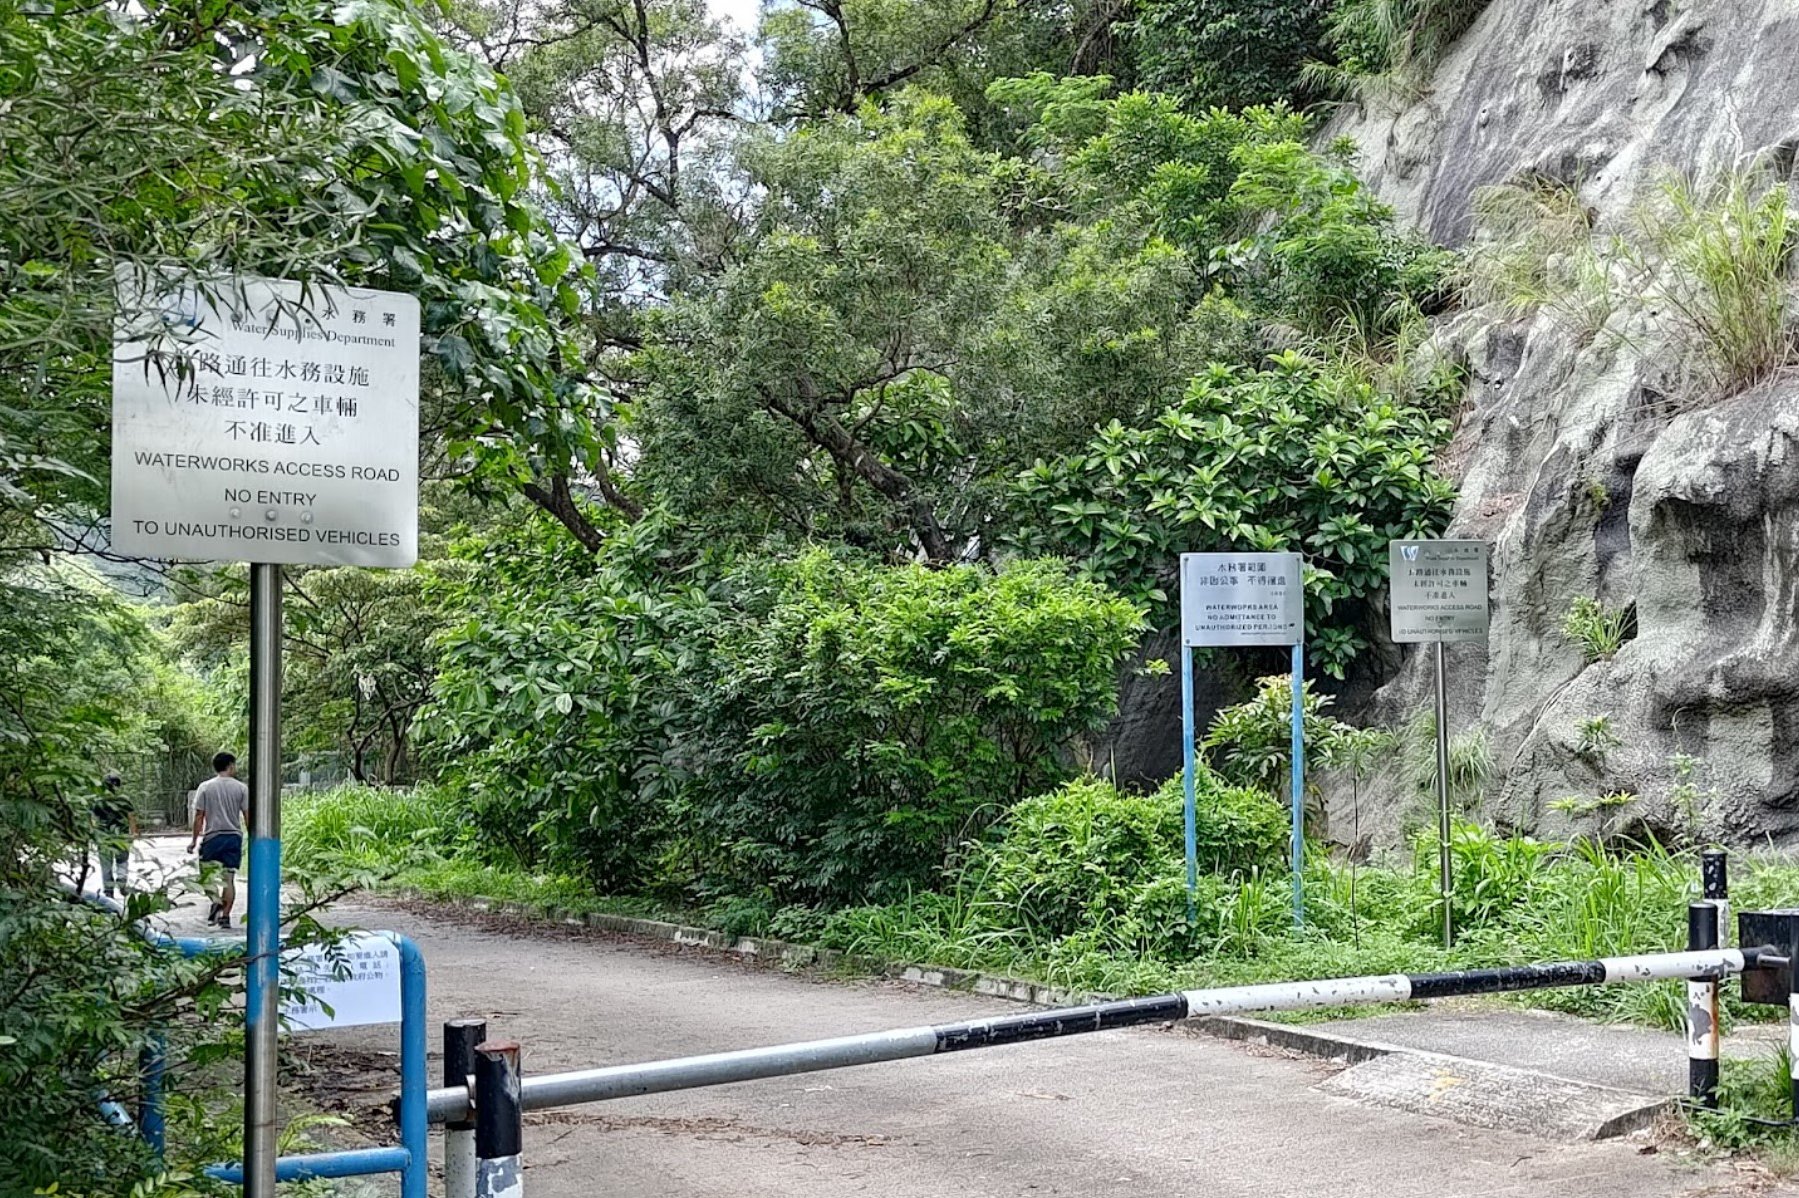
After crossing the Lower Shing Mun Main Dam, you’ll see a black and white barrier designed to keep cars out. You’ll also see several waterworks signs. Go past all of them and stick to the concrete road as it begins to ascend upward and take you around the right side of Lower Shing Mun Reservoir.
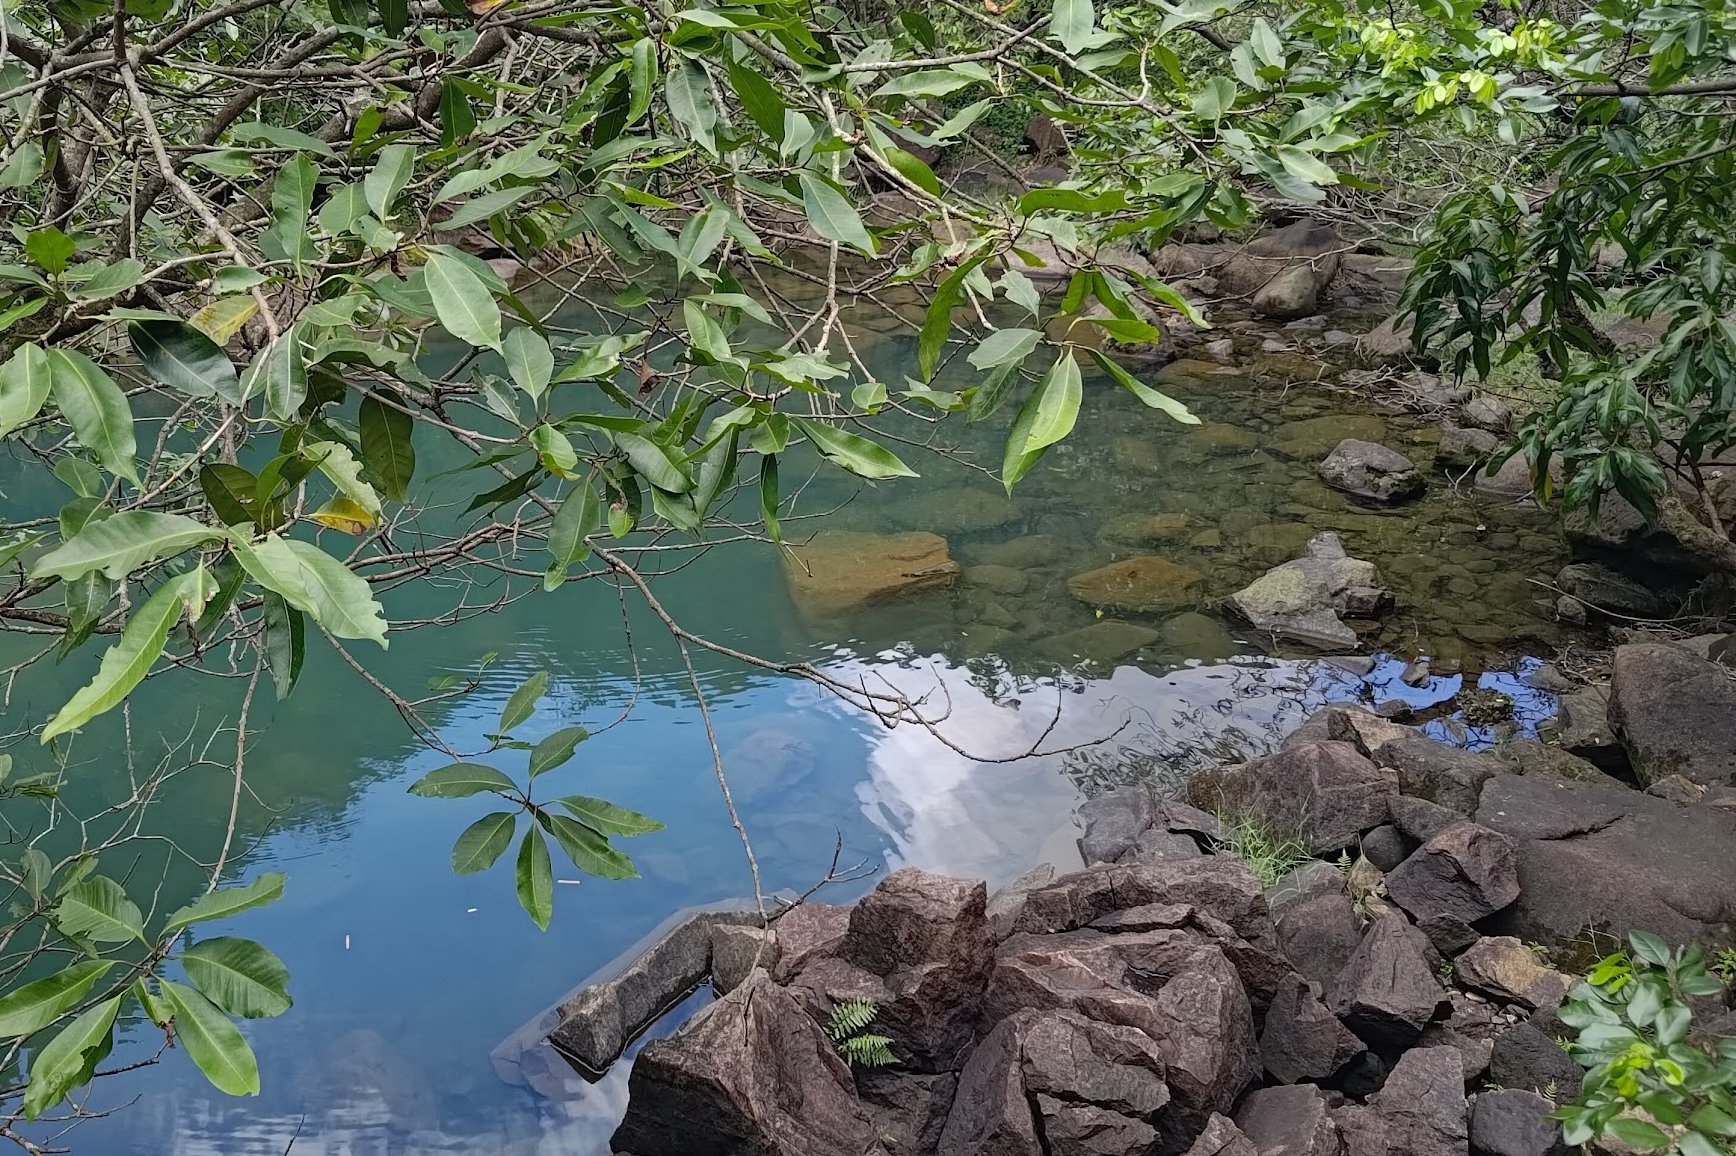
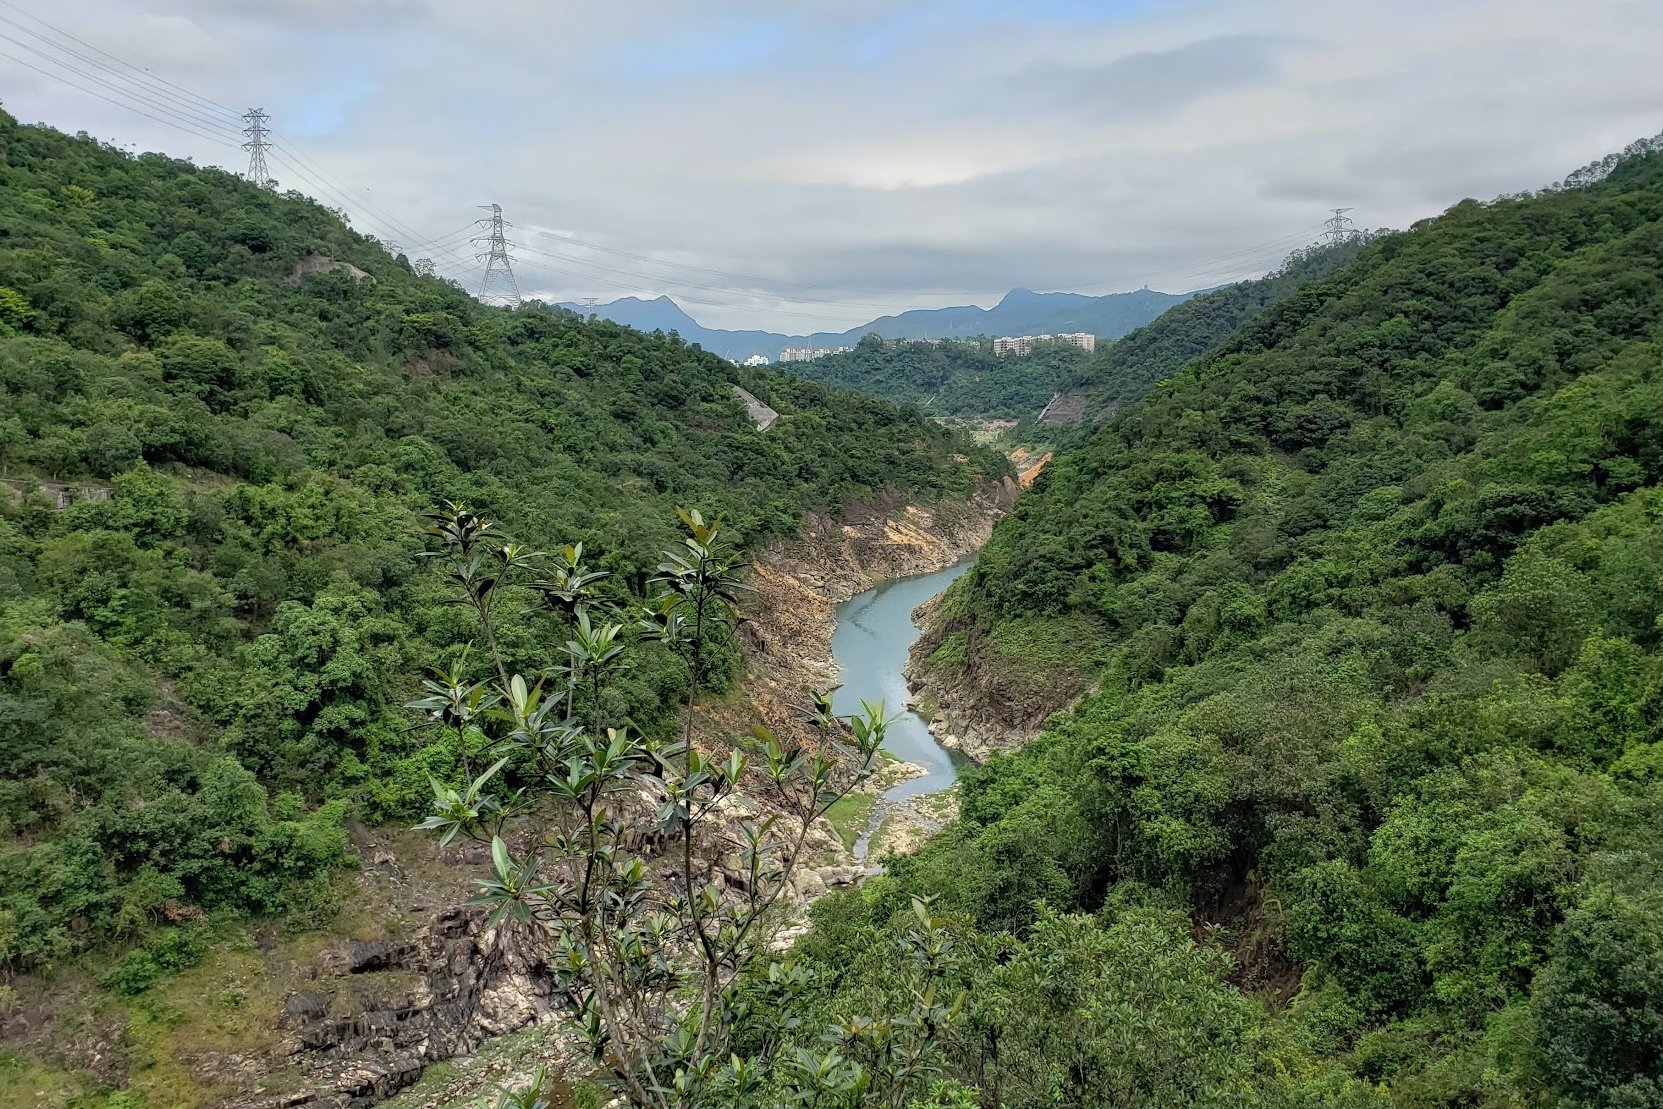
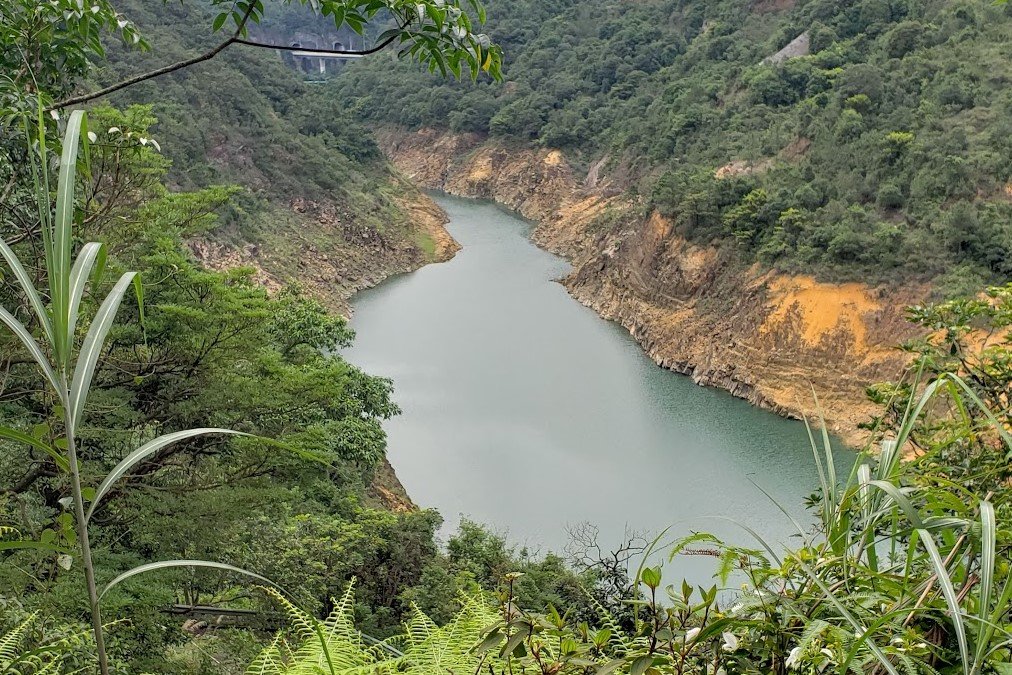
The Secret Reservoir and Lion Rock Viewpoint
Stay on the large concrete path and ignore any smaller side paths you may come across. I tried exploring a few and most either don’t lead anywhere or start to get overgrown very quickly.
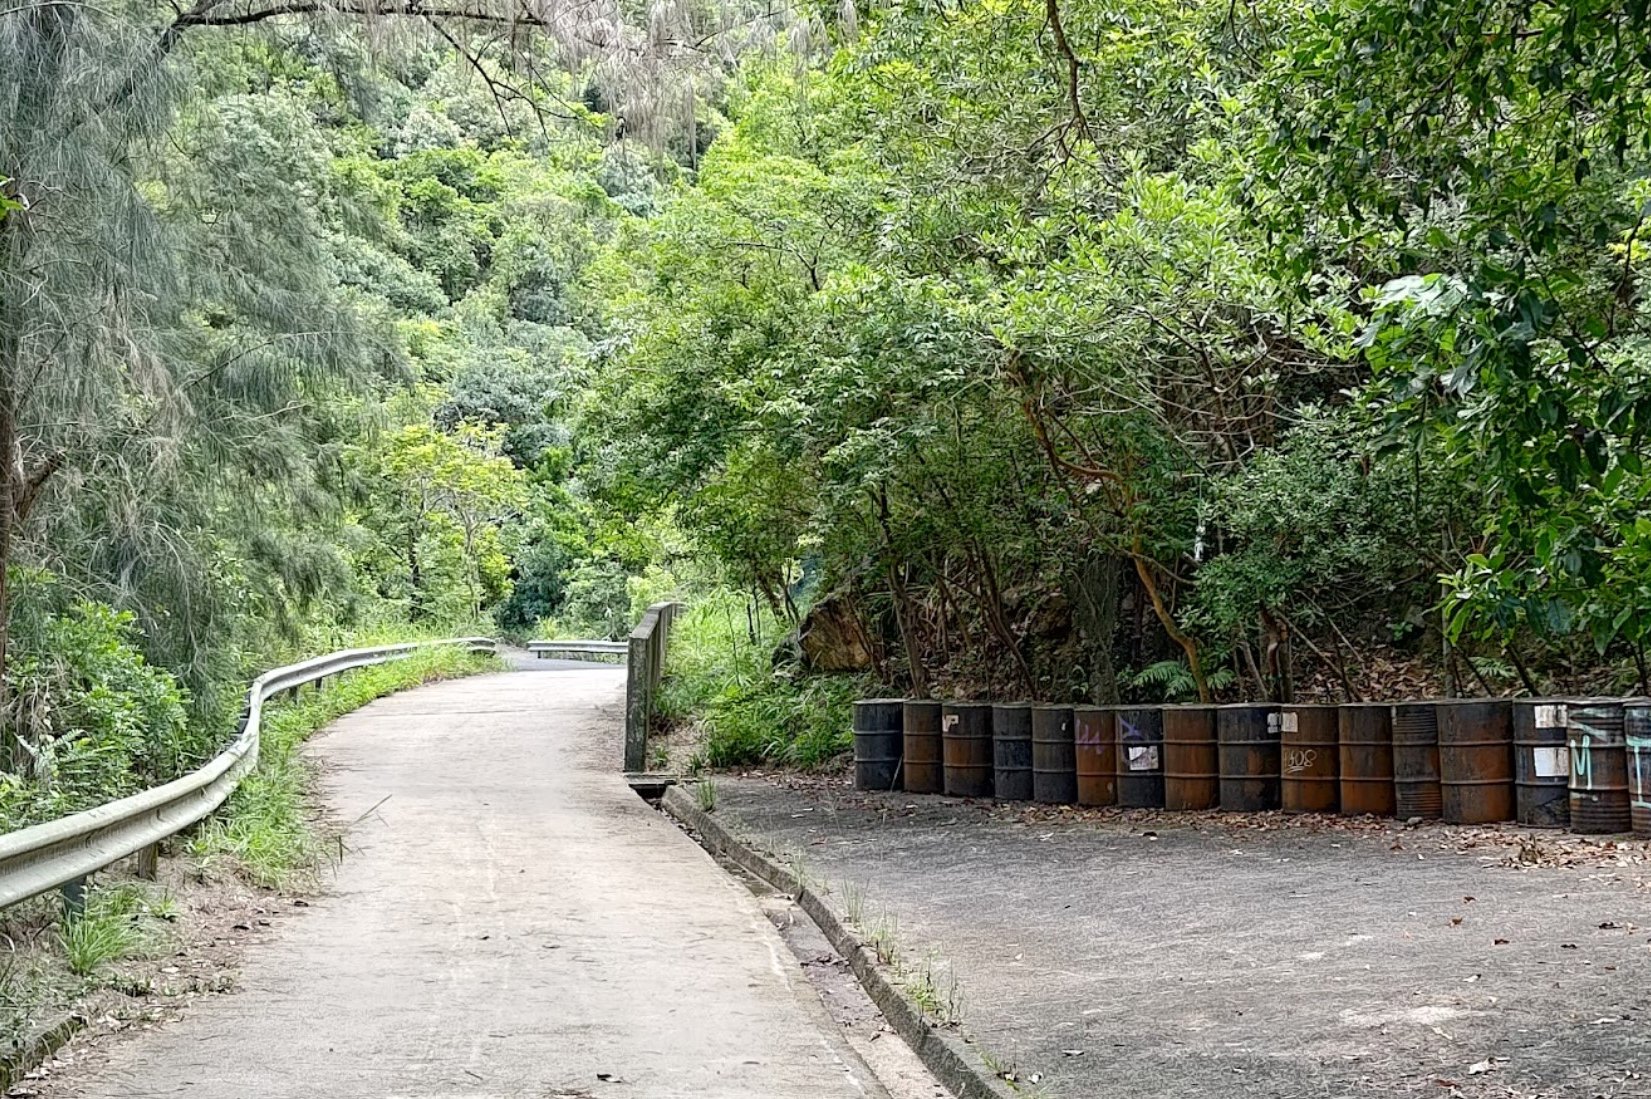
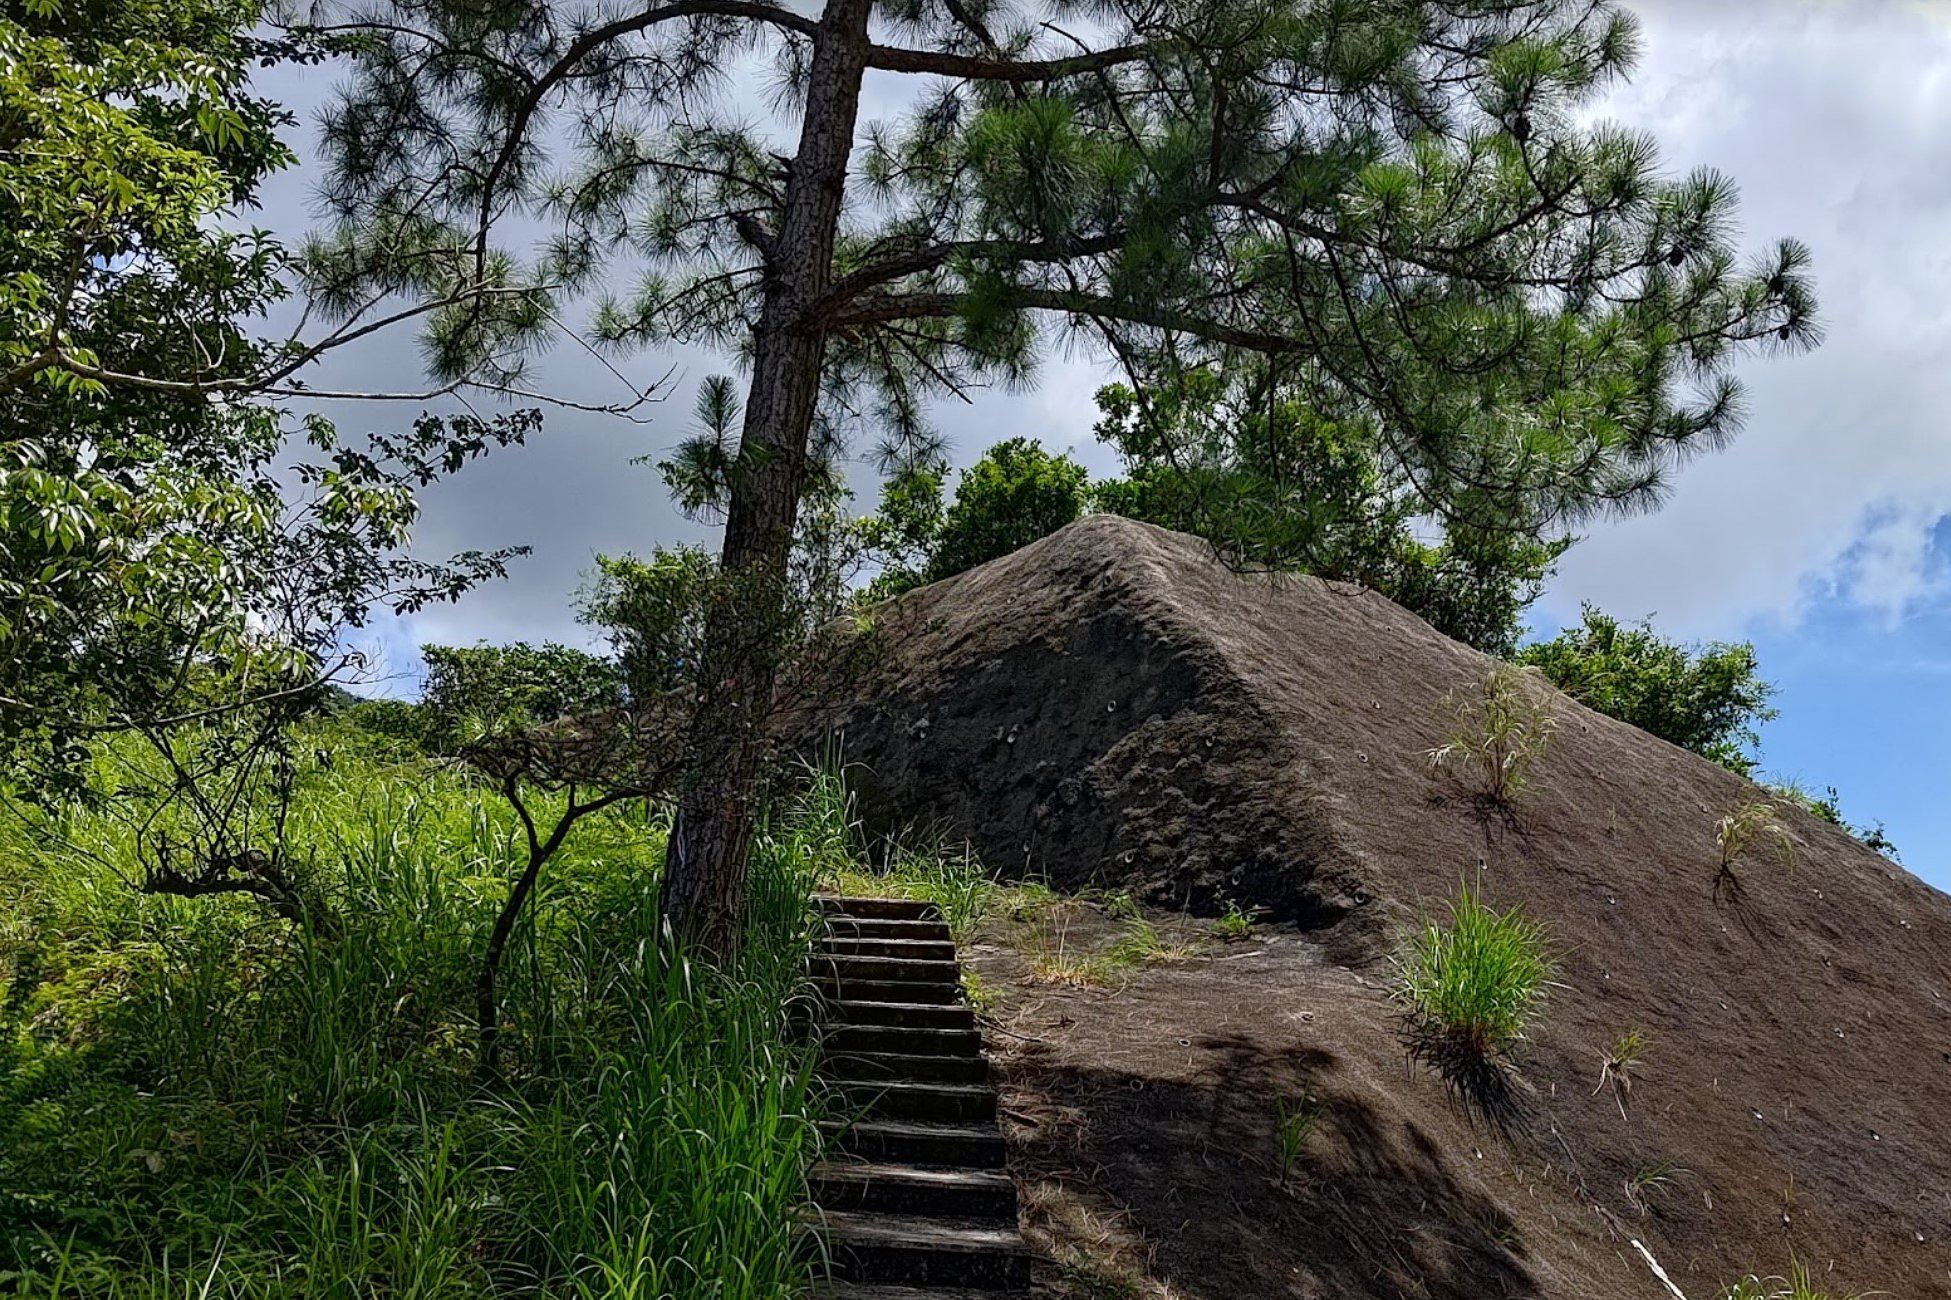
After about 15 minutes, you’ll go past some rusty metal barrels, these will tip you off that you’re almost at the secret viewpoint.
Five minutes later, you’ll see some stairs to the left. Take them up and walk along the concrete wall until you arrive at the viewpoint.
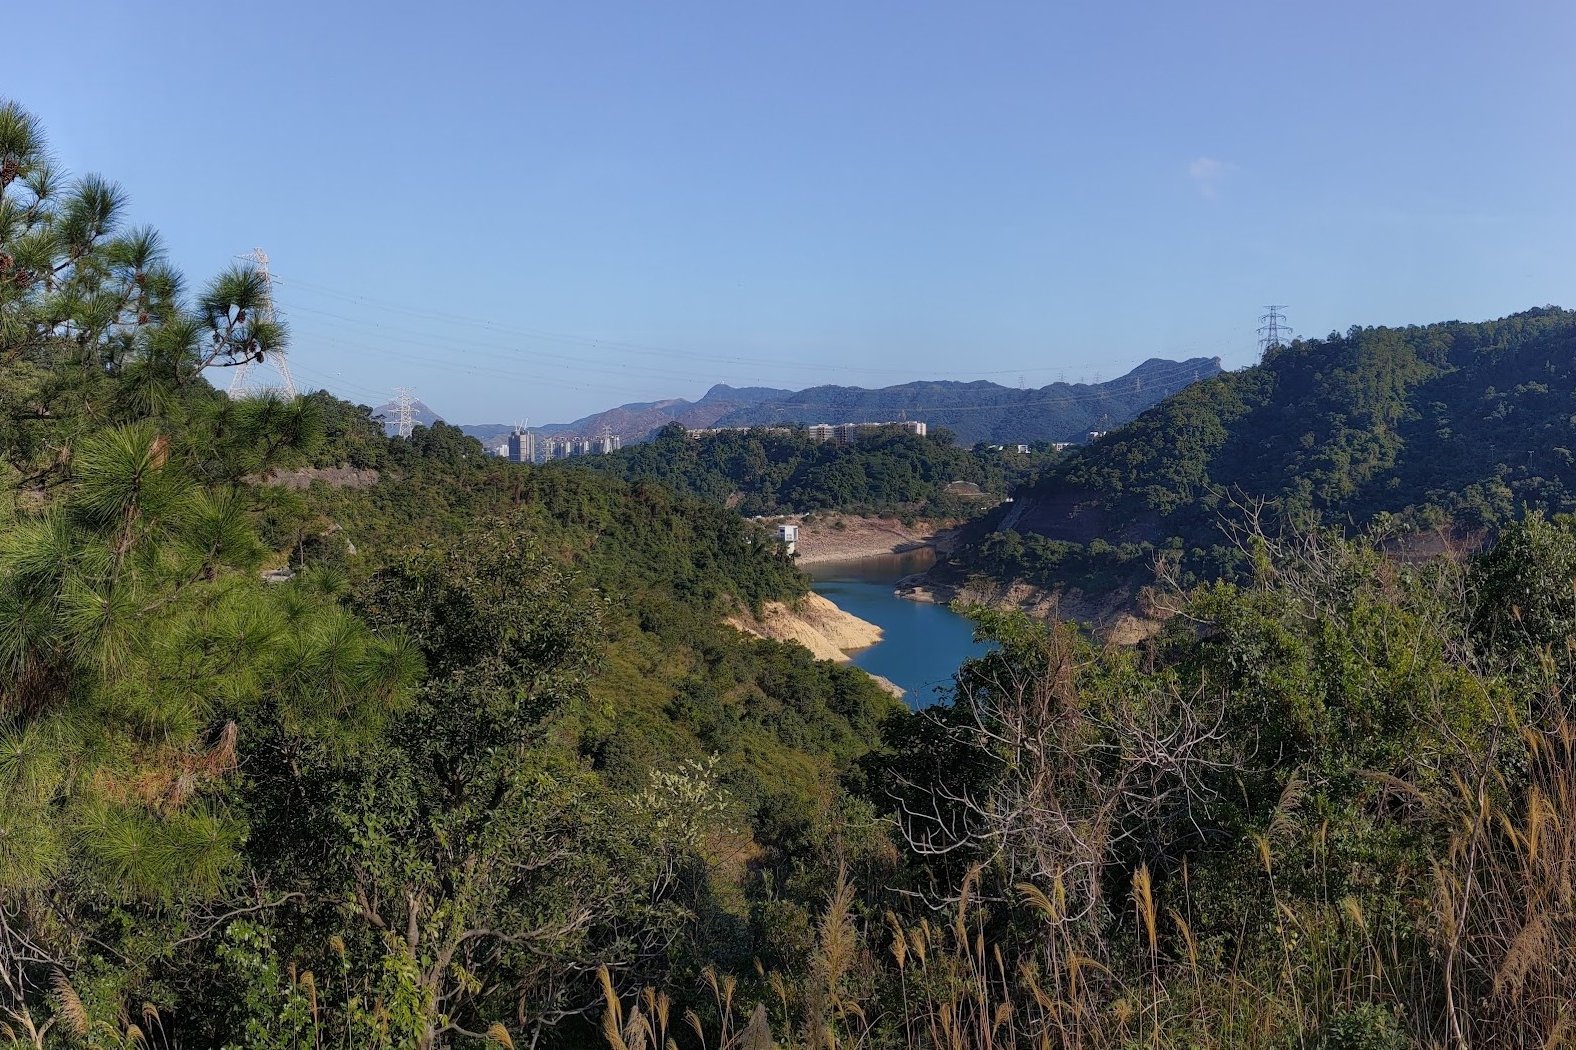
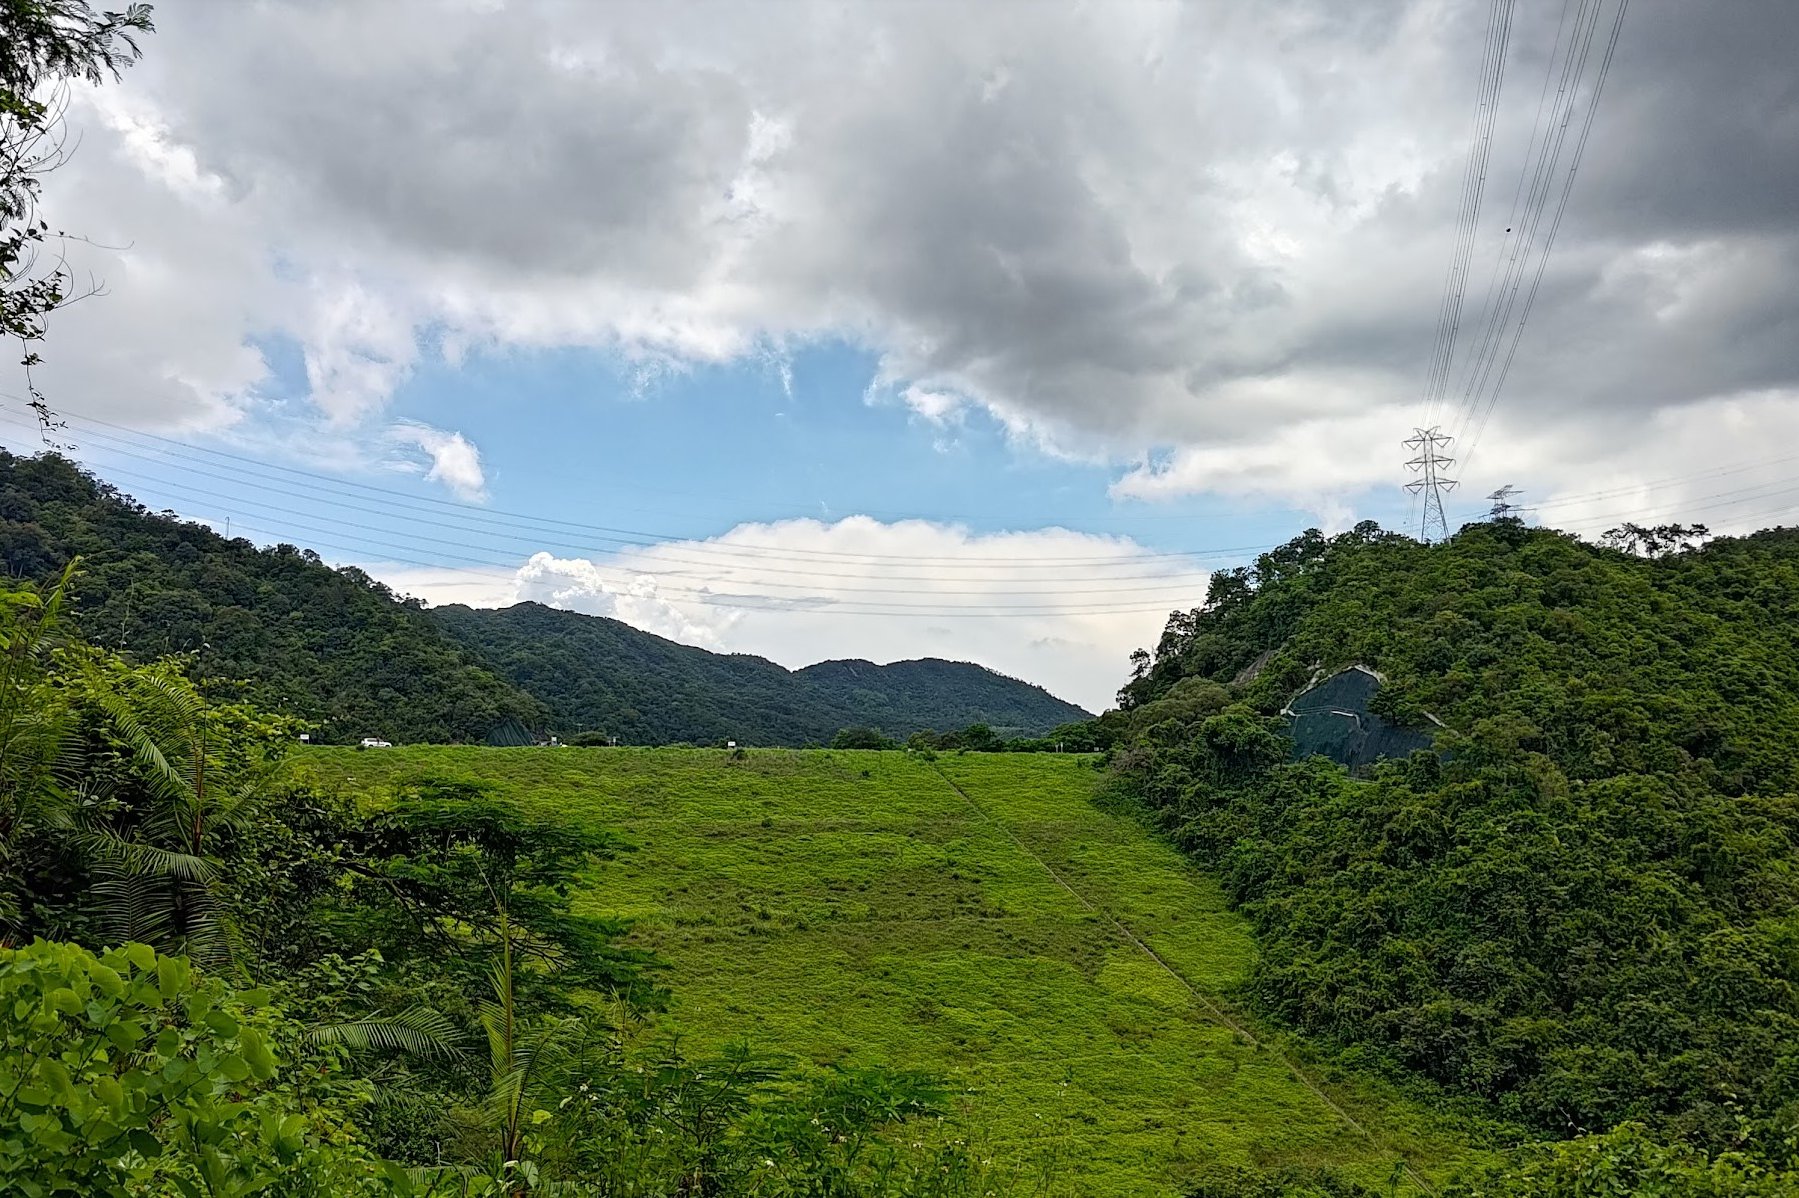
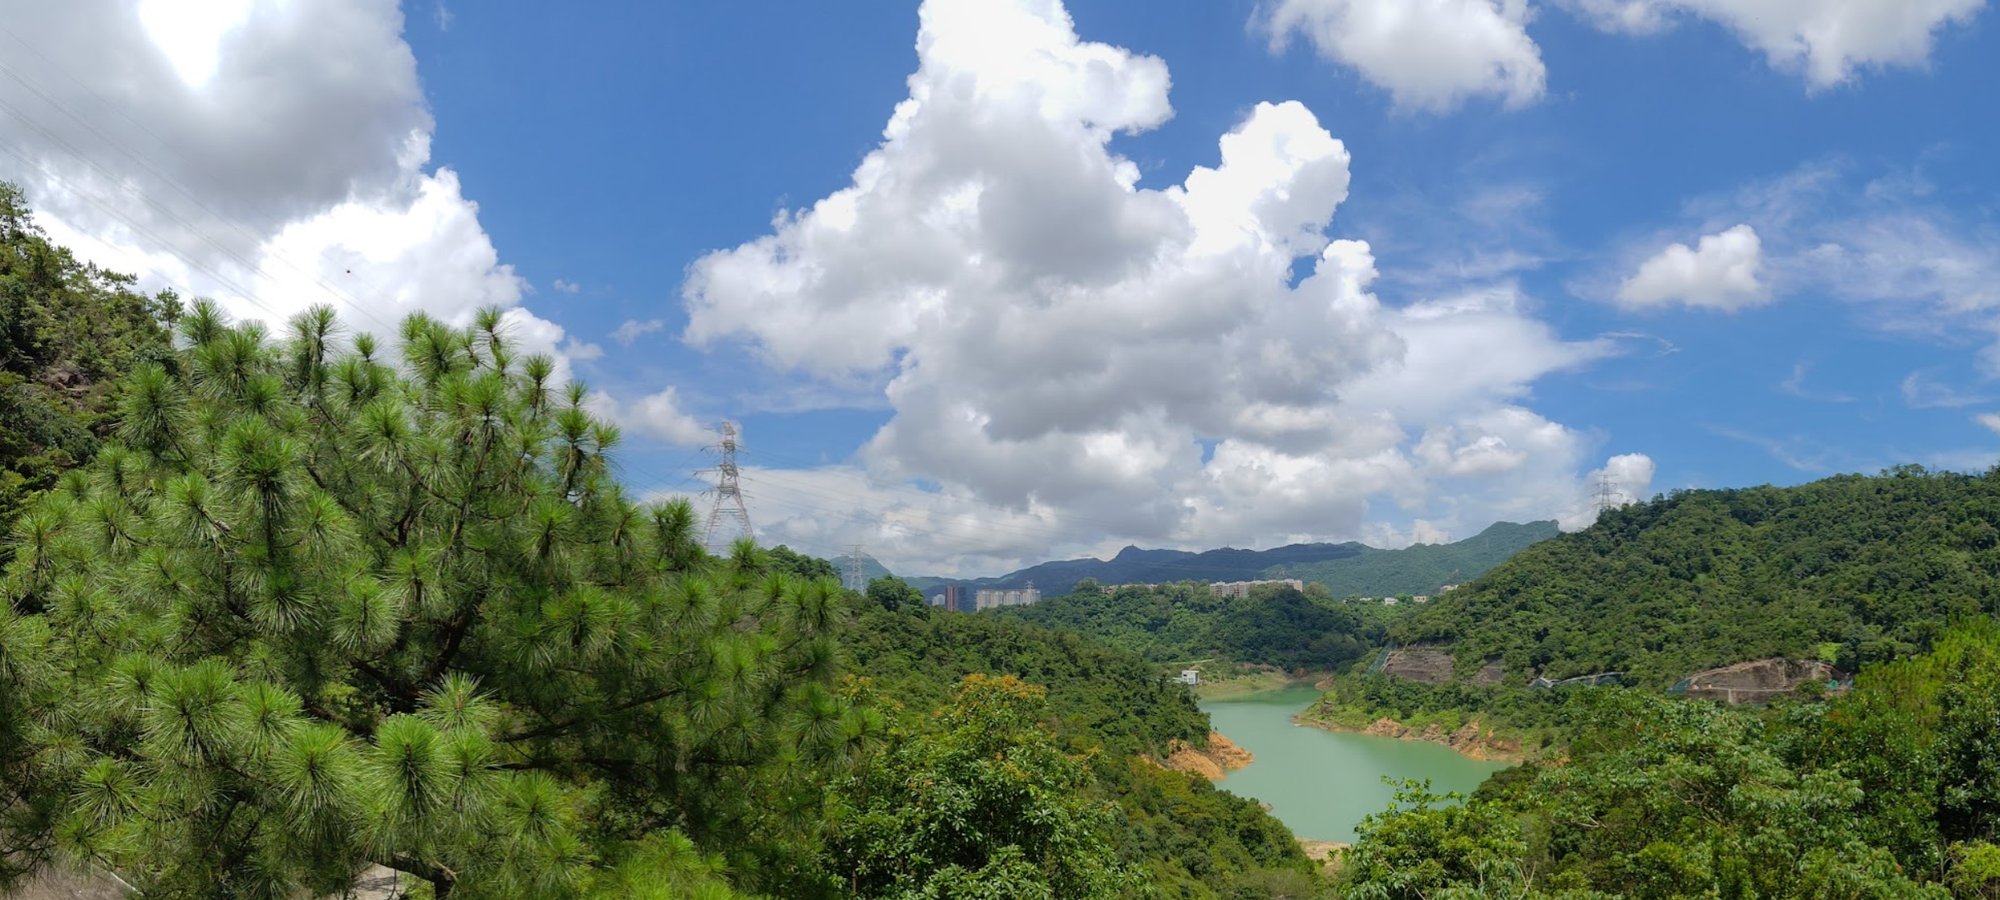
From the viewpoint, you'll be able to see Lower Shing Mun Reservoir framed by the towering visage of Lion Rock in the background.

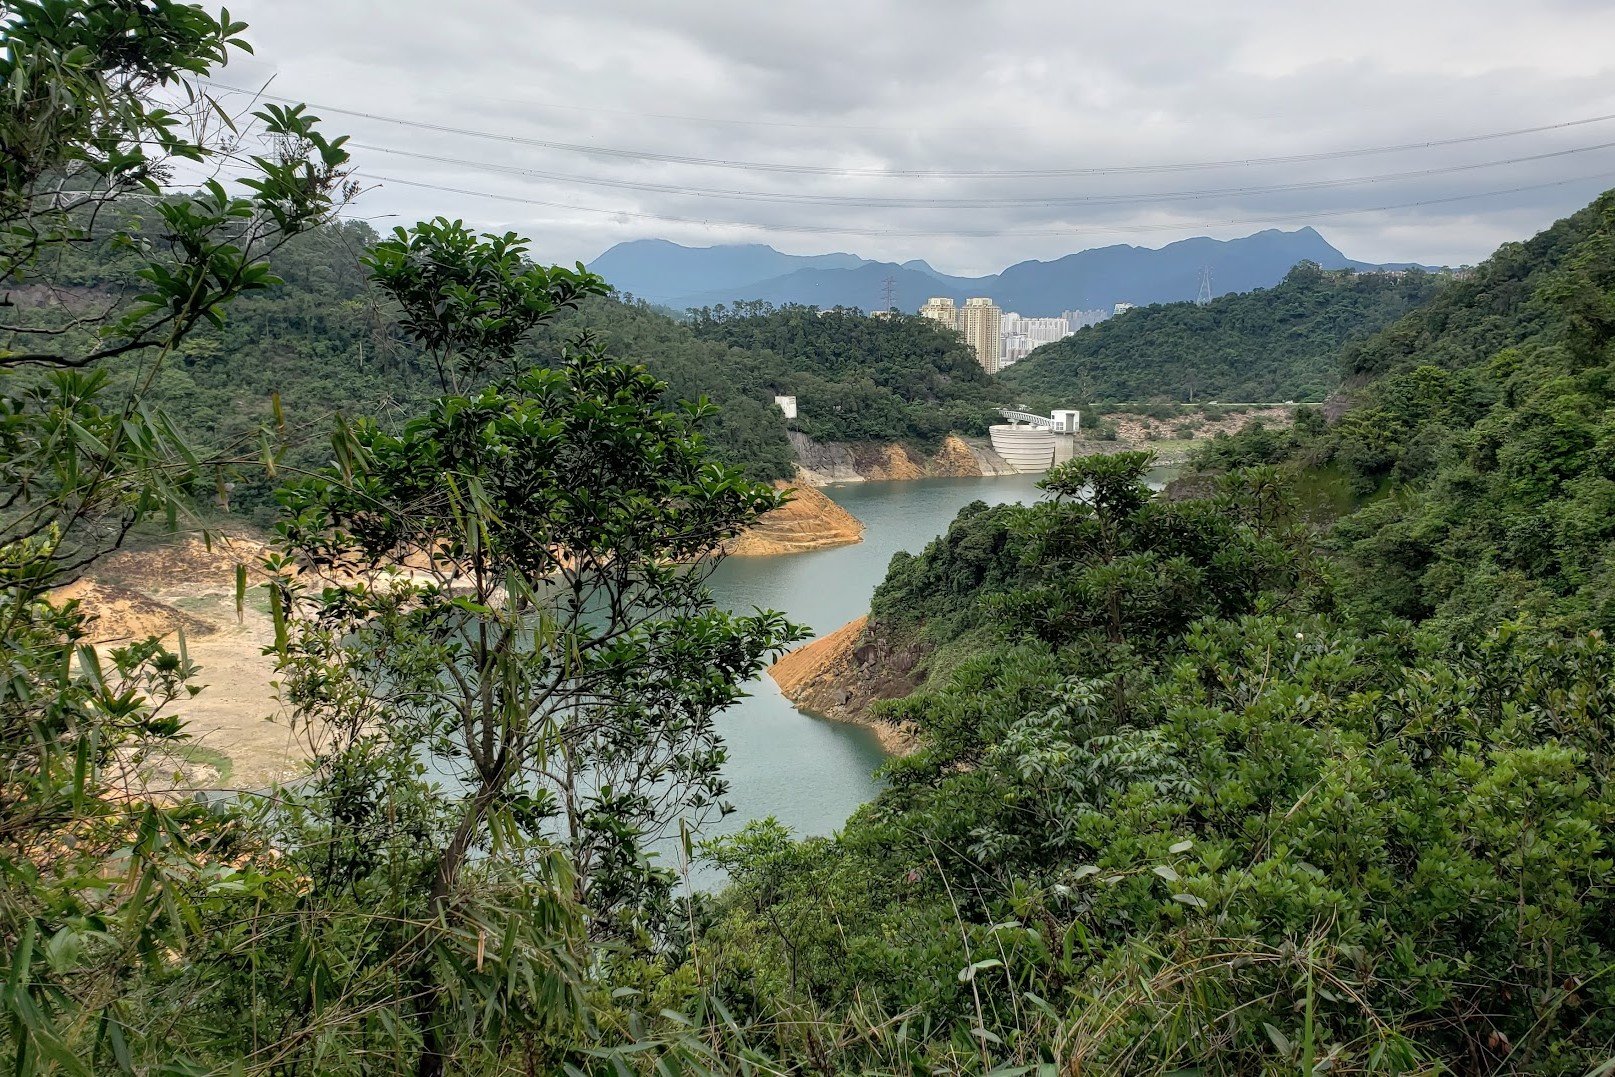
Pavilion and Views of the Dam!

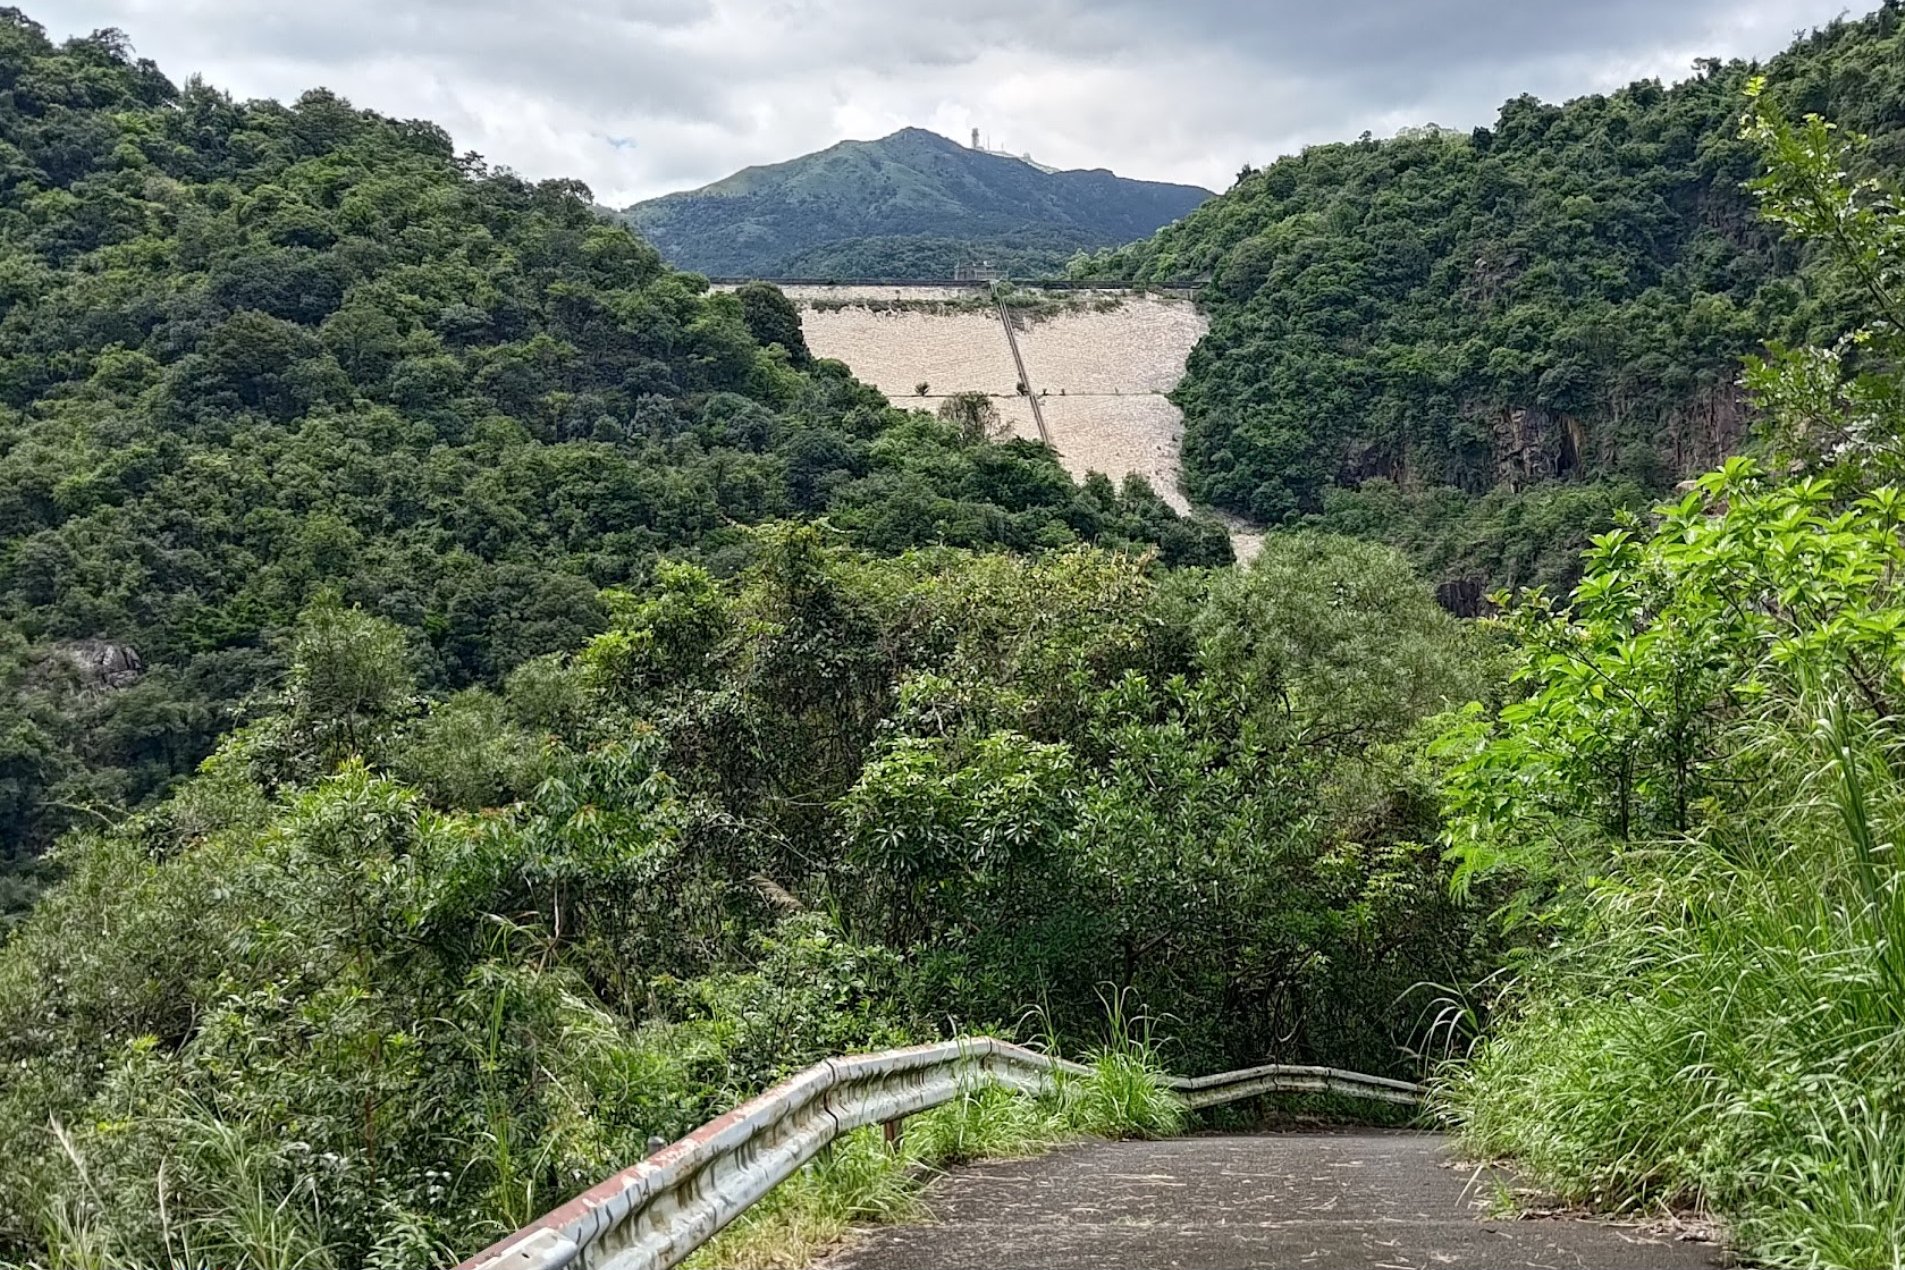
Not long after the viewpoint, you’ll see a green-roofed pavilion and the Upper Shing Mun Main Dam looming in the distance. That’s the highlight of the whole hike! It looks a lot worse than it really is.
Follow the trail downward.
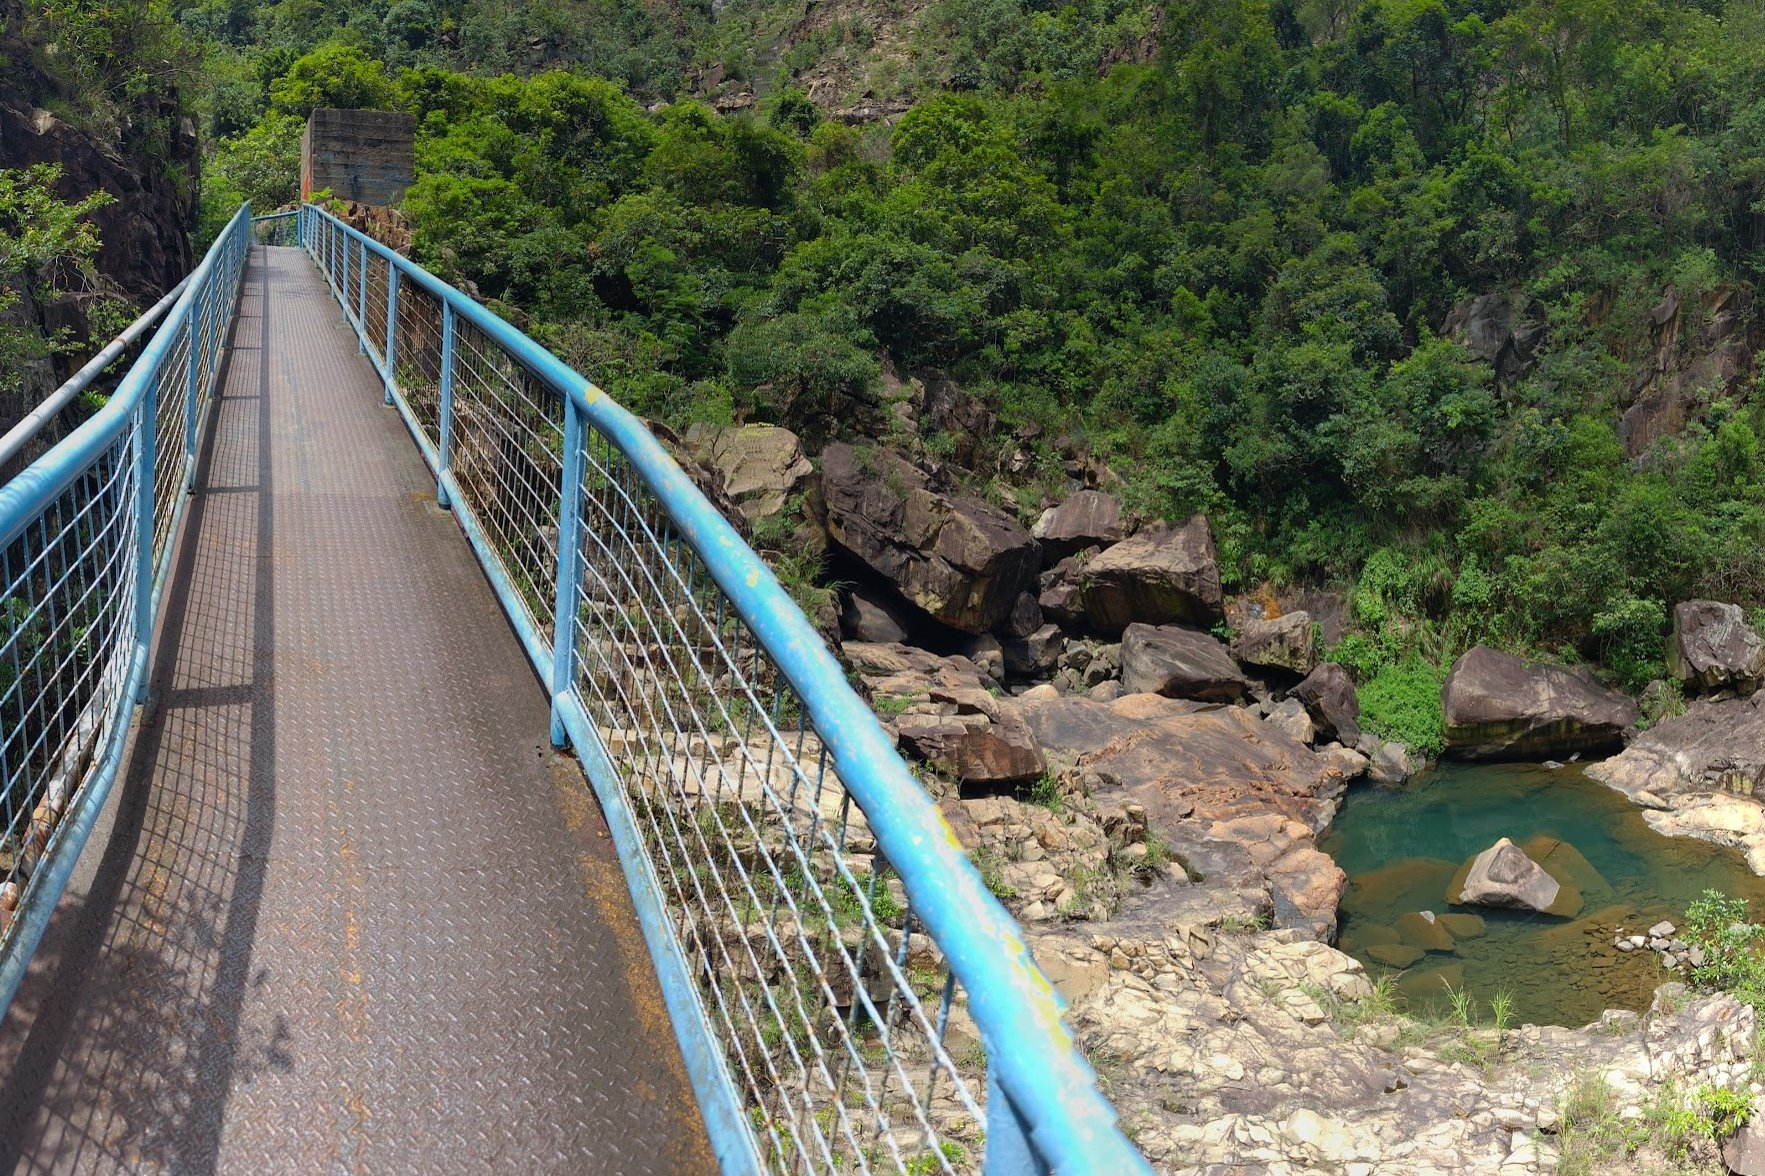
Unexpected Highways and a Cool Bridge
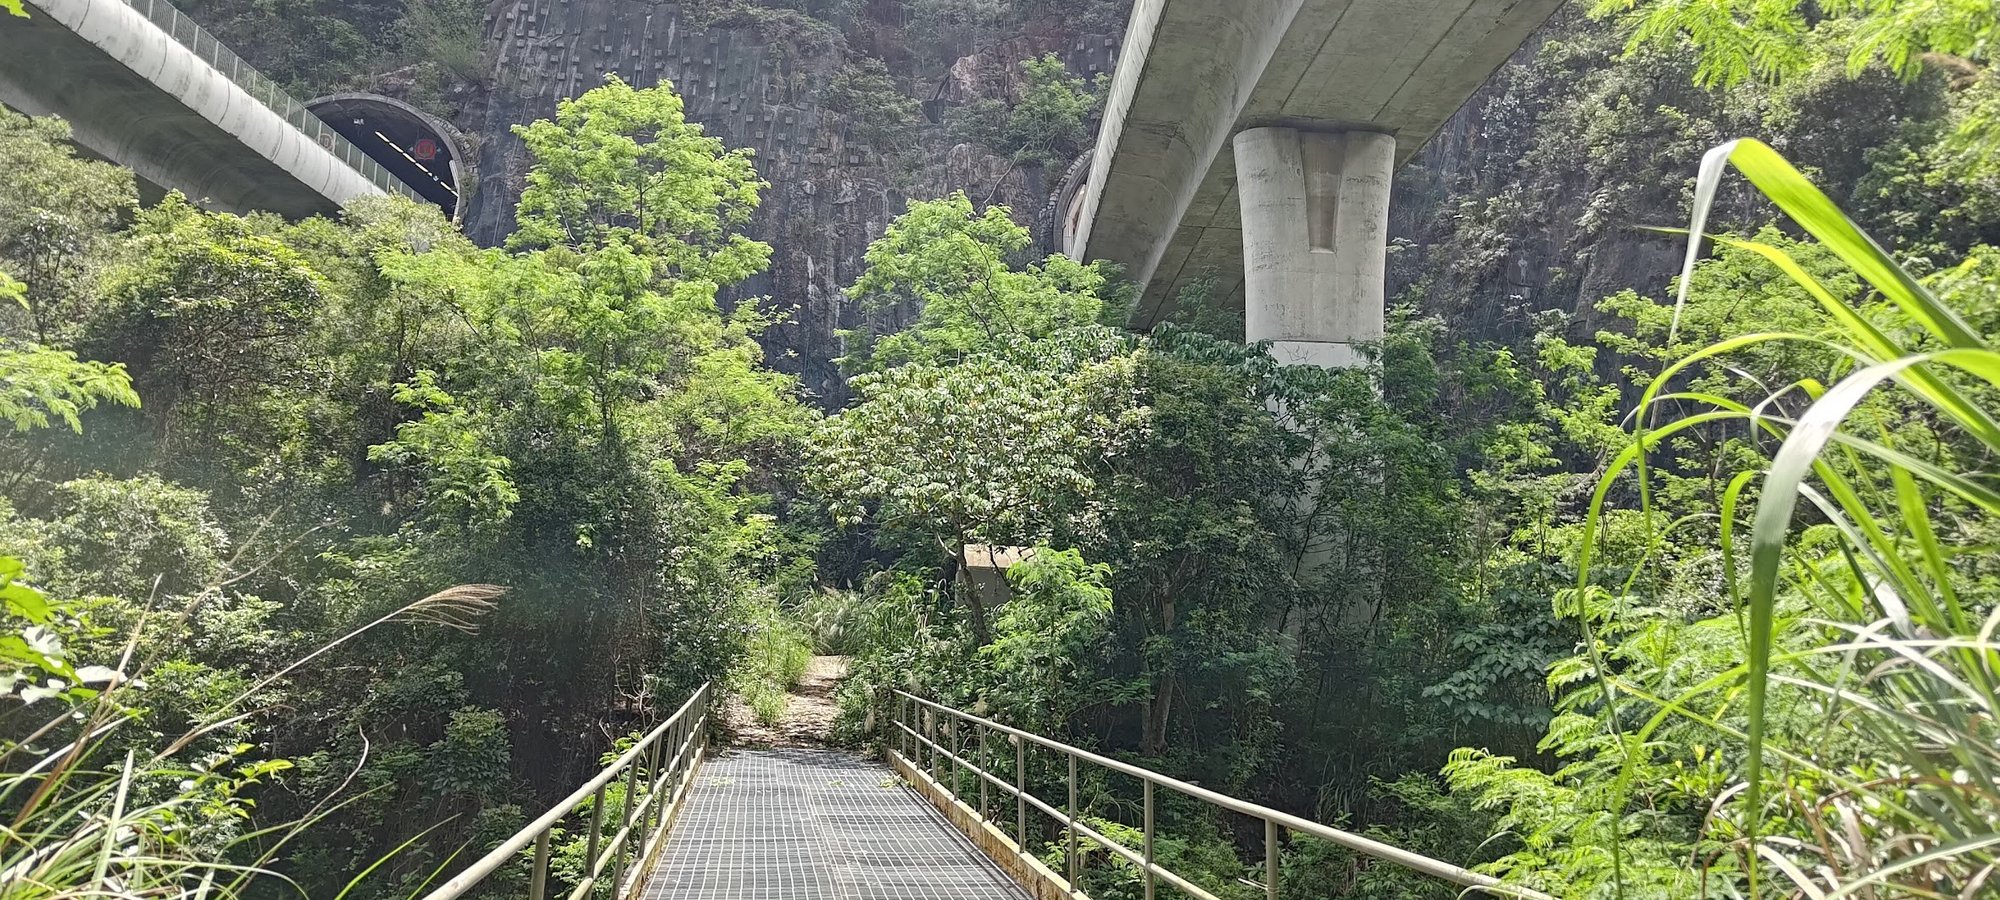
When you get to the bottom of the downward-sloping path, you’ll see a bridge with a cage-like bottom that lets you see all the way to the ground below. Try not to look down if you’re afraid of heights.
Instead, you can look up and wonder how the heck there are two massive highways right above your head that vanish into the mountains on either side of you.
Follow the Blue Railings
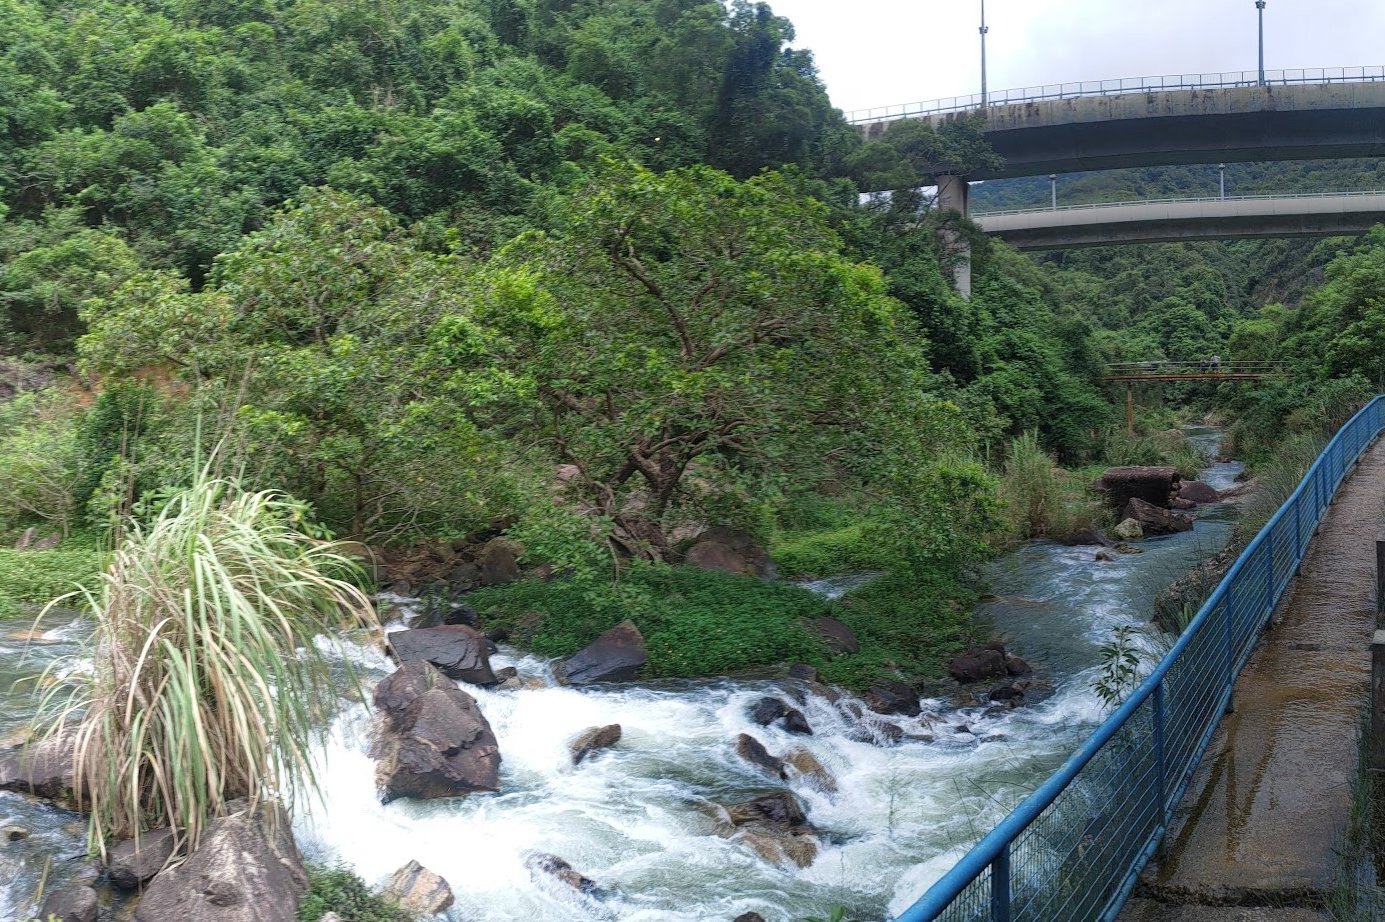
After the bridge, go right and you’ll see a path with light blue railings on the side. Stay on that path and use the wooden planks in the ground to stop your shoes from getting wet if the path is flooded (as it often is).
The view at this point varies vastly depending on whether the dam is letting out water or not. I’ve seen this section look like a raging river and also looking as dry as a desert.
A little flight of stairs lets you know you’re at the water release point (which has a thundering blast of water emitting from it when open).
Climb the Ladder
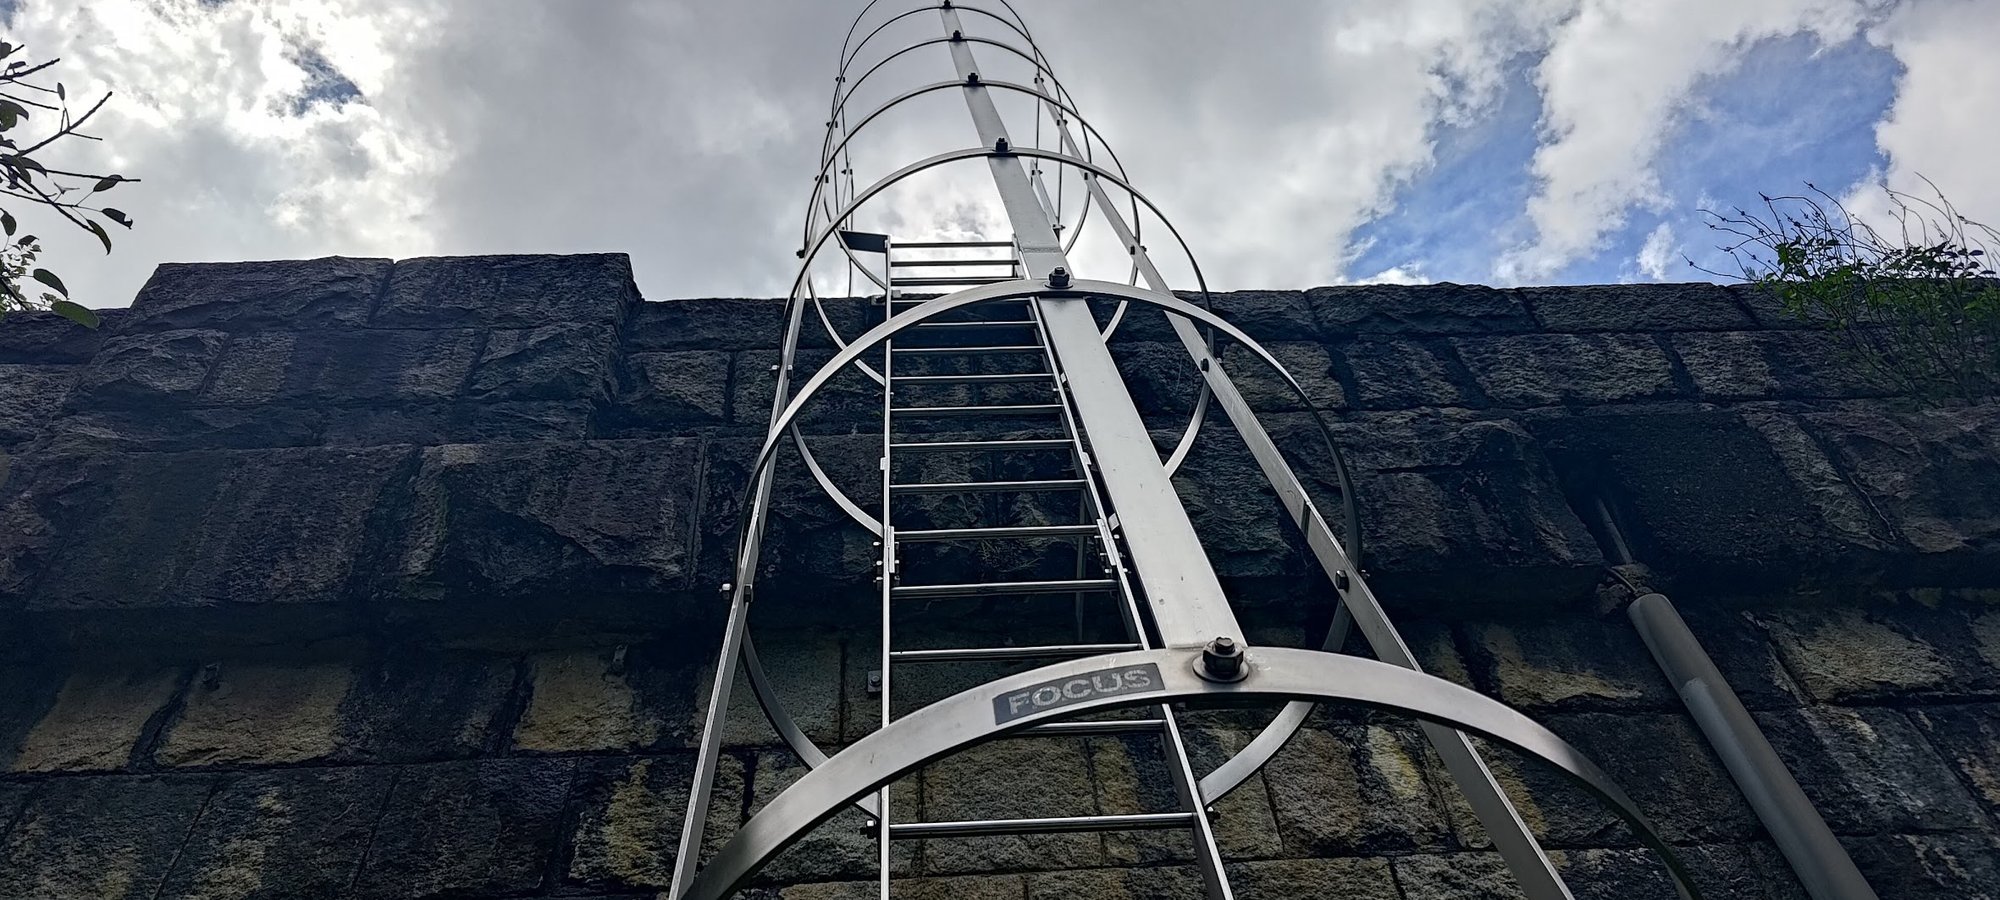
In front of you will be a ladder with curved sections on the outside. Climb up the metal rungs and make your way through the overgrown foliage to find yourself at the base of the Upper Shing Mun Main Dam.
Decision Time
The stairs on your left will take you back round the reservoir and will eventually deposit you right back where you started (at the start of the Lower Shing Mun Main Dam). You’ll complete a loop and can head back down the same way you came up.
If you wish to reach Upper Shing Mun, then it’s time to take a deep breath, climb over the little gate that blocks off the stairs and begin climbing.
Lower Shing Mun Reservoir Loop Quick Hiking Summary
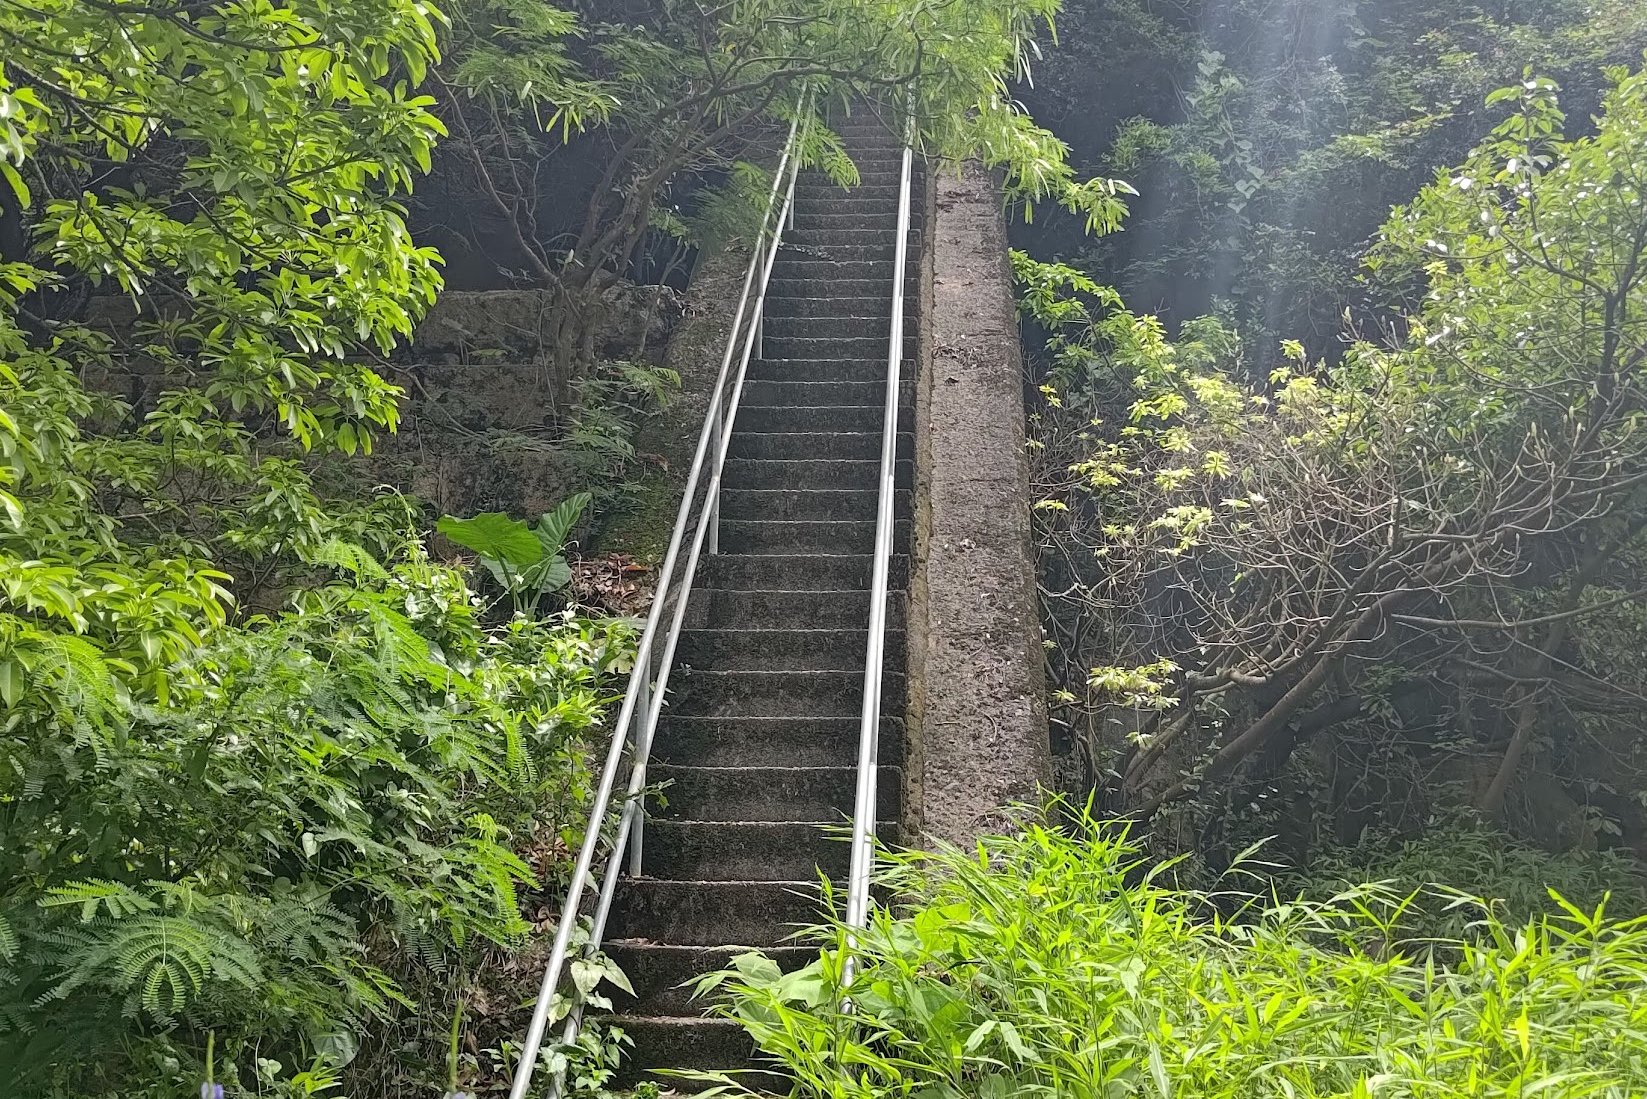
- Take the steep stairs up and follow the path
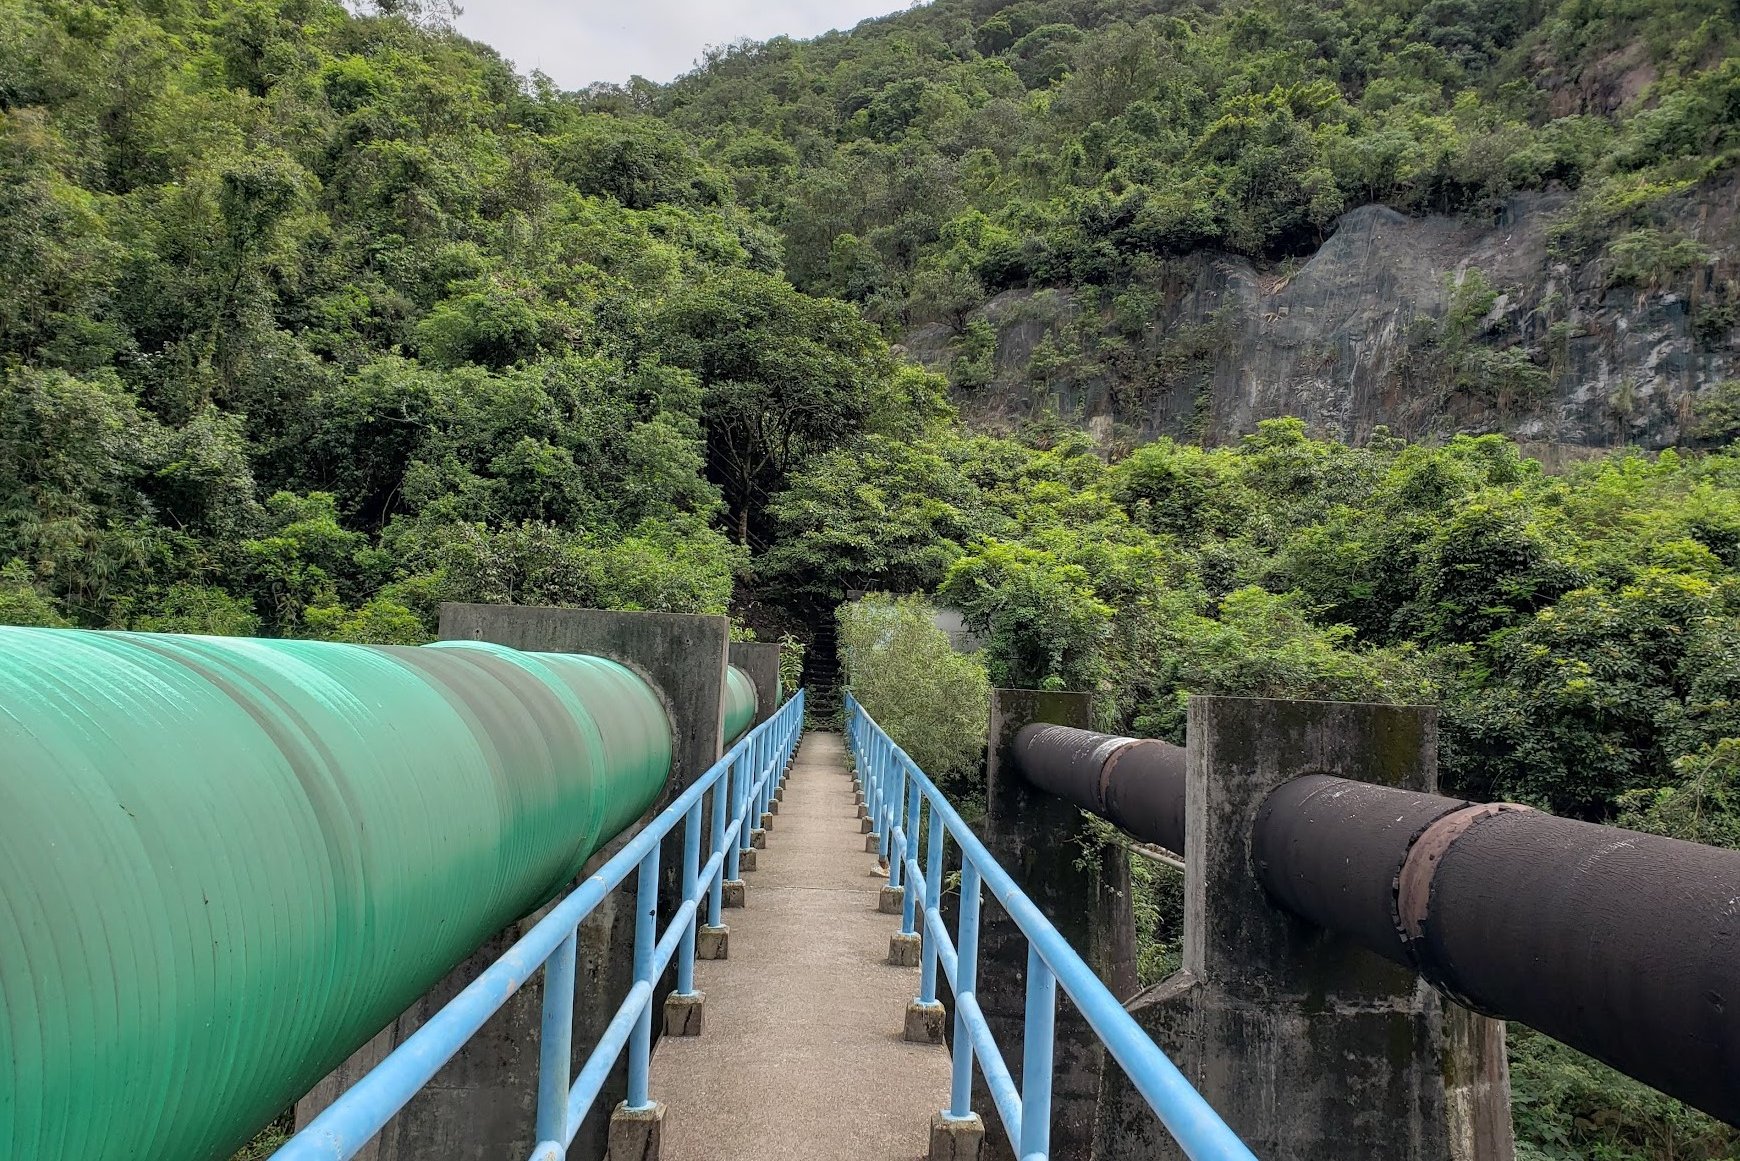
- Cross the bridge with the green and black pipe to either side
- Take the stairs on the other side of the bridge
- Follow the sometimes overgrown path
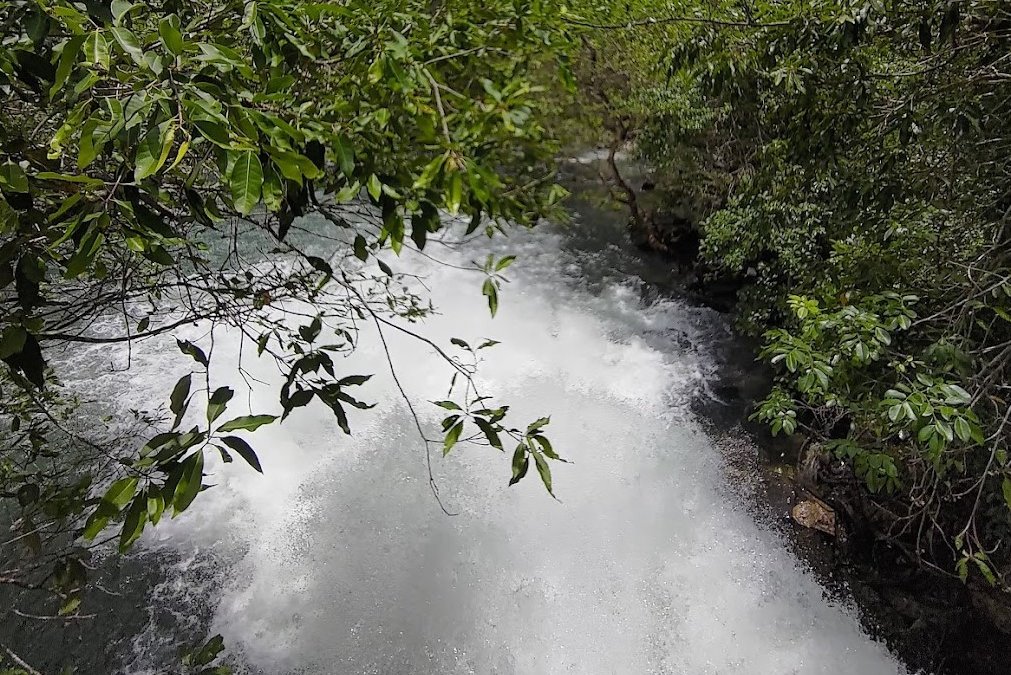
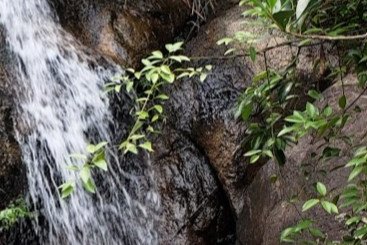
- Go past the waterfall (it sometimes isn’t there if the weather is very dry)
- Head back down to the road and connect to the start of the Lower Shing Mun Main Dam
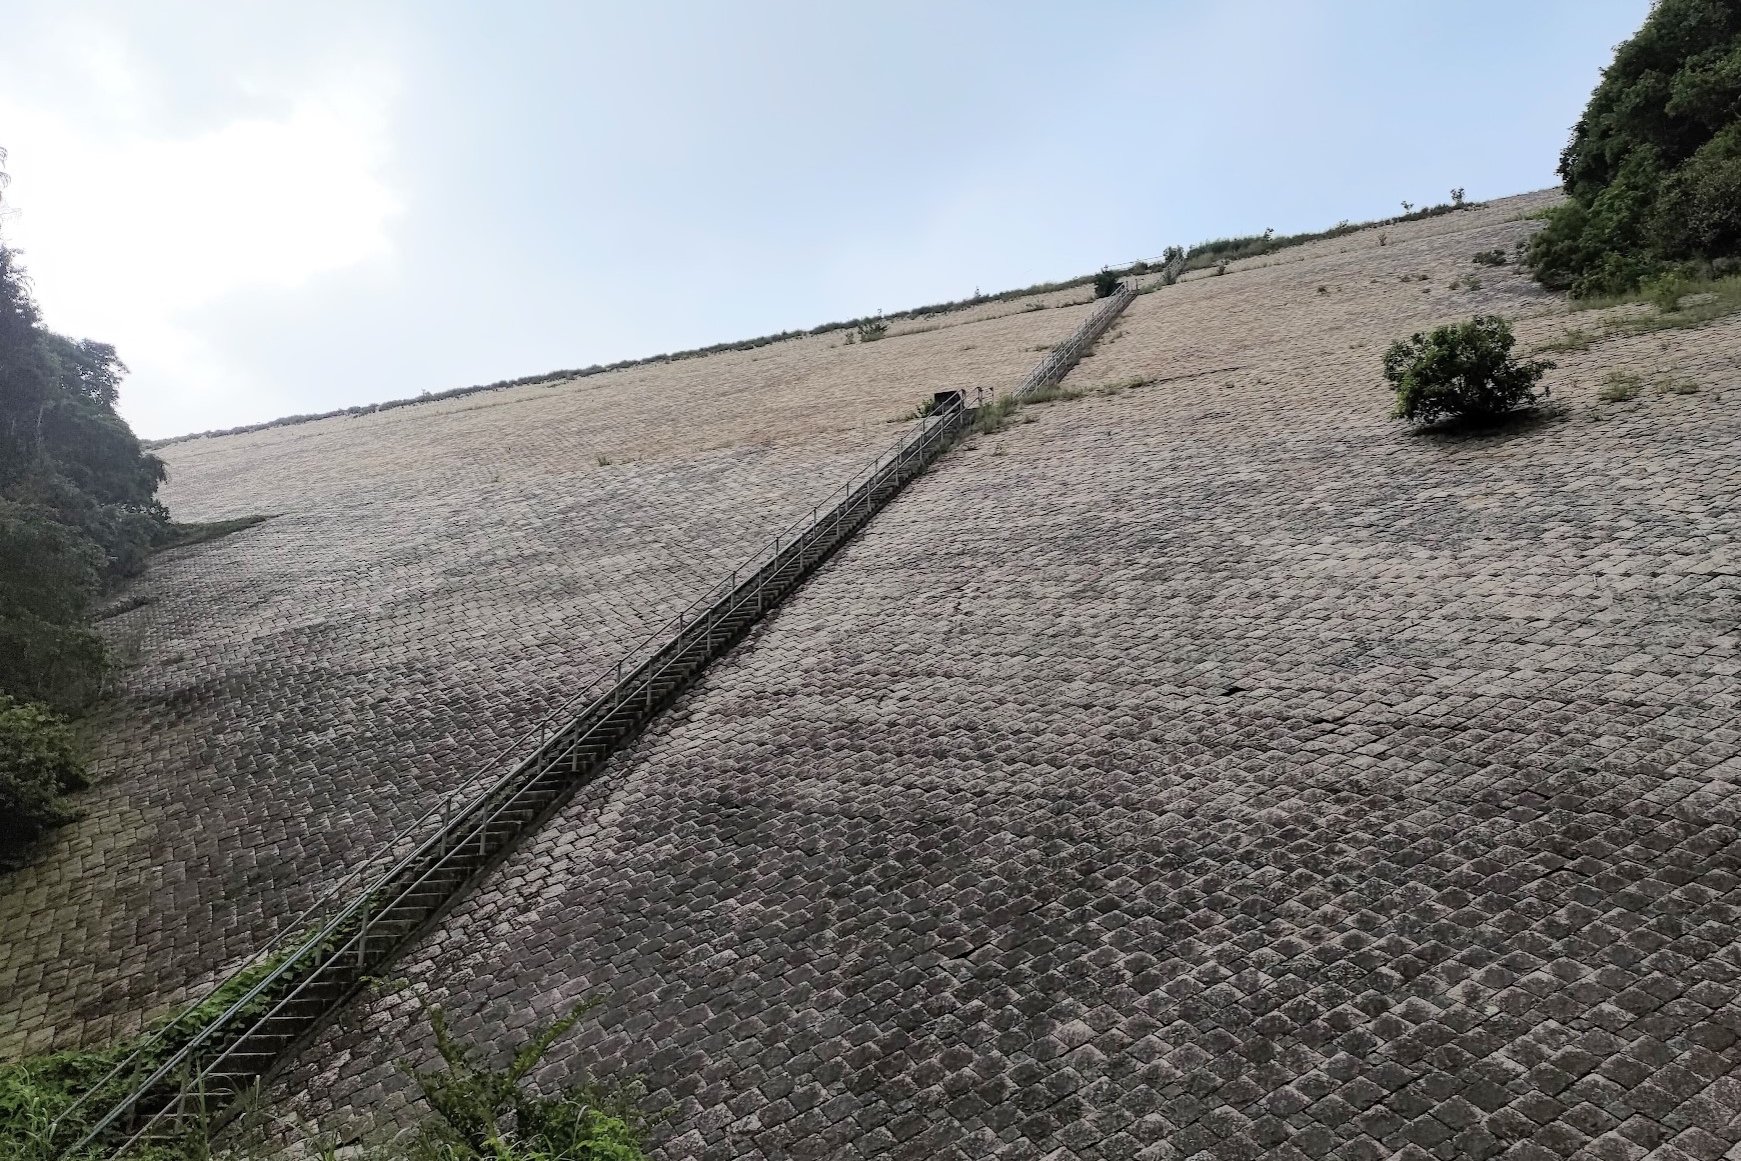
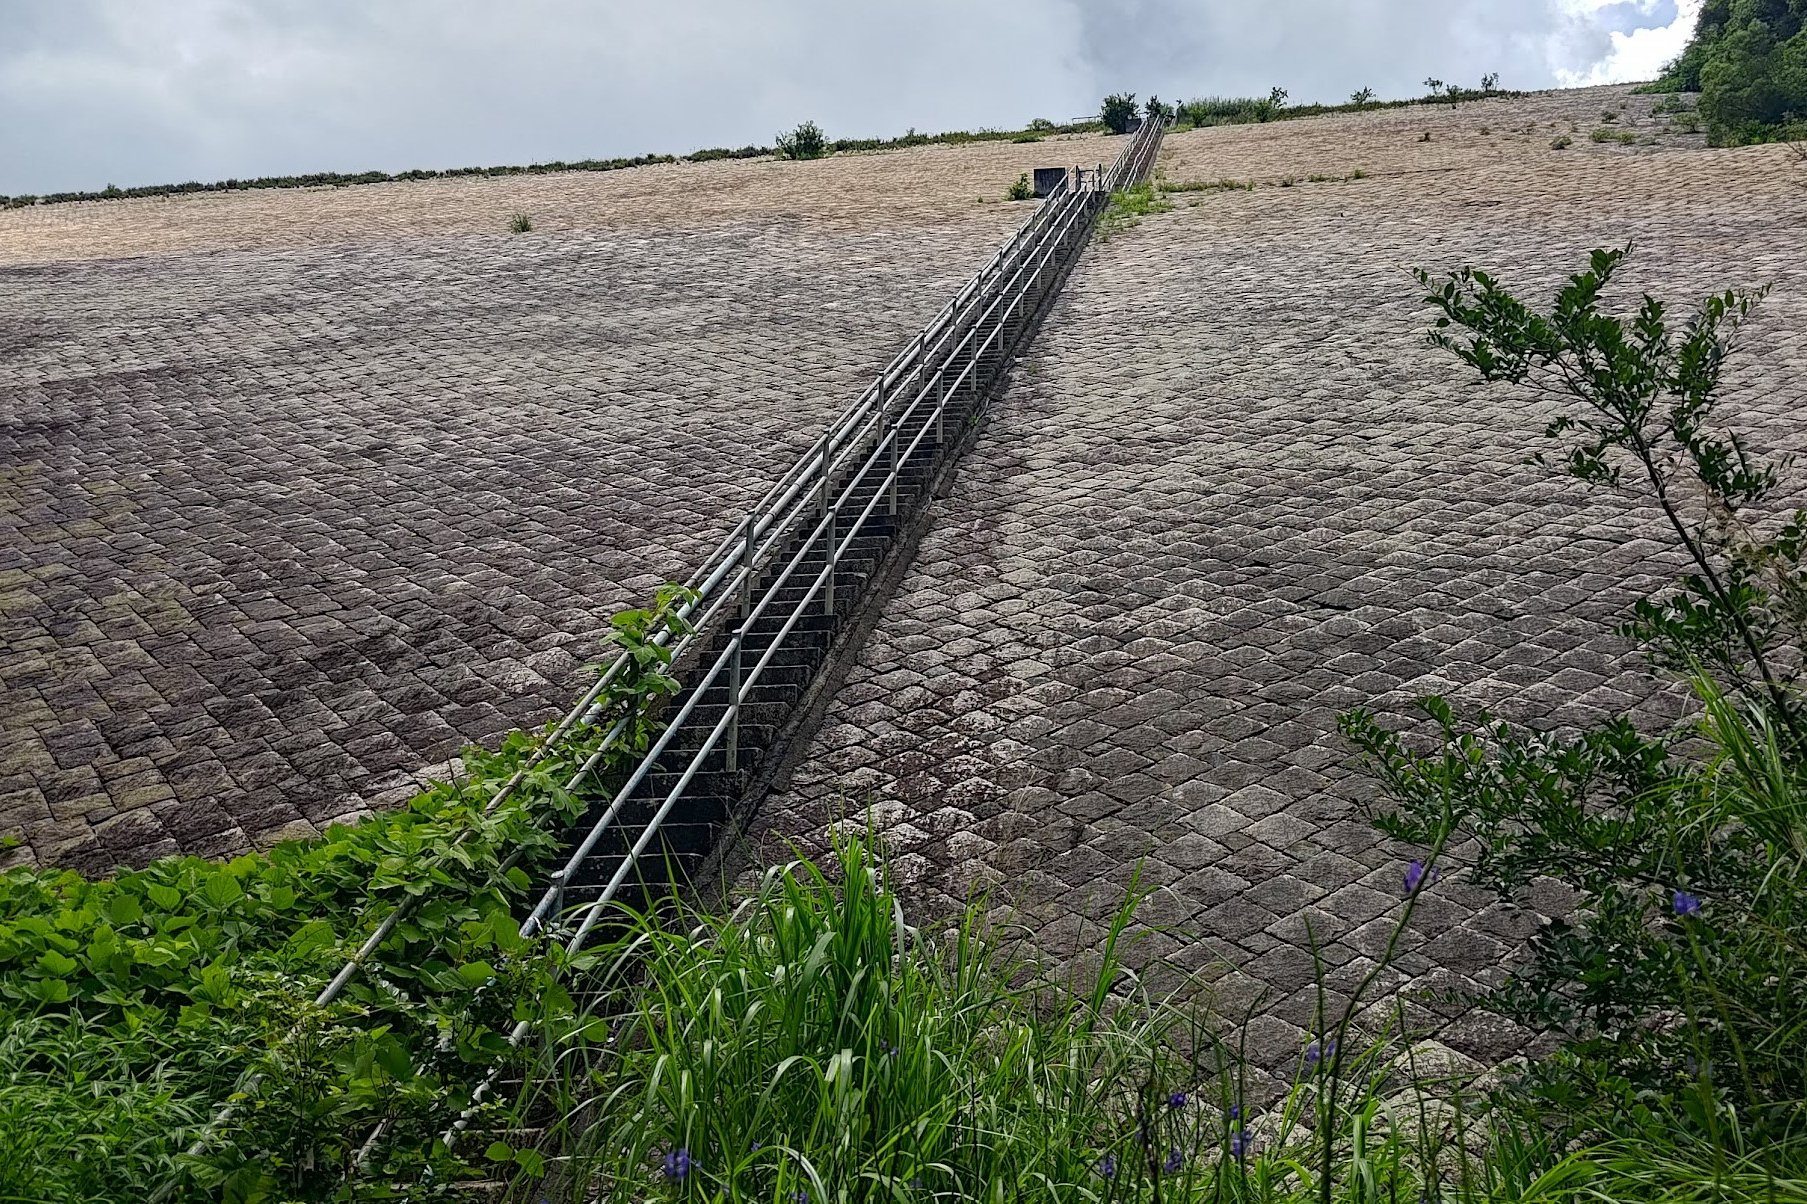
Dam! That’s a Steep Climb!
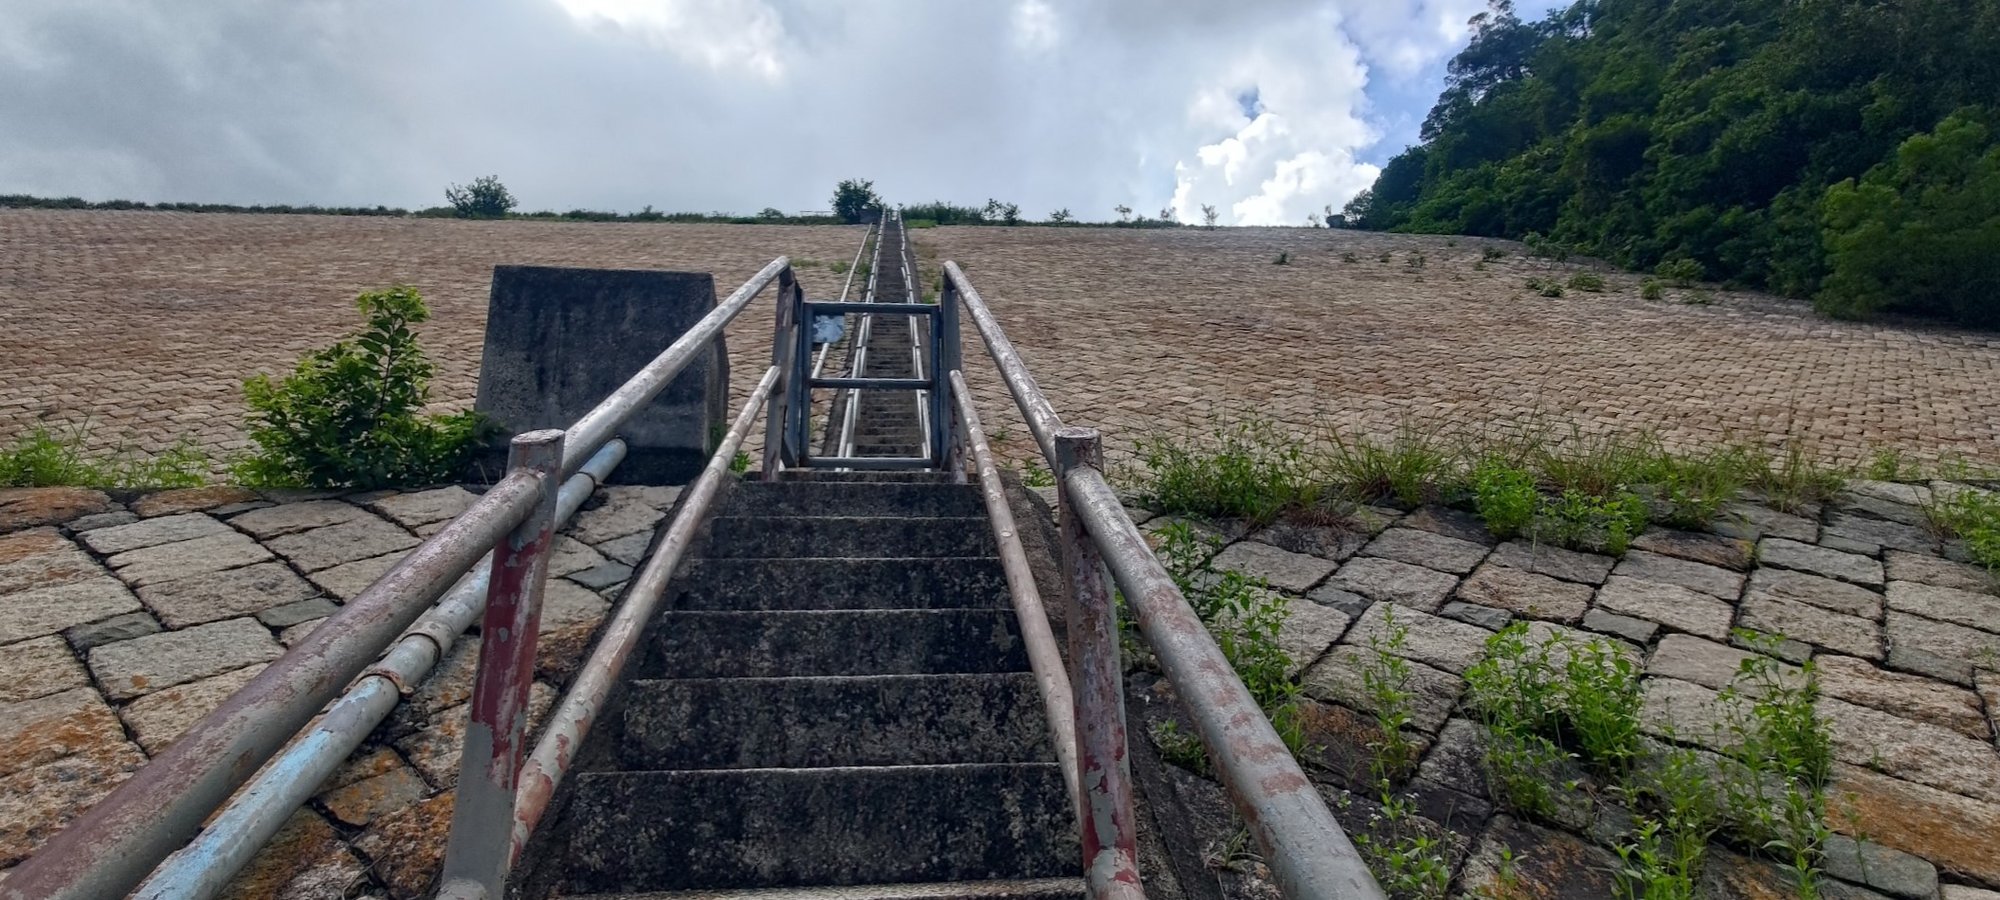
There are three (maybe 4, I have bad memory) really steep flights of stairs that will lead you to the top of the dam. Take your time and hydrate – especially if it’s a hot day. The dam is totally unshaded, so you’ll likely roast a bit in the summer.
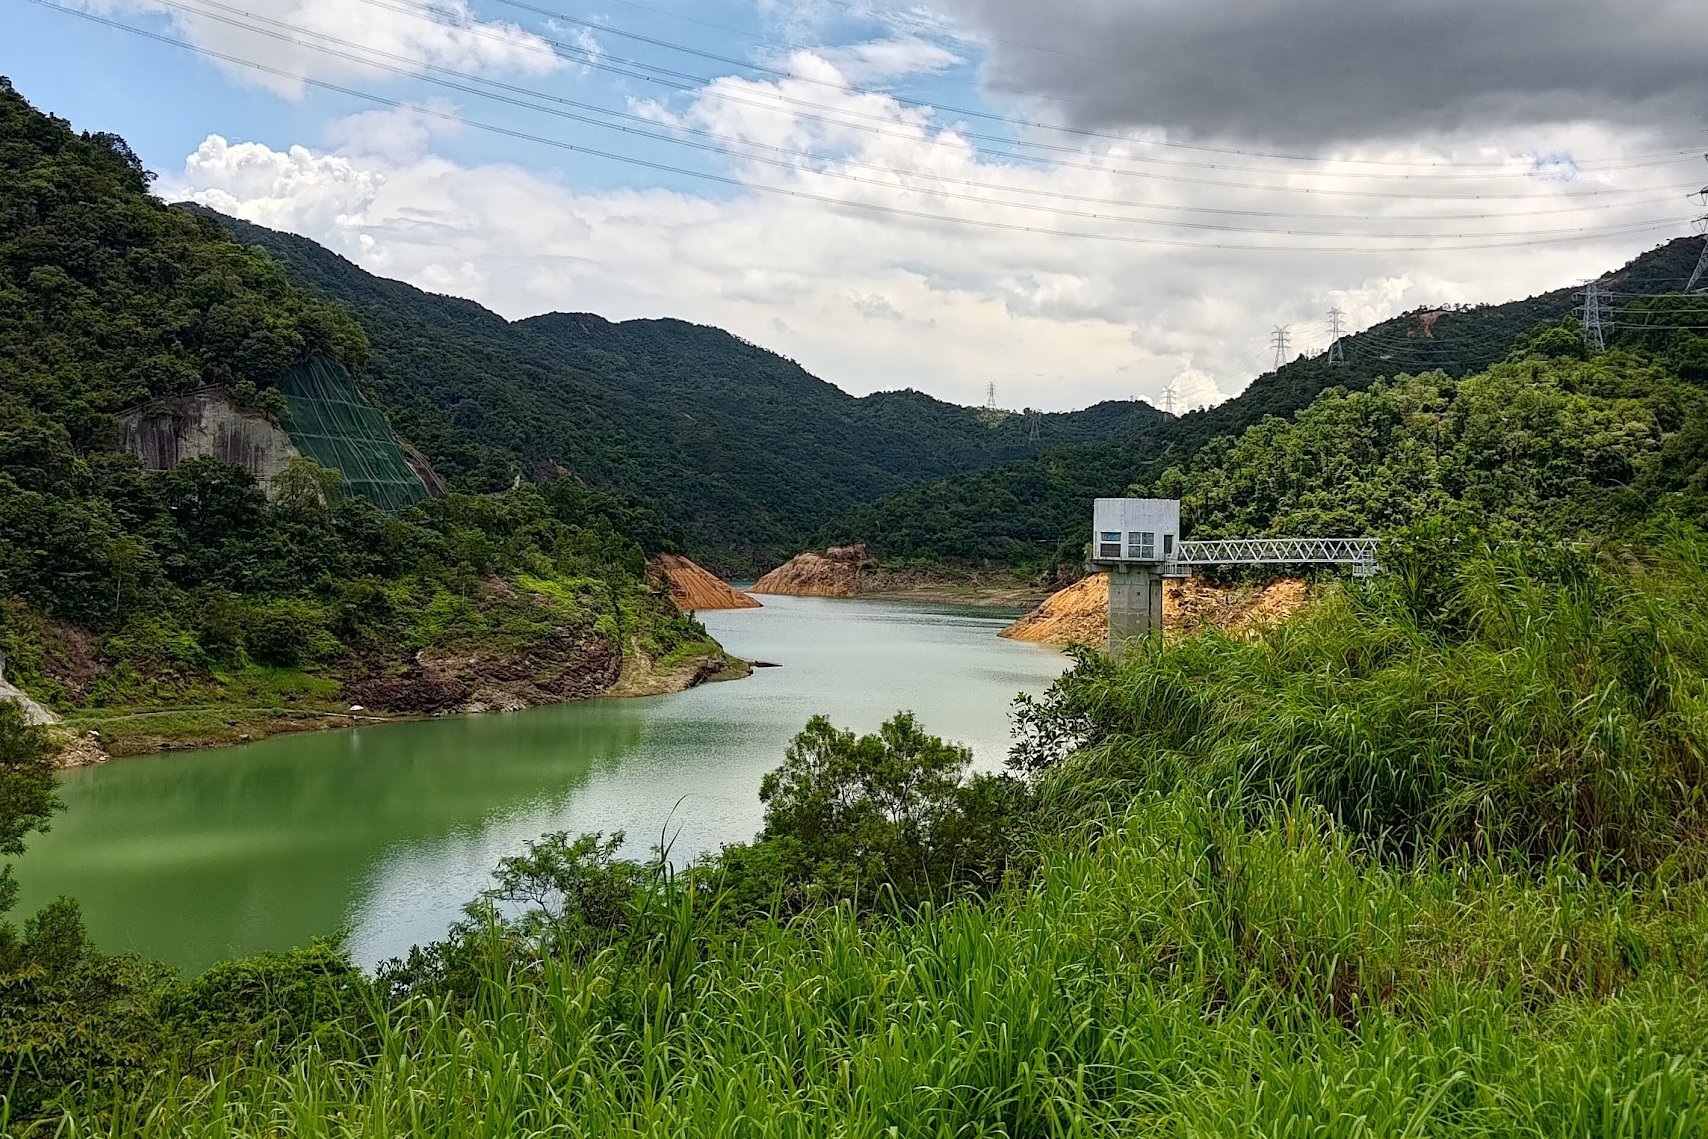
Upper Shing Mun Reservoir
Savor your victory over the great dam! Upper Shing Mun Reservoir is truly gorgeous and the waters often have terrapins, schools of fish and birds in it.
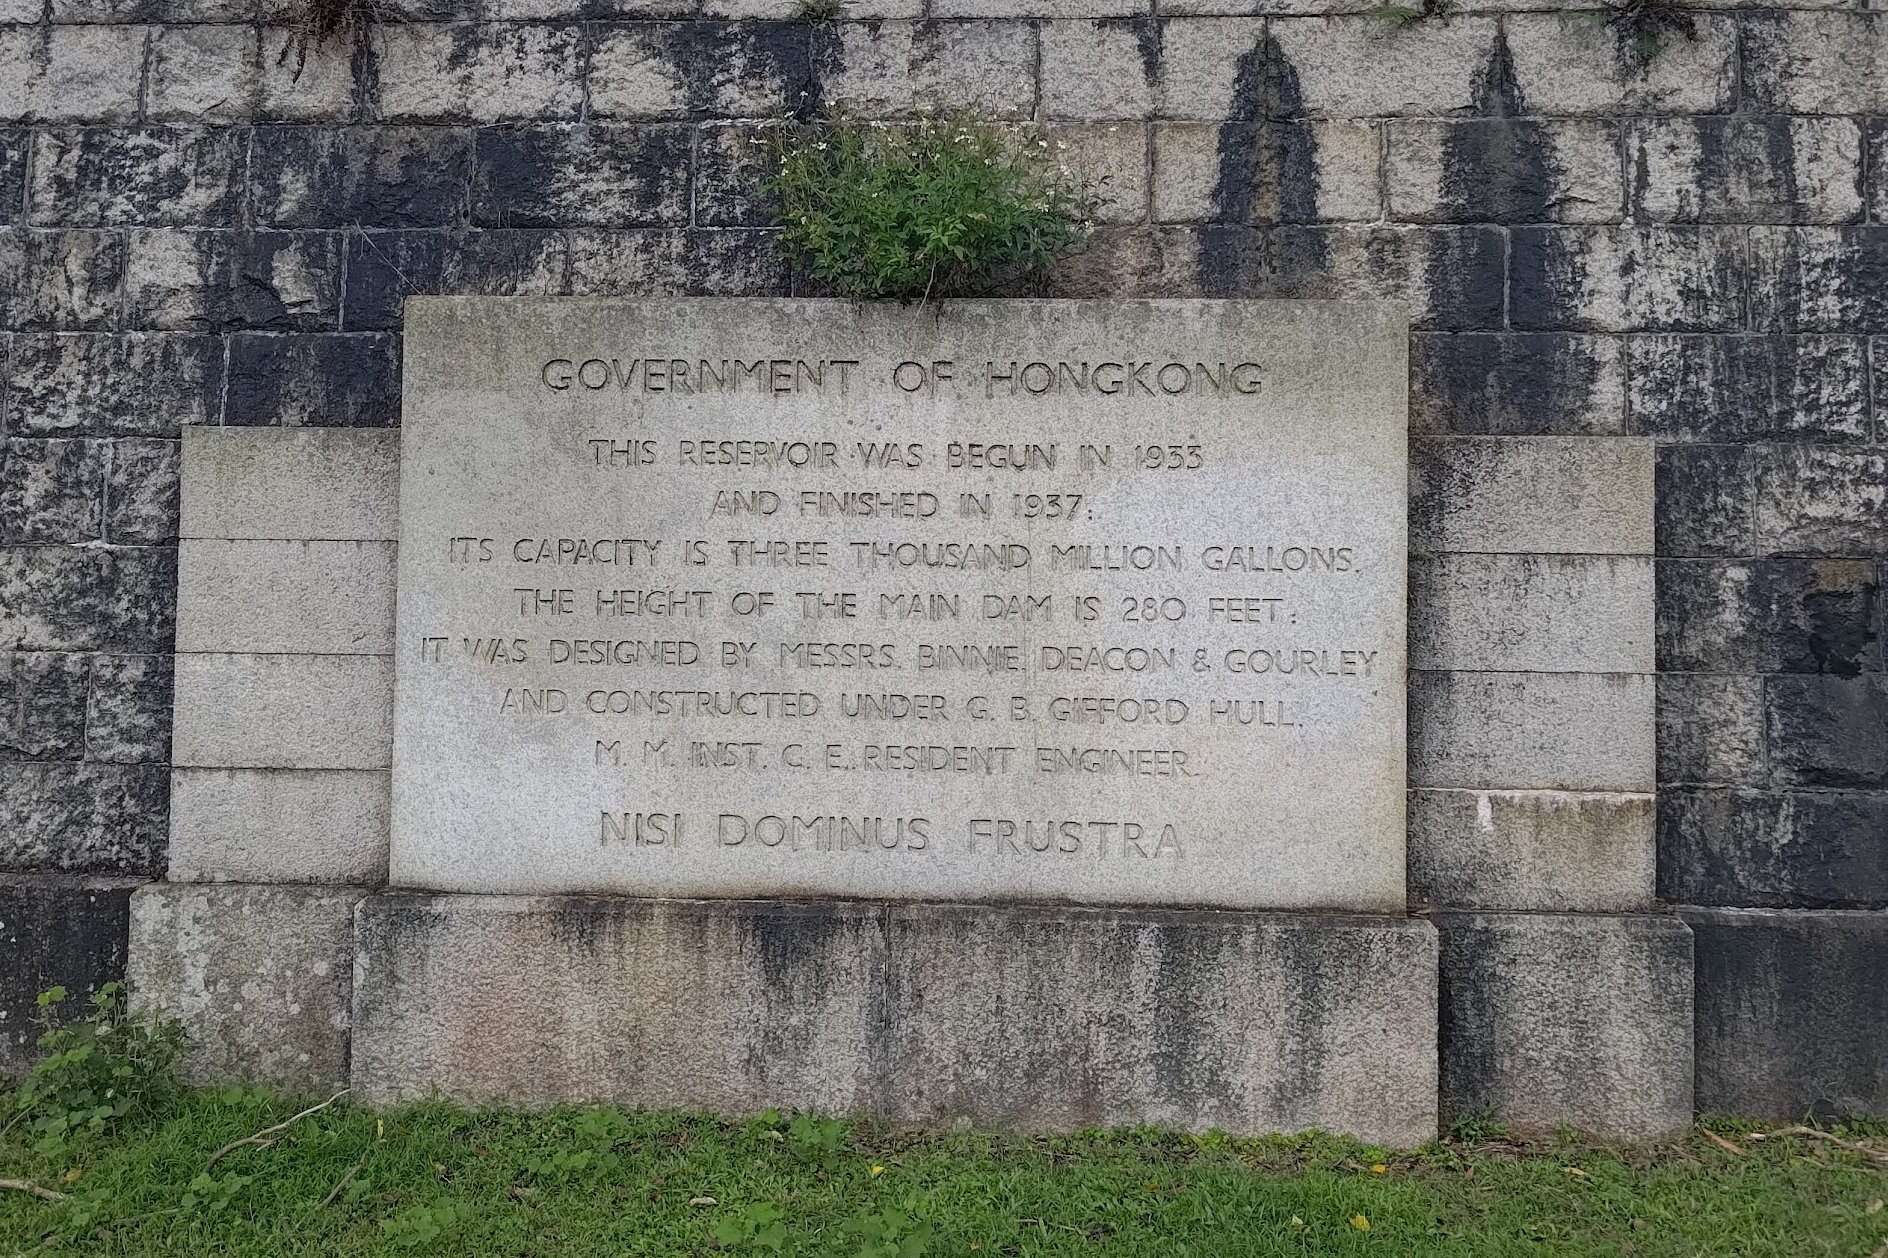
When you’re done admiring the scenery, take a left and walk to the end of the dam. Don’t miss the historic memorial stone and the sign explaining the dam’s history and function.
A Gentle Walk Around Upper Shing Mun Reservoir
This part of the hike is essentially a 30-minute walk around the perimeter of the Upper Shing Mun Reservoir and then following a road beyond that.
The road leads to a green minibus stop where you can take the bus to Tsuen Wan MTR station.
You’ll know you’re close to the bus stop when you start seeing the monkeys!
The Way Back
Take green minibus number 82 to Tsuen Wan MTR station, which is the last stop. The minibus has an odd schedule (which you can find here). Though it claims the bus arrives every 8-15 minutes, I waited around 40 minutes for the bus to arrive on a weekday. Weekends should be much better.