
Tsing Yi Nature Trails Hike: Best Views of the Tsing Ma Bridge
Contents
- Essential Information
- Tsing Yi Nature Trails Highlights
- Google Route Map
- How to Get There
- Quick Route Summary
- Pavilion 1
- Pavilion 2
- Best Tsing Ma Bridge Views
- Pavilion 5
- Pavilion 3
- Pavilion 4
- The Way Back
Essential Tsing Yi Nature Trails Hike Details
- District: Tsing Yi (NT)
- Duration: 1-2 hours
- Distance: 3-5 km depending on how much you explore
- Highest Elevation: 218 meters
- Difficulty: 1/5
- Facilities: Vending machine with drinks near the North Entrance
Why Hike the Tsing Yi Nature Trails?
The Tsing Yi Nature Trails is a secluded little hike that has a clear, concrete path and is extremely gentle. It’s a wonderful launching point for first-time hikers or families as it combines the exotic beauty of Hong Kong’s green wilderness with stunning city views and some of the best vistas of the Tsing Ma Bridge!
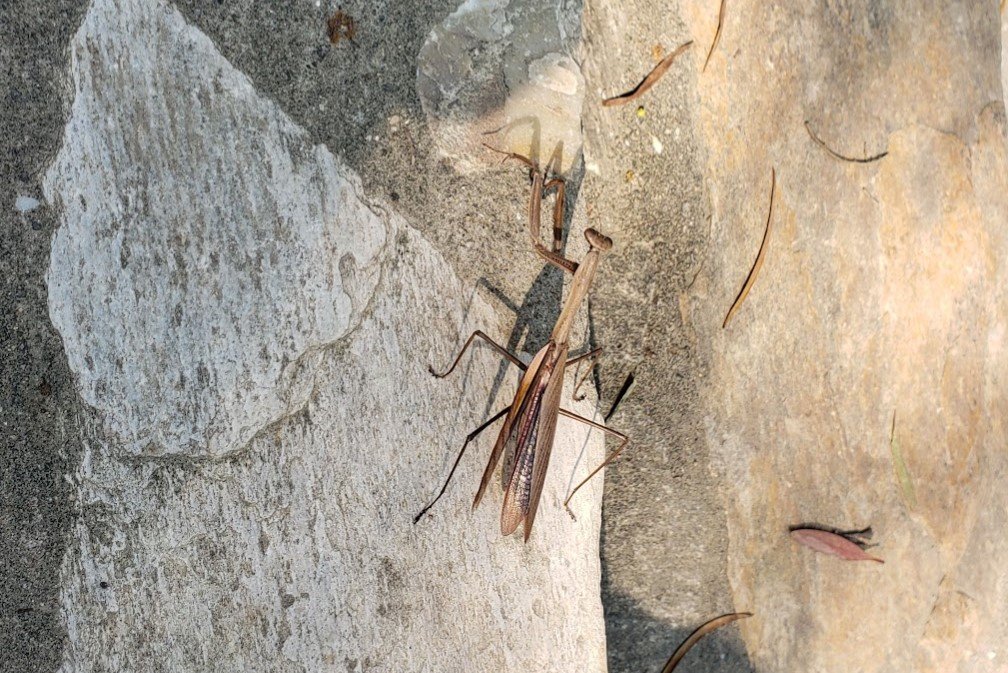
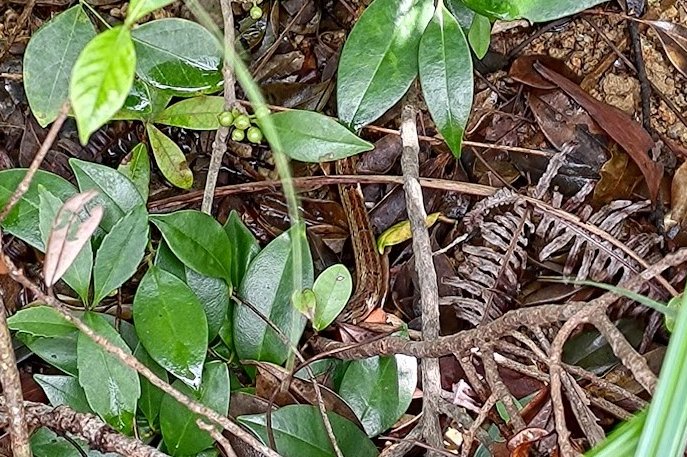
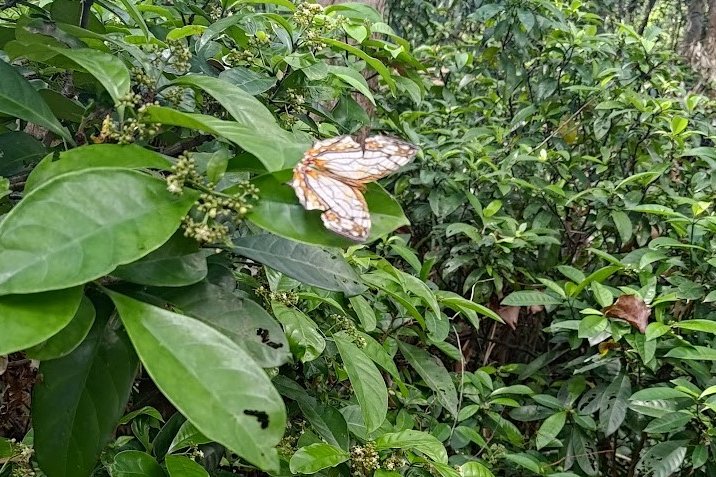
As its name suggests, Tsing Yi Nature Trails is a great place to encounter some of Hong Kong’s iconic flora and fauna. Colorful flowers, tall trees, dazzling butterflies, lizards, a variety of bird species, snakes and even big spiders all call this place home. If you’re phobic of insects, this may not be the hike for you - at least not in the summer when the spiders are out in full force!
That being said, most of the hike is shaded, making it a great candidate for a relaxed summer jaunt, especially since you’ll be done in an hour or two - even if you take it slow. There is no set path, so you can tackle this hike whether you opt to start from the North or South entrance.
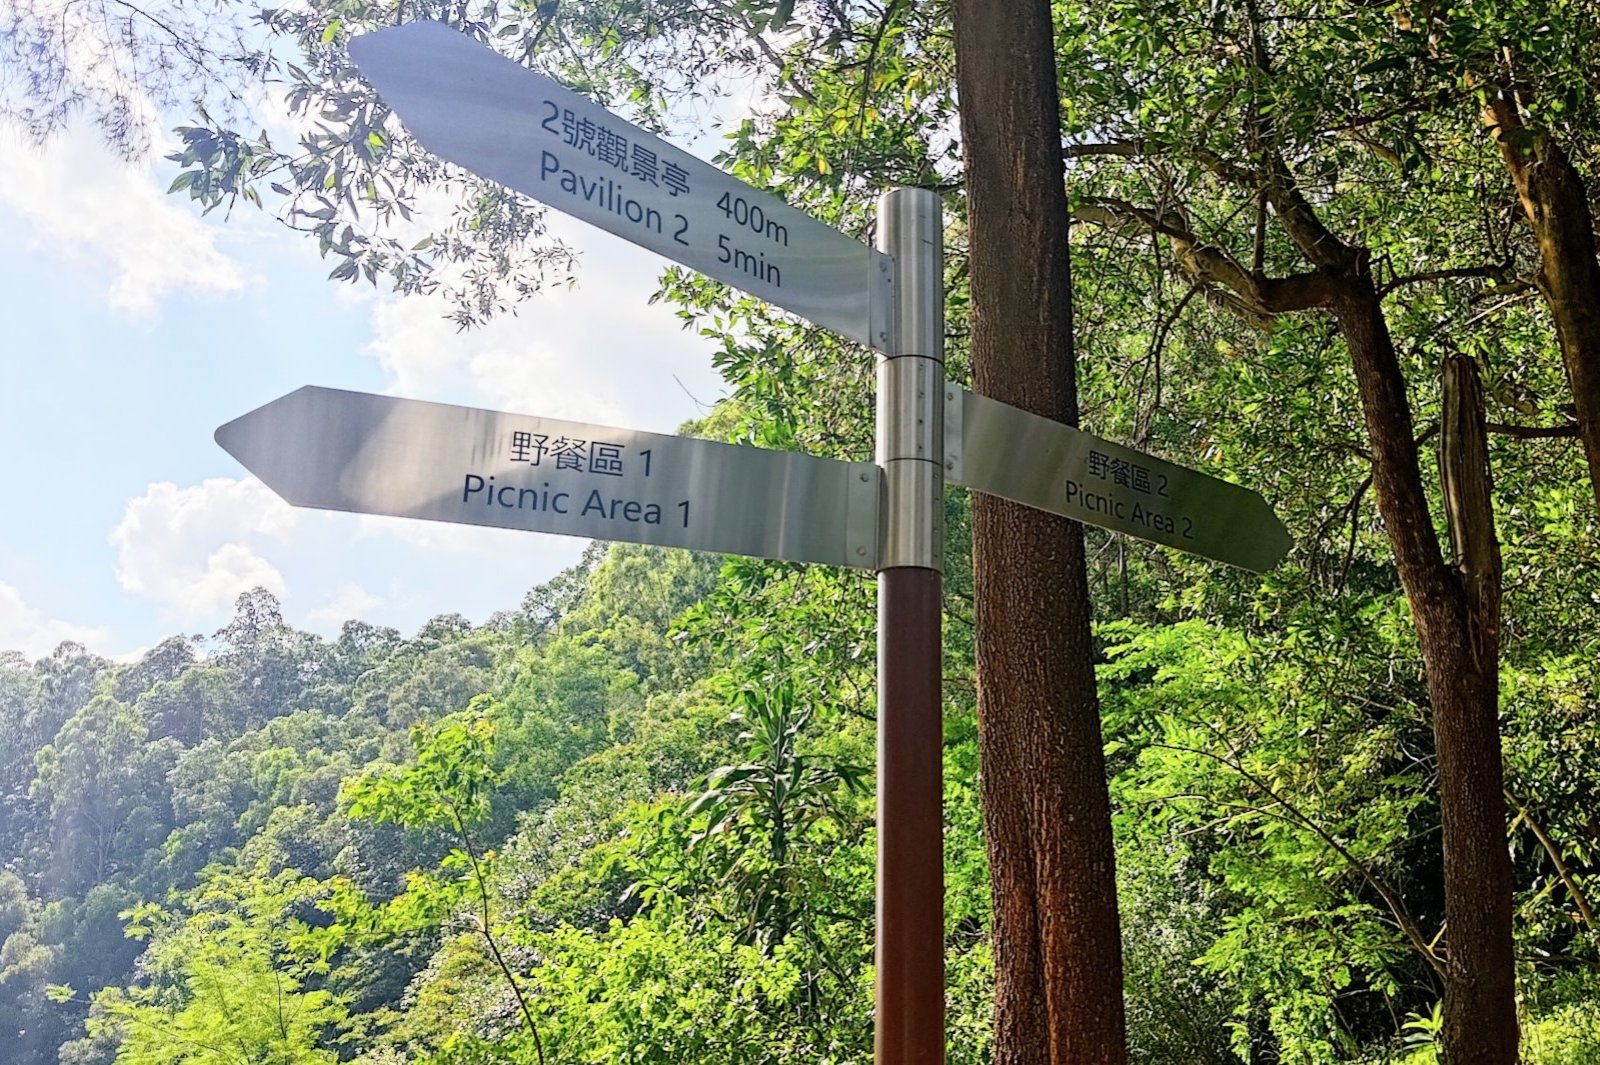
The only really annoying thing about this hike is that the signs don’t make sense and it’s easy for them to lead you astray…unless you’ve got the basic summary below that will outline the most efficient way to reach all 5 pavilions on the trail and the two best Tsing Ma Bridge viewpoints.
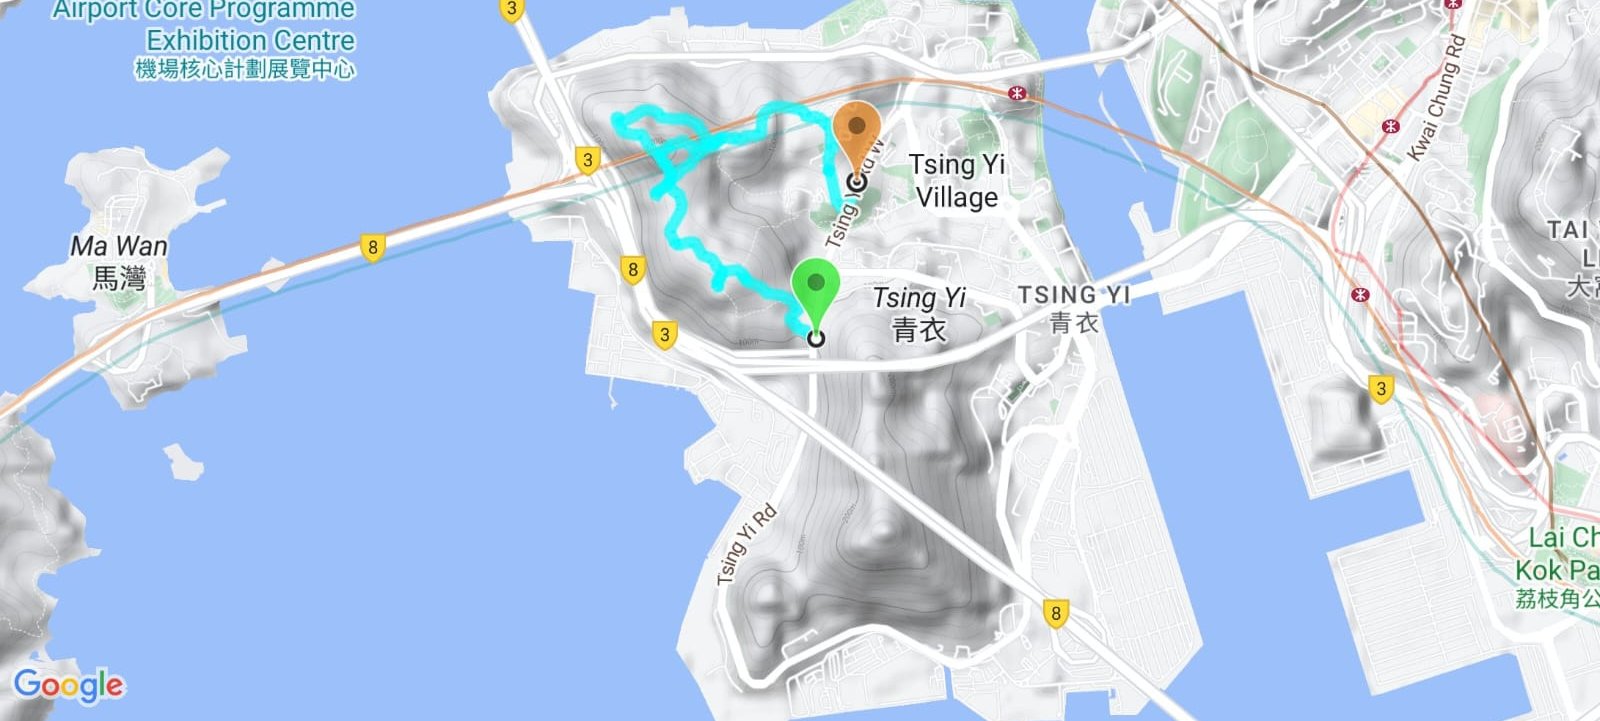
Google Route Map
How to Get to the Tsing Yi Nature Trails Hike
There are two entrances to the Tsing Yi Nature Trails – North and South. I started at the South Entrance, but you can begin at the North Entrance if you prefer.
North Entrance
Buses will drop you off at either Cheung Wang Estate (closer to the start) or Cheung Hang Estate (5-10 mins from start). No matter which stop you alight at, follow Liu To Road up to the Tsing Yi Nature Trails North Entrance.
By Bus:
From HK Island: 948
From Kowloon: E21
From NT: 249X, 68E, 279X, E42, E31, E32
From Lantau: E42, E31, E32, E21
By MTR:
Take the MTR to Tsing Yi station and grab the 248M bus from Exit A1. Get off at Cheung Wang Estate (last stop)
By Taxi:
Show the taxi driver this: 長宏邨. You’ll arrive directly at Cheung Wang Estate and it’s a 2-minute walk from there.
South Entrance
For all transport, you’ll want to get off at around Tsing Wah Court, cross the nearby flyover (unless you’re coming in from Lantau) and follow Tsing Yi Road West to the start point.
By Bus:
From HK Island: 948 (Hong Shun House Stop. Walk 10 mins to the start)
From Kowloon: 42A, E21
From NT: 140M (minibus), 279X, 43A, E32, E42
From Lantau: E21, E32, E42
By MTR:
Take the MTR to Tsing Yi station and grab the 279X bus from near Exit A1. Get off at Tsing Wah Court and follow the above directions.
By Taxi:
Show the Taxi Driver this: 青華花園, 青衣西路. You’ll arrive at Tsing Wah Garden. From there, take the nearby walkway across Tsing Yi Road West and walk about 5 minutes further to the start point.
Quick Tsing Yi Nature Trails Route Summary (South Entrance)
- Just do this in reverse if you start from the North Entrance.
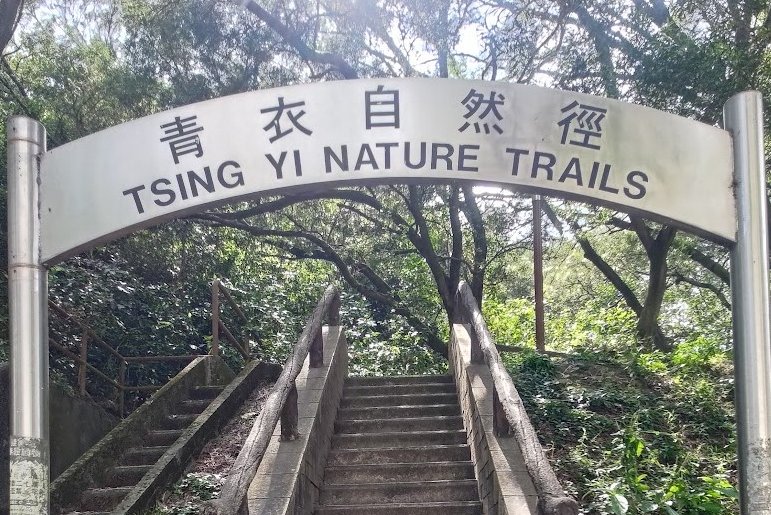
- Take the stairs up from the Tsing Yi Nature Trails arch on Tsing Yi Road West
- Follow the sign pointing to Pavilion 1
- Take the path behind the South Entrance and Pavilion 2. It leads to pavilion 1
- Go behind the pavilion 1 for great Tsing Ma Bridge views
- Retrace your steps and follow the sign you passed earlier toward Pavilion 2
- Head through pavilion 2 and follow the sign pointing to Pavilion 3
- About 2 minutes later at the next set of signs, follow another sign toward Pavilion 3
- At the intersection of 6 signs, follow the sign to picnic Area 1 for the best views of the Tsing Ma Bridge
- Retrace your steps to the 6-sign intersection and follow the picnic area 2 sign up the stairs. (take the pavilion 4 path if you want to exit faster
- After the big set of stairs, follow the Pavilion 4 sign for a minute and you’ll reach pavilion 5 (that’s not a typo)
- retrace your steps back and follow the Pavilion 3 sign
- Follow the Pavilion 4 sign just behind Pavilion 3
- After about 10-15 minutes of walking, follow the North Entrance sign
- You’ll pass pavilion 4 just after the North Entrance sign before reaching the end point of the hike
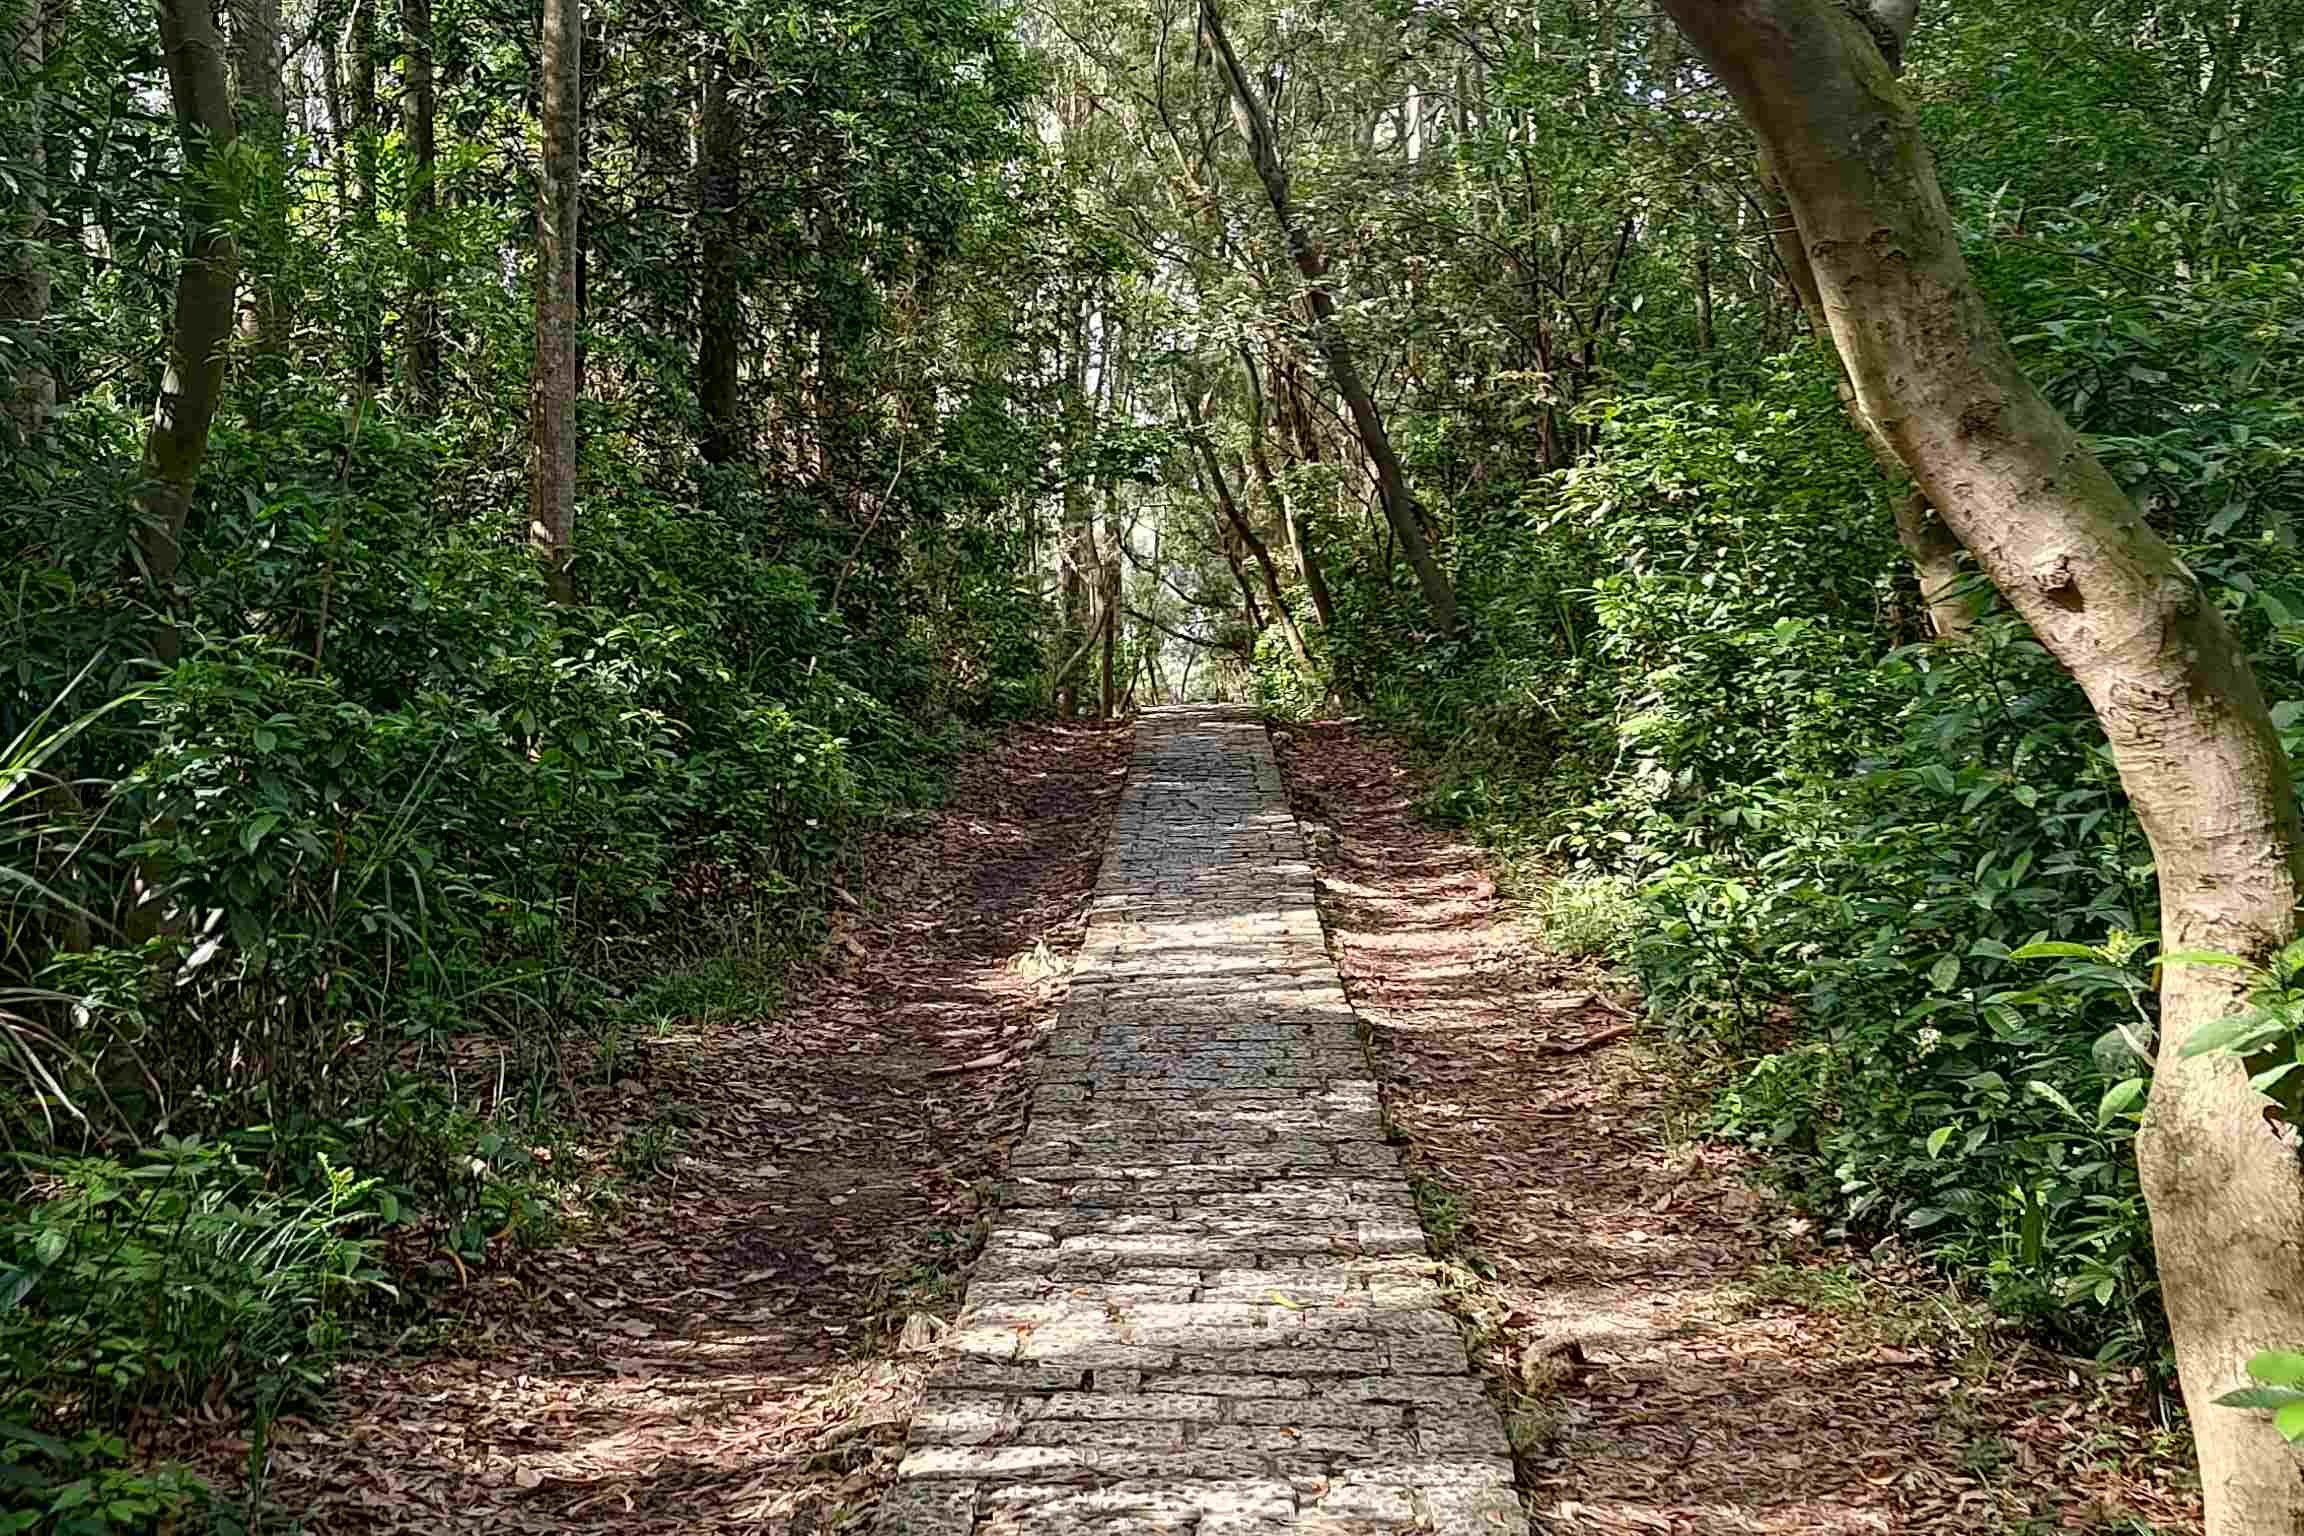
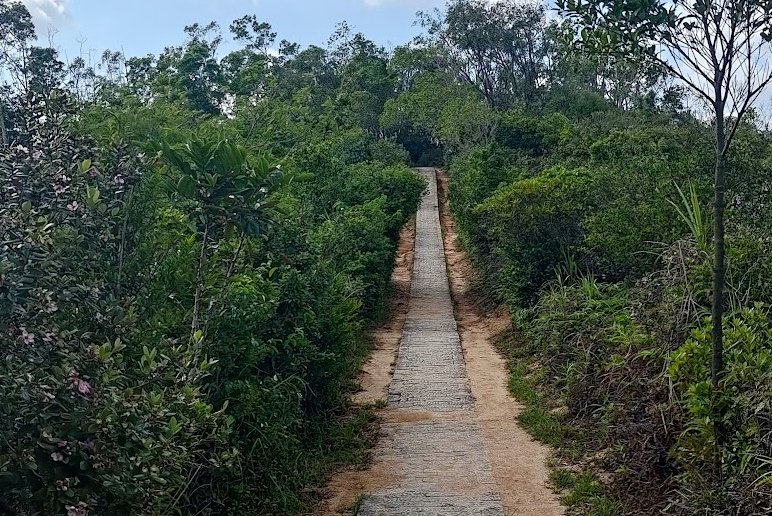
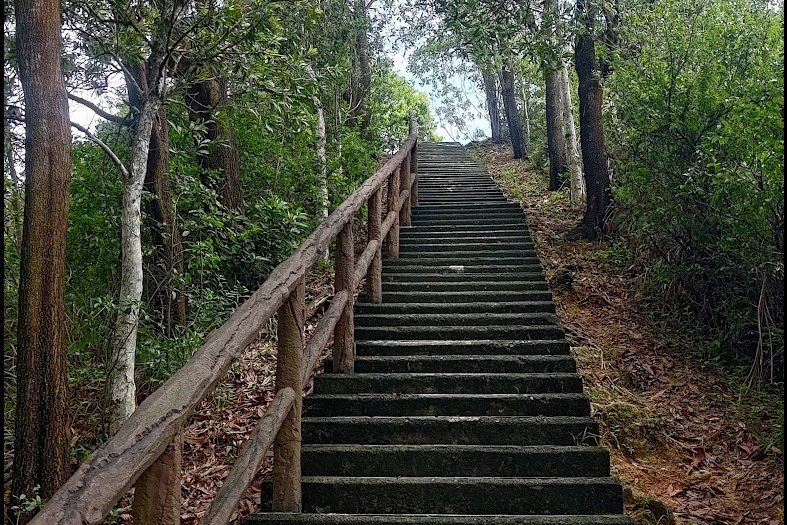
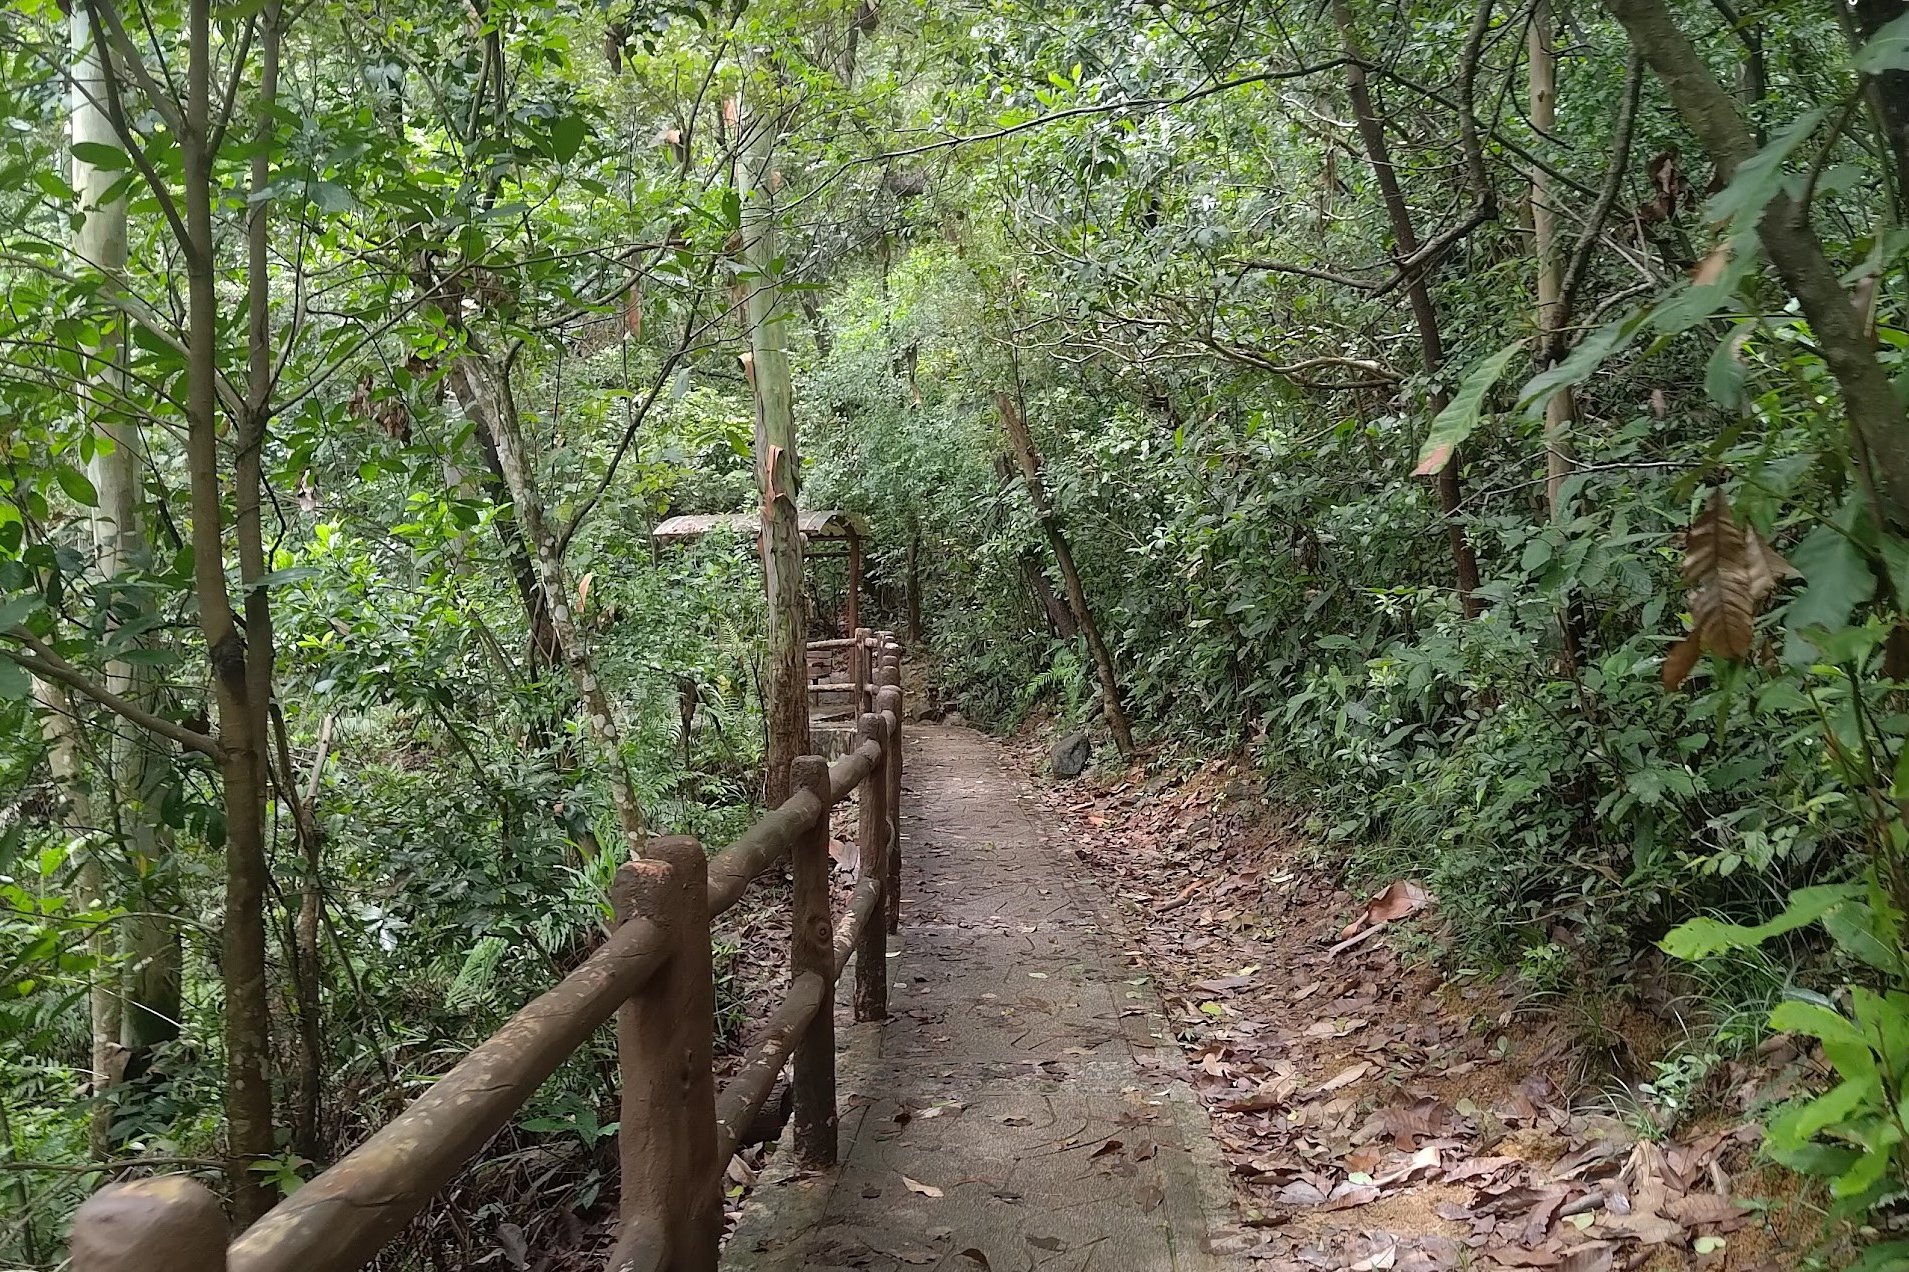
Stairs, Greenery and Scenery
You’ll start your hike meandering through a shaded path before coming upon the first set of stairs. Take them and begin climbing upward. This is one of the only genuine uphill sections of the hike, so if you find it tough, take breaks regularly and enjoy the views of Tsuen Wan to the right.
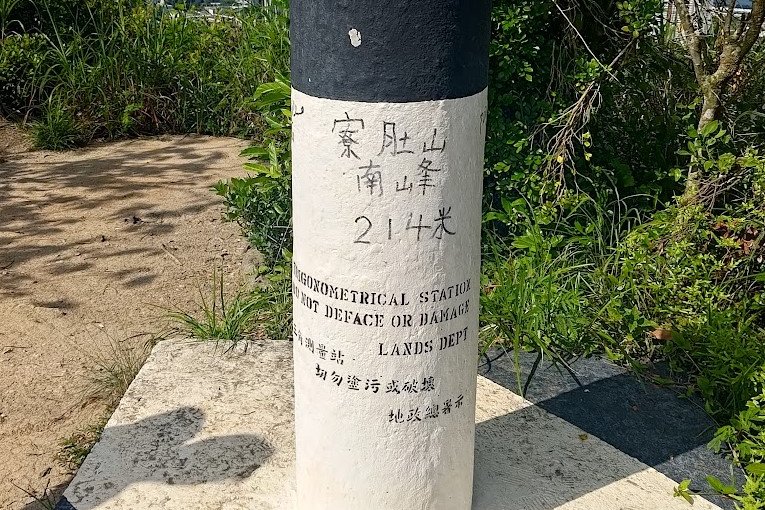
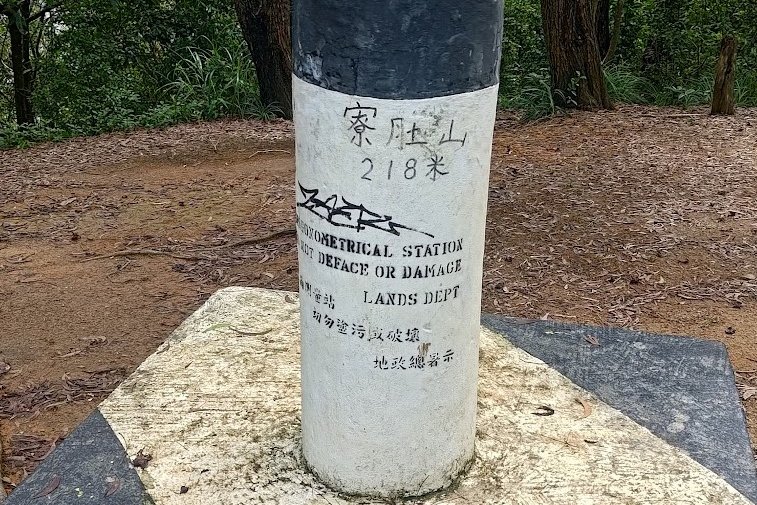
Eventually, the trail opens up and you’ll be treated to stellar views constantly. You’ll pass a trigonometrical station that lets you know you’re at an elevation of 214 meters.
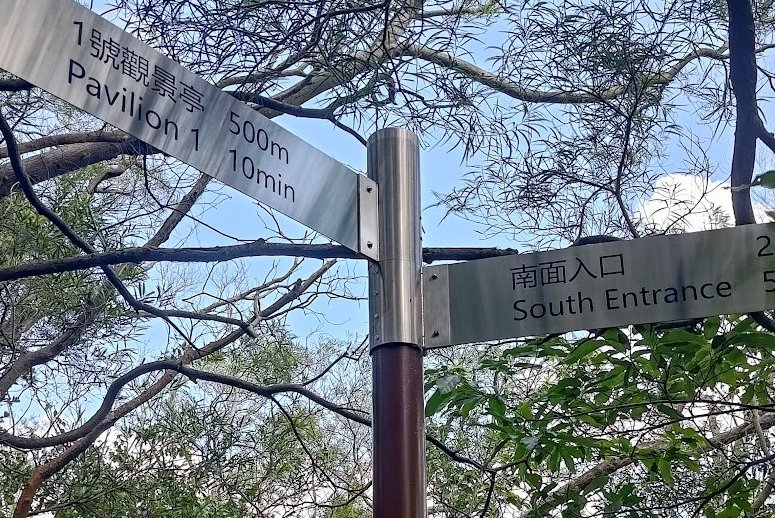
You’ll also see a sign pointing to Pavilion 1. Follow it.
Pavilion 1 – Panoramic Views of the Tsing Ma Bridge
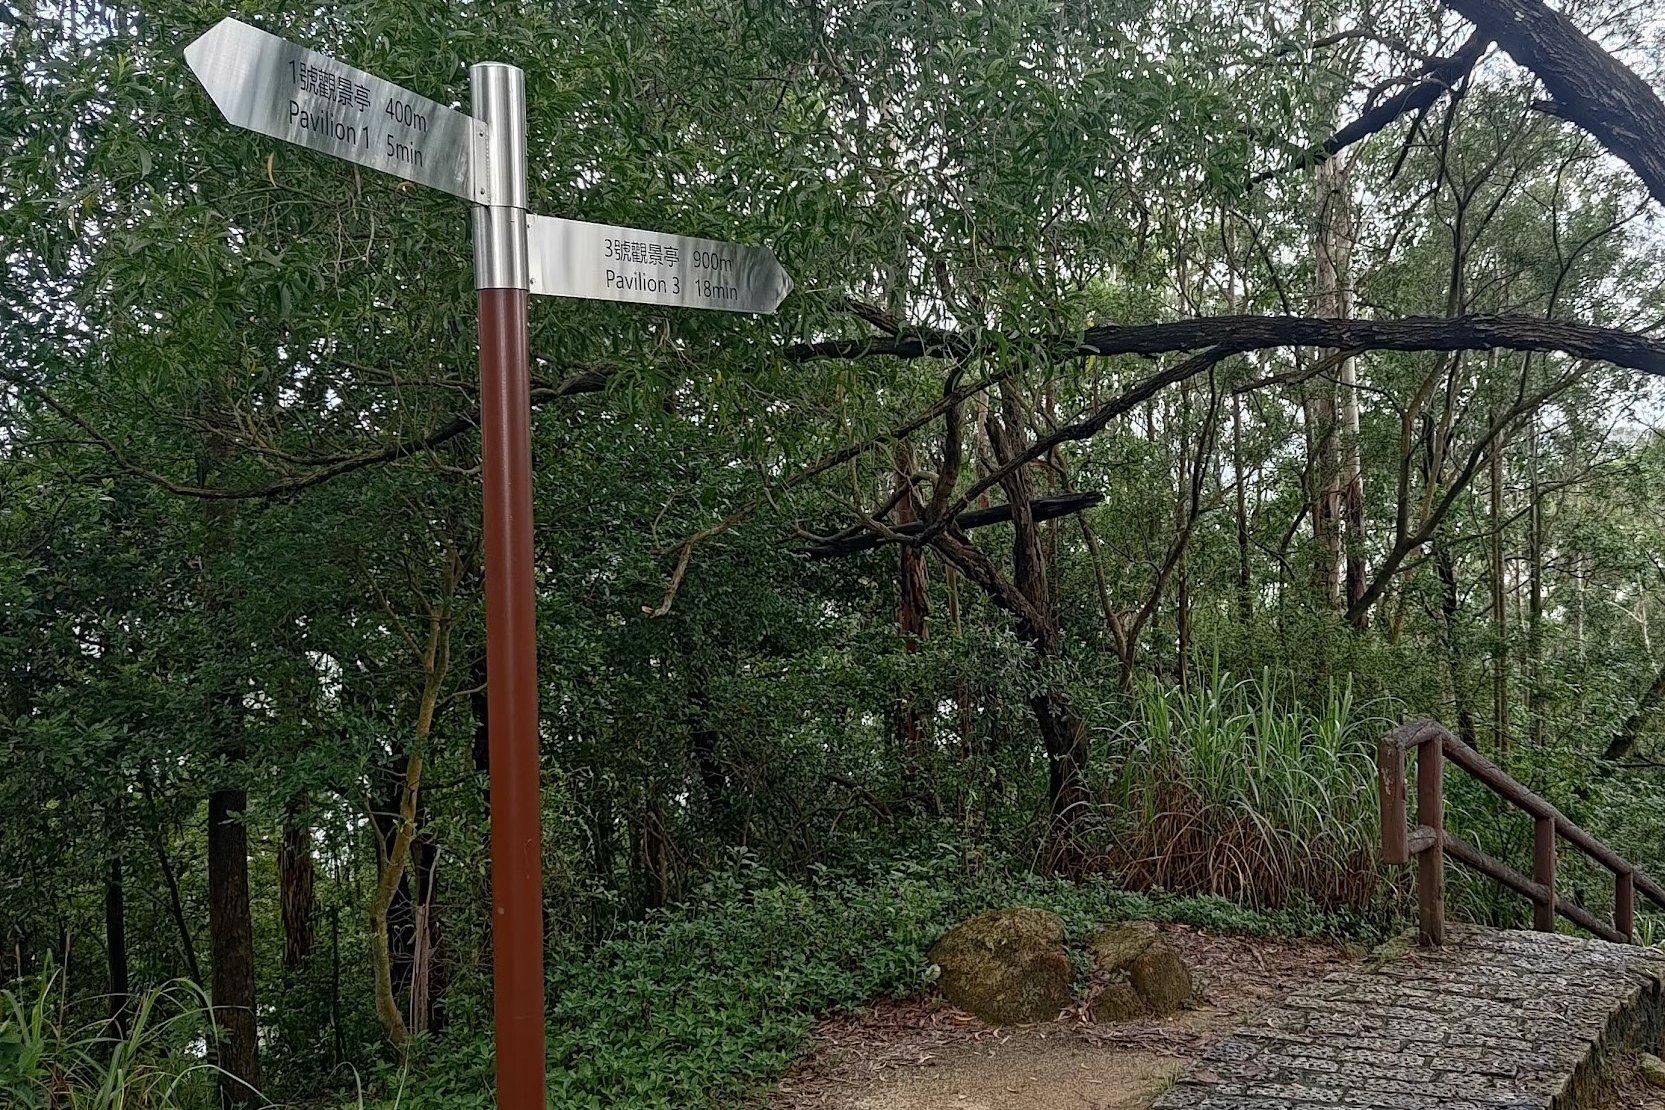
You’ll see a signpost with one sign pointing back to the South Entrance and one sign pointing to Pavilion 2 and a little concrete trail winding behind the sign. Take the concrete trail and in about a minute, you’ll arrive at Pavilion 1.
Look for the dirt trail to the right of the pavilion and follow it for two minutes until you catch a glimpse of shimmering blue ocean and the unmistakable Tsing Ma Bridge. You’ll also have amazing views of Lantau, Ma Wan Island and Tai Lam.
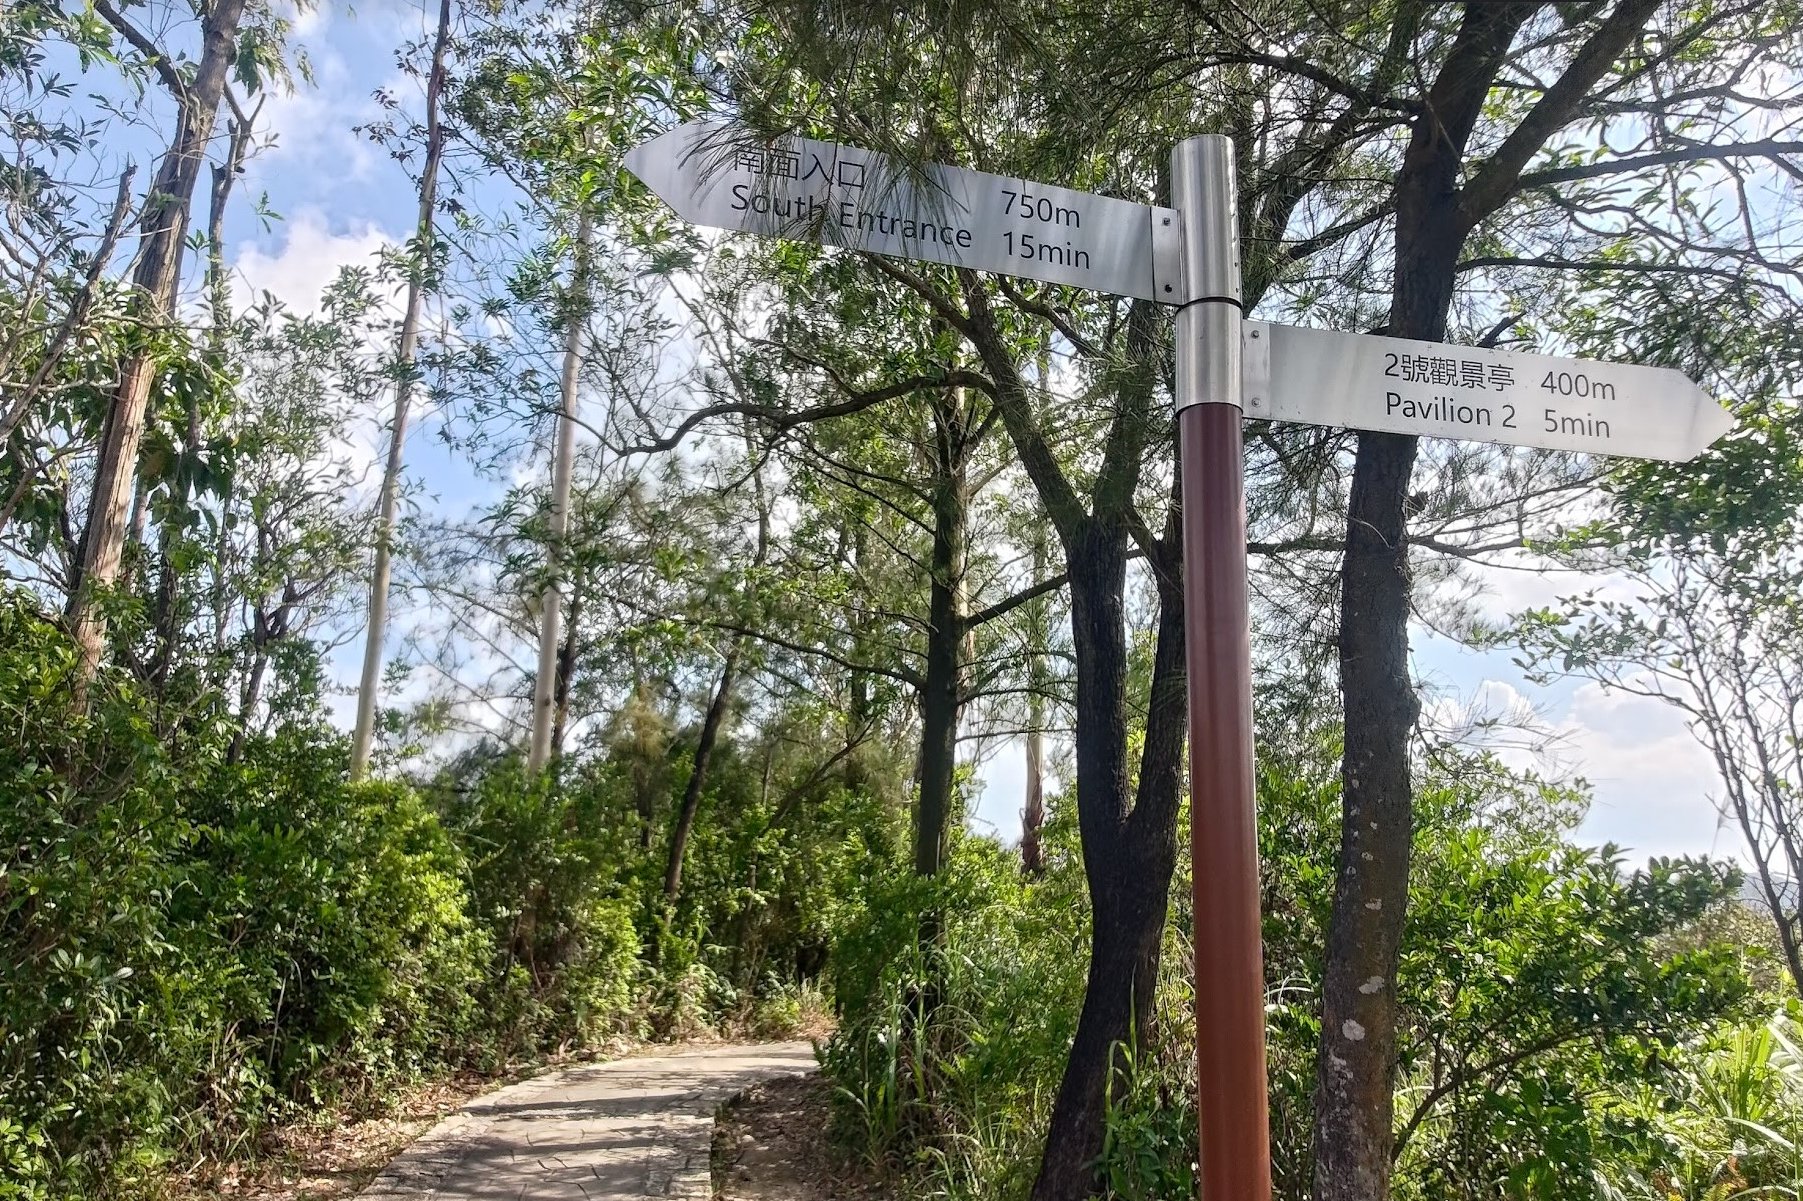
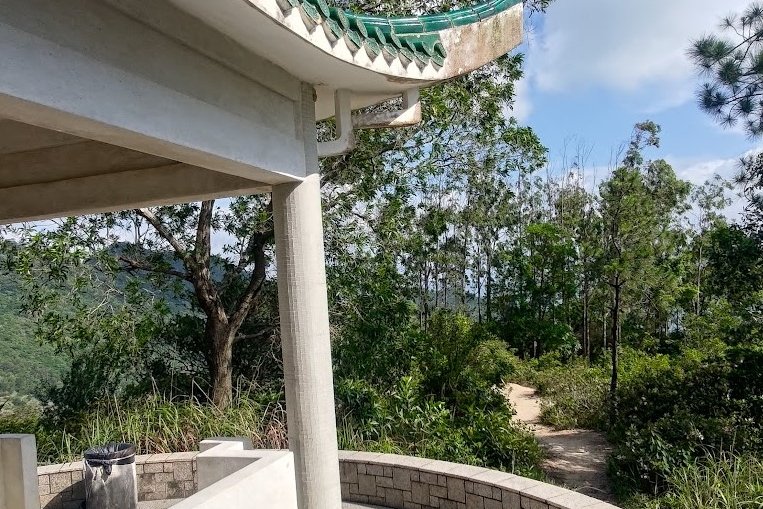
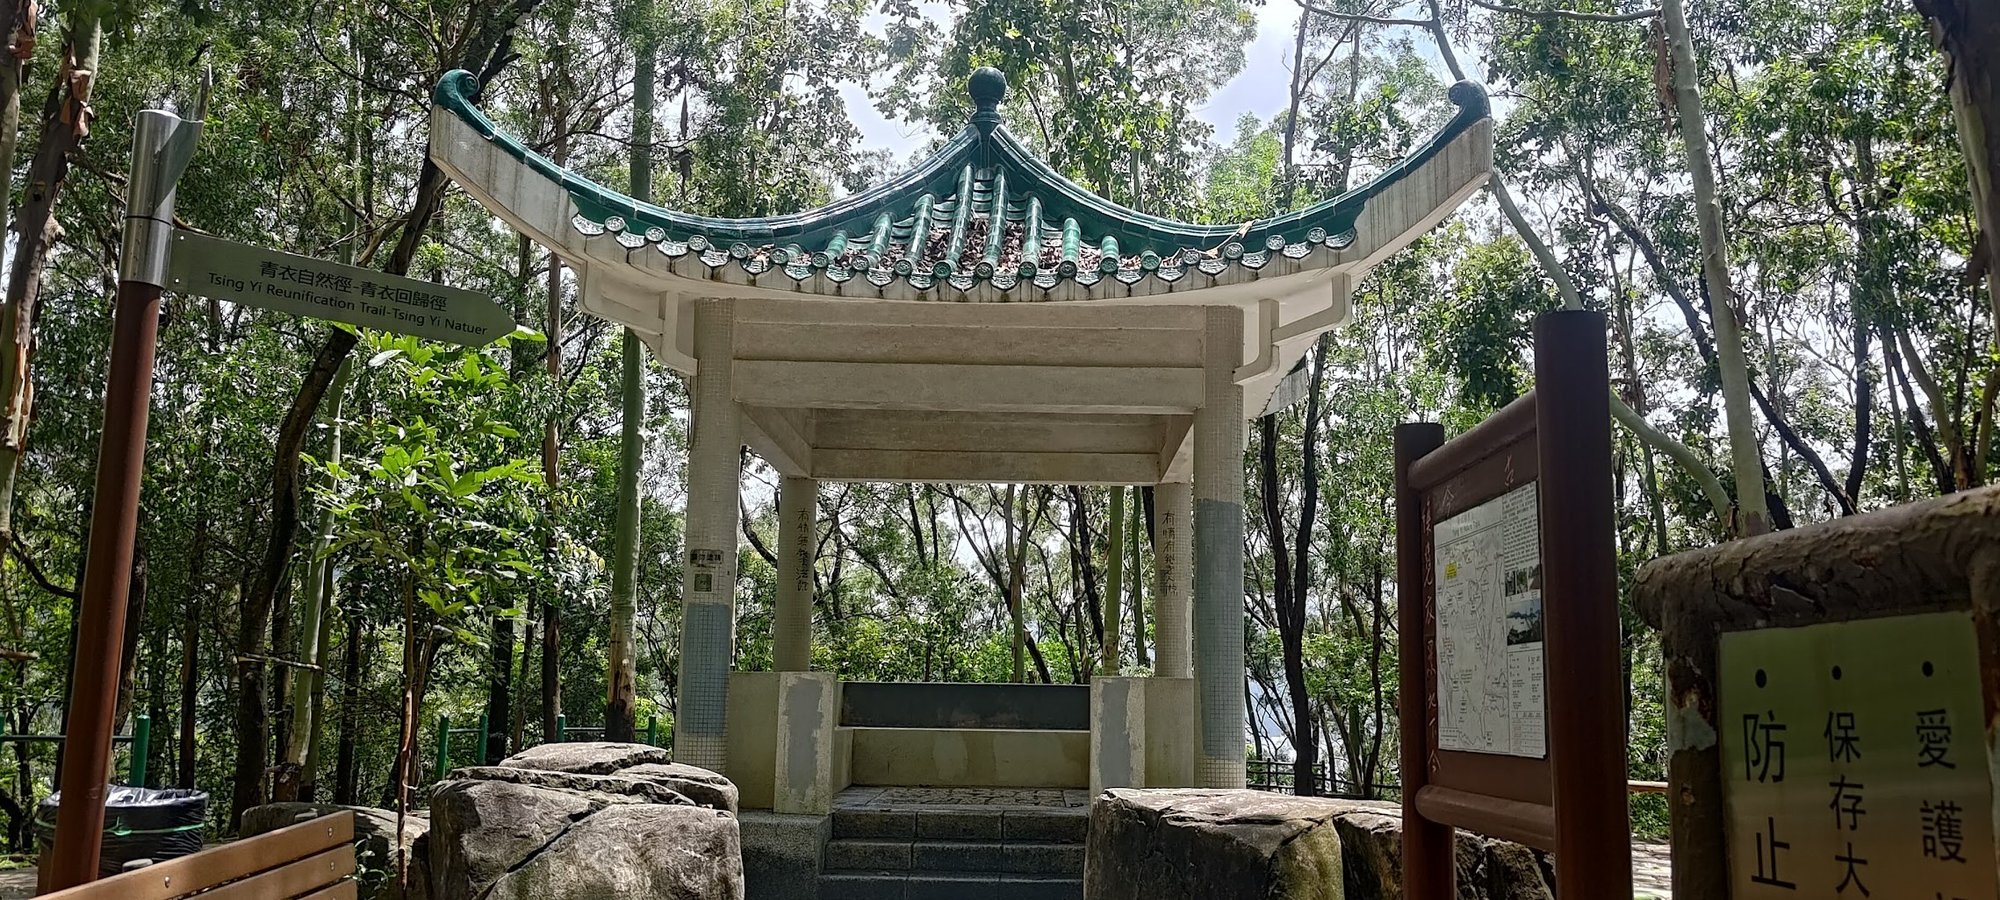
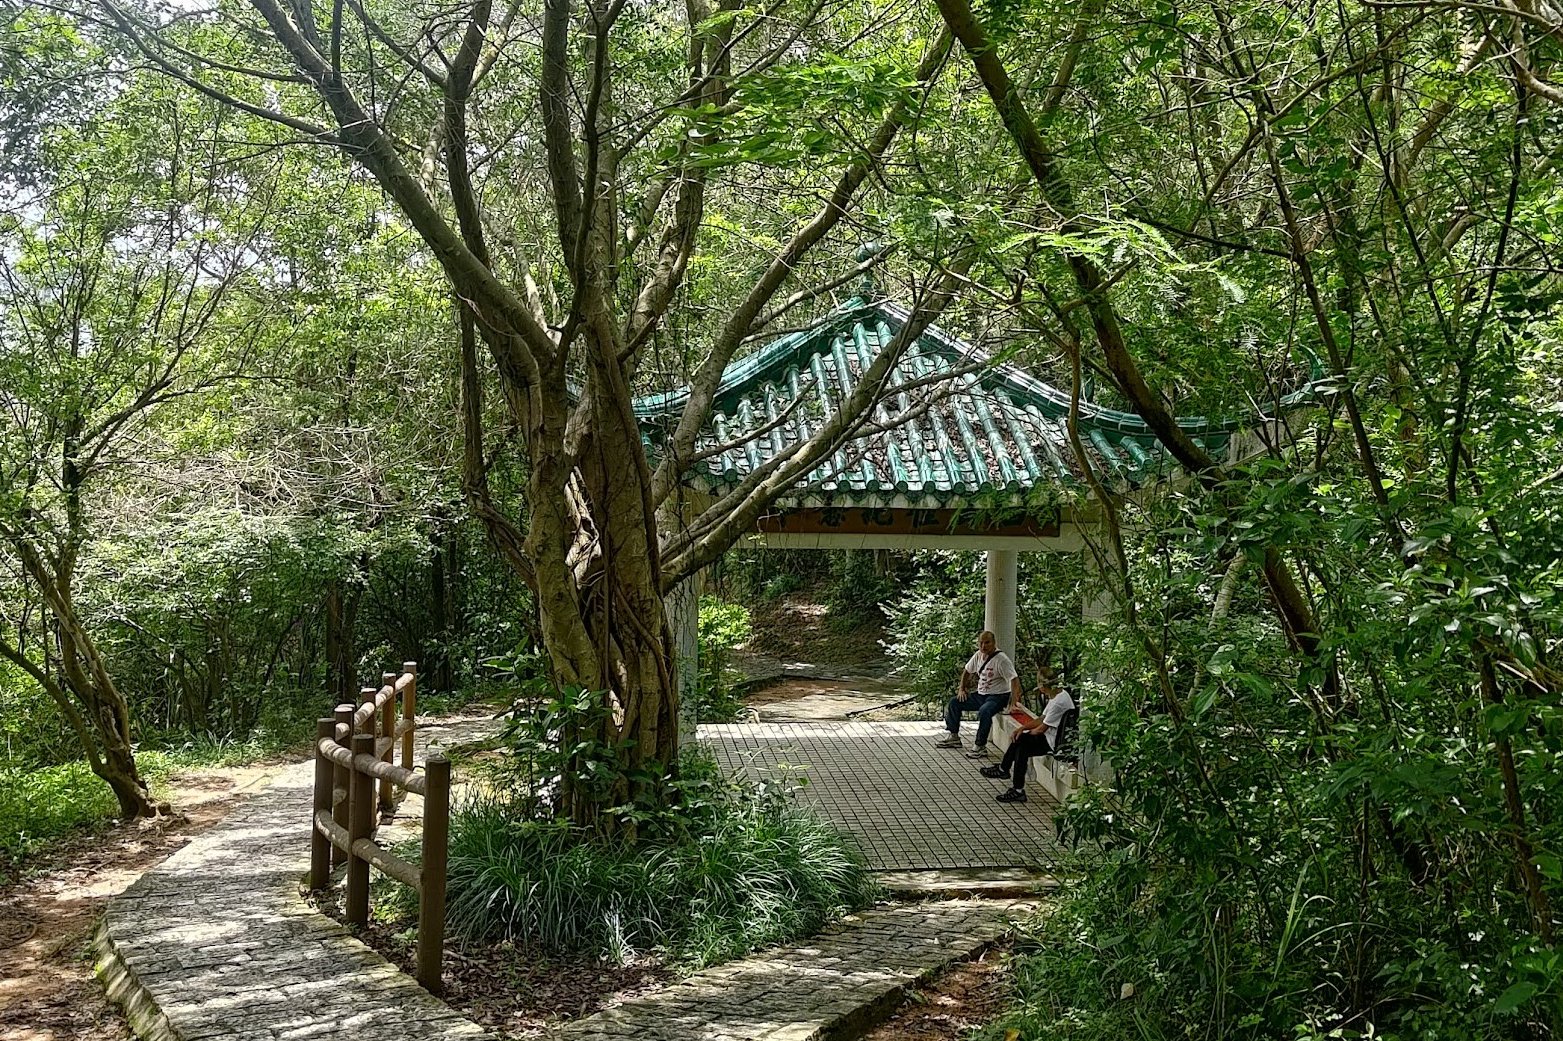
Pavilion 2 – A Great Shaded Rest Spot
The second pavilion is actually visible after you retrace your steps and follow the sign you ignored earlier toward Pavilion 2. You can see it poking out from behind the trees in the direction you’re walking toward.
The open-air path eventually gets swallowed up by trees once more as you approach Pavilion 2. This is a great spot to take a break in the shade.
Follow the Pavilion 3 Signs
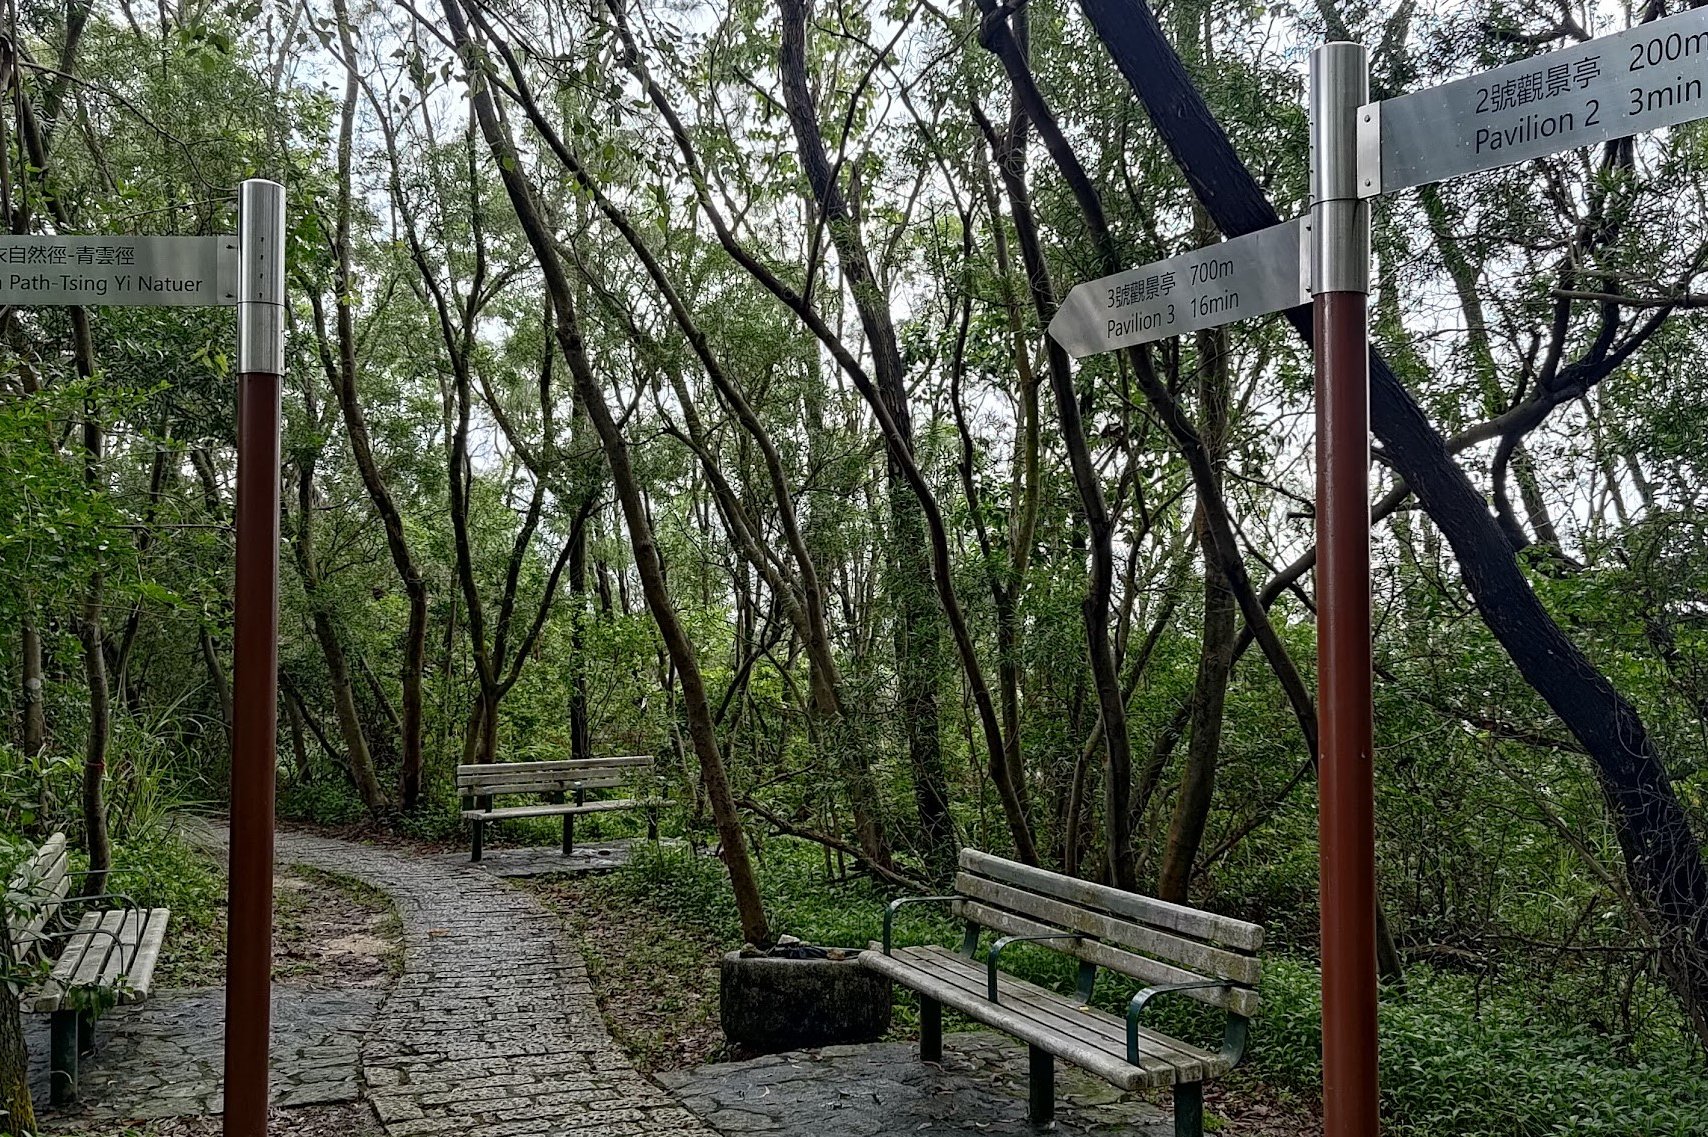
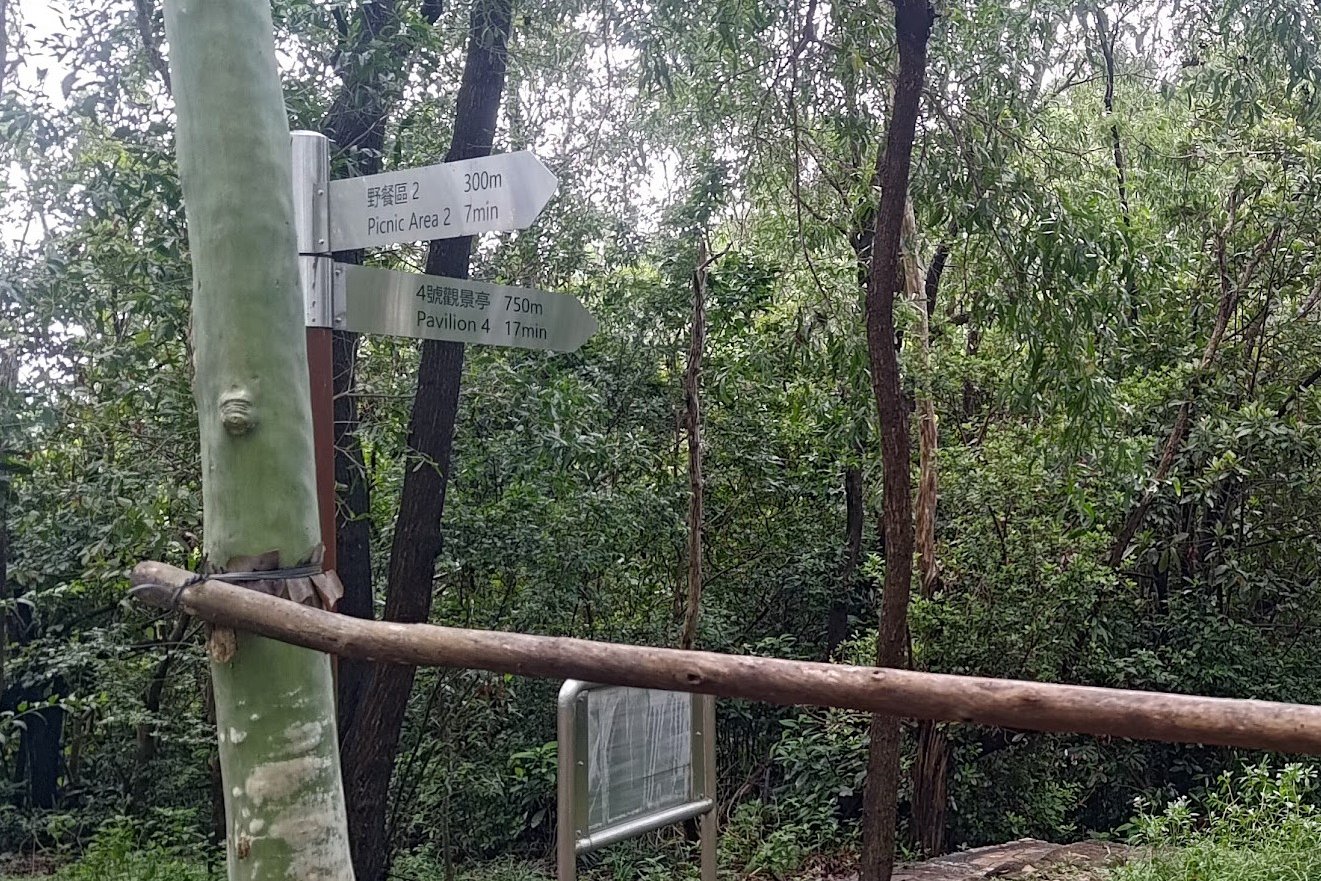
After walking through Pavilion 2, follow the sign that points the way to Pavilion 3. About two minutes later, you’ll come across another set of signs. Again, follow the sign pointing to Pavilion 3.
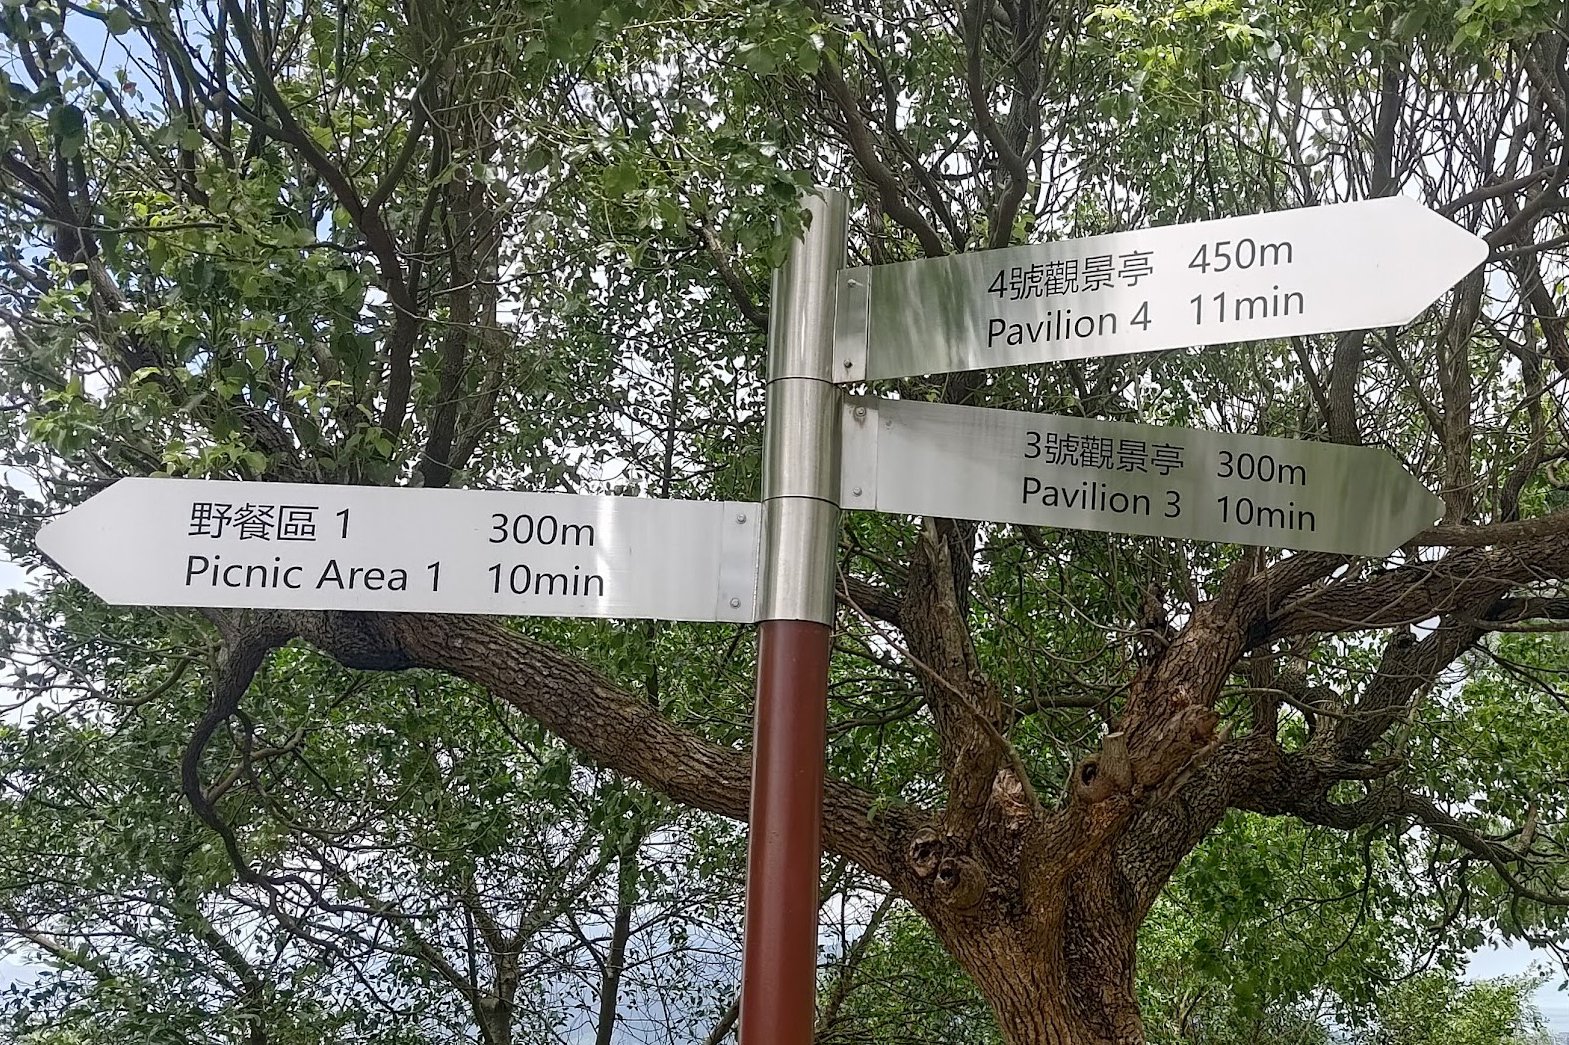
The Crossroads of 6 Signs
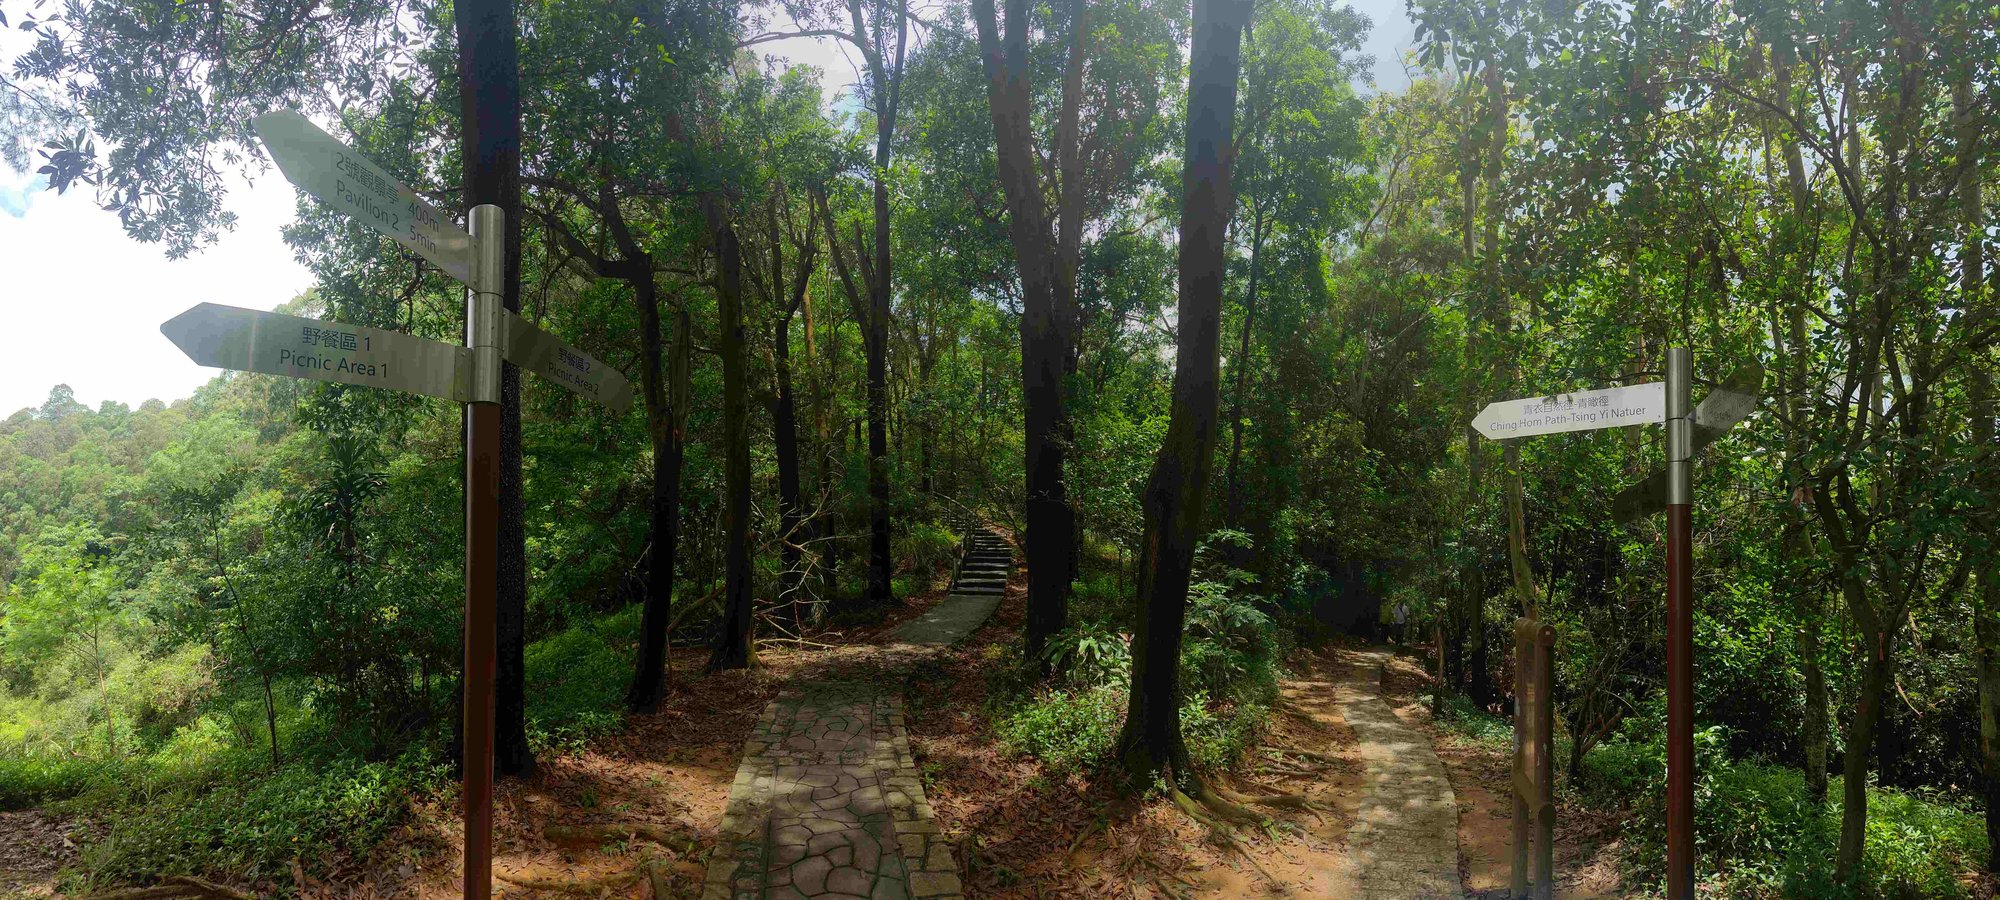
You’ll soon arrive at a crossroads with 6 signs, none of which really tell you where they lead you very well. Start by taking the sign that points to Picnic Area 1. This is where you’ll find the best views of the Tsing Ma Bridge.
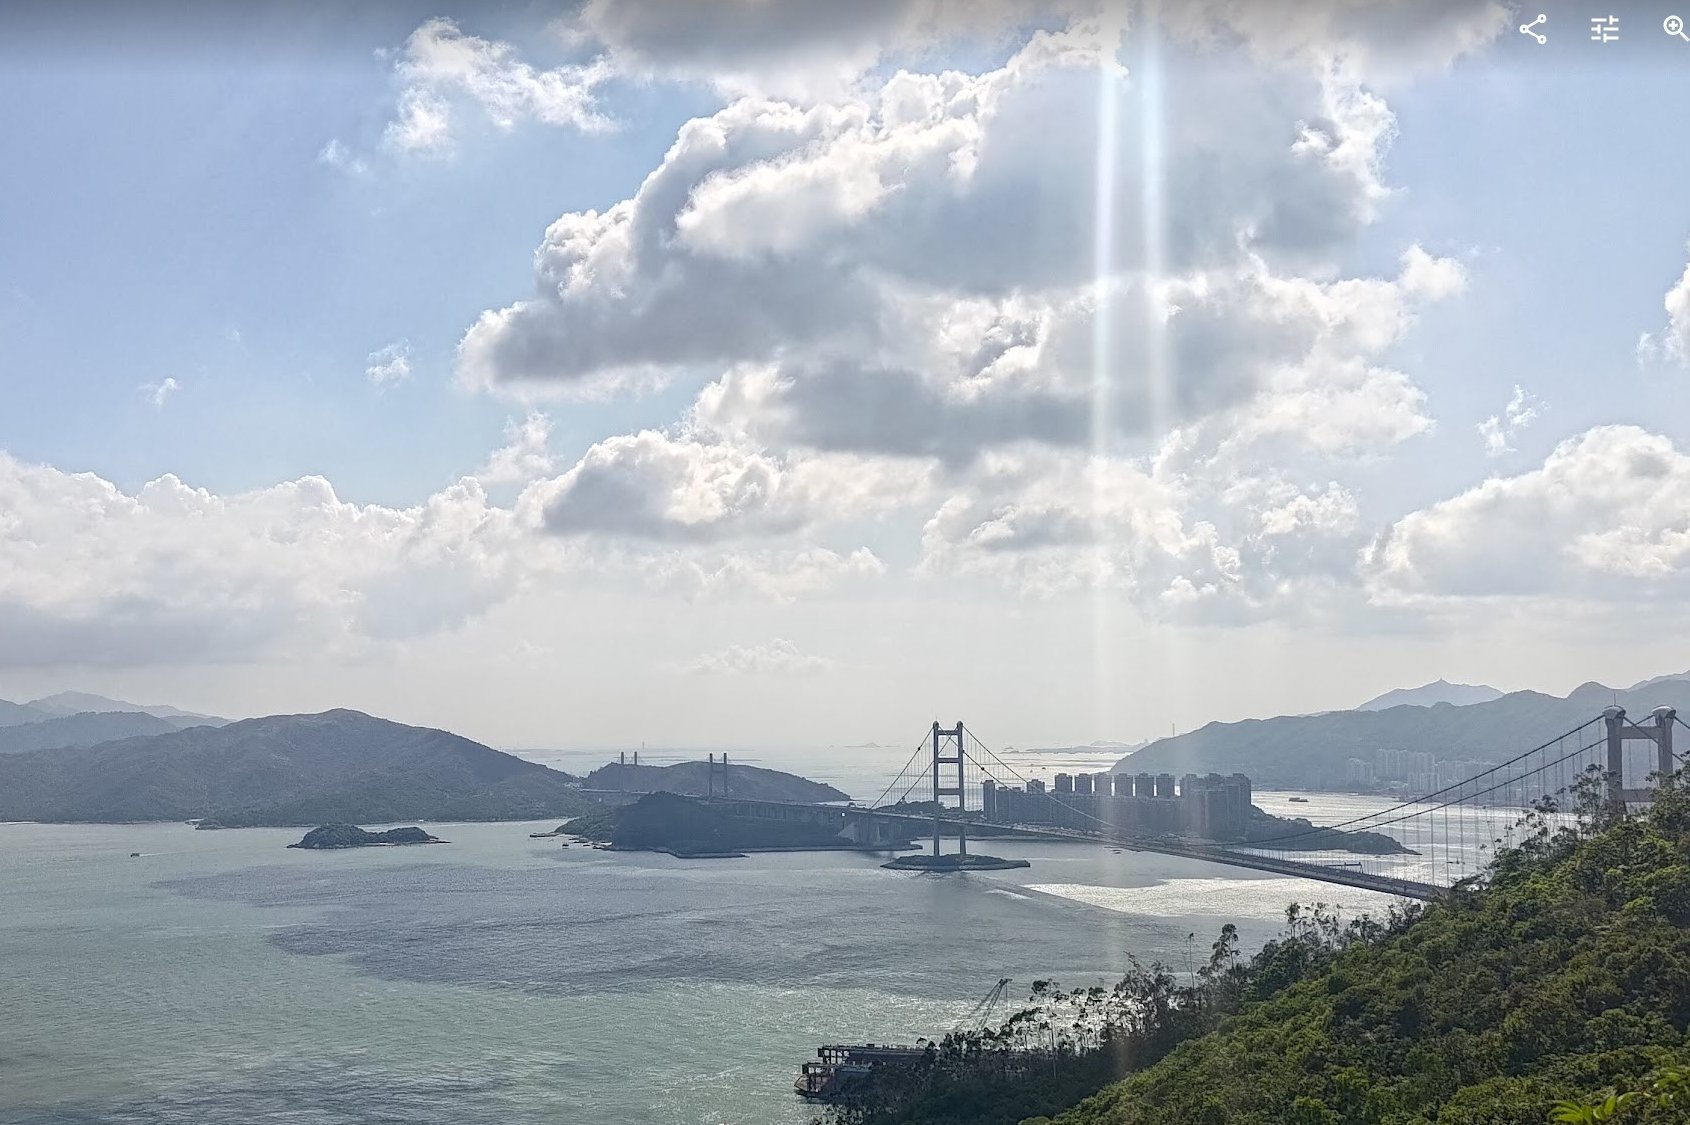
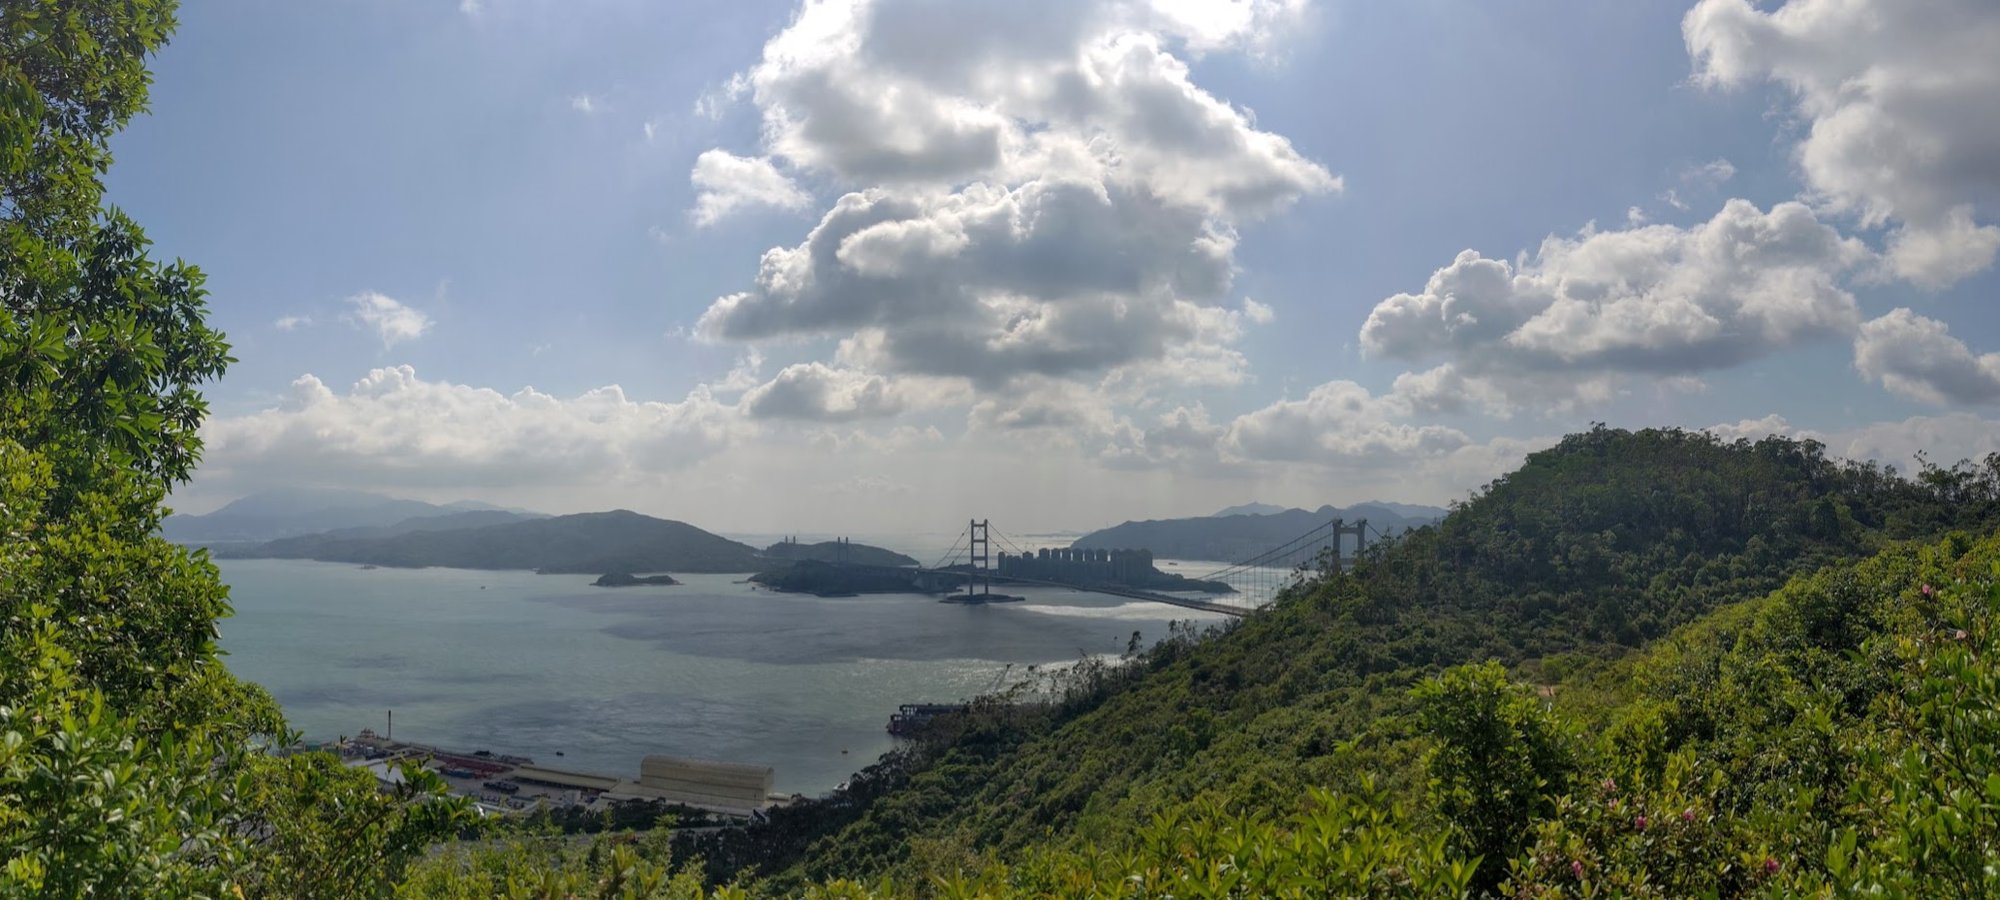
Picnic Area 1 – Potentially the Best Tsing Ma Bridge View in Hong Kong
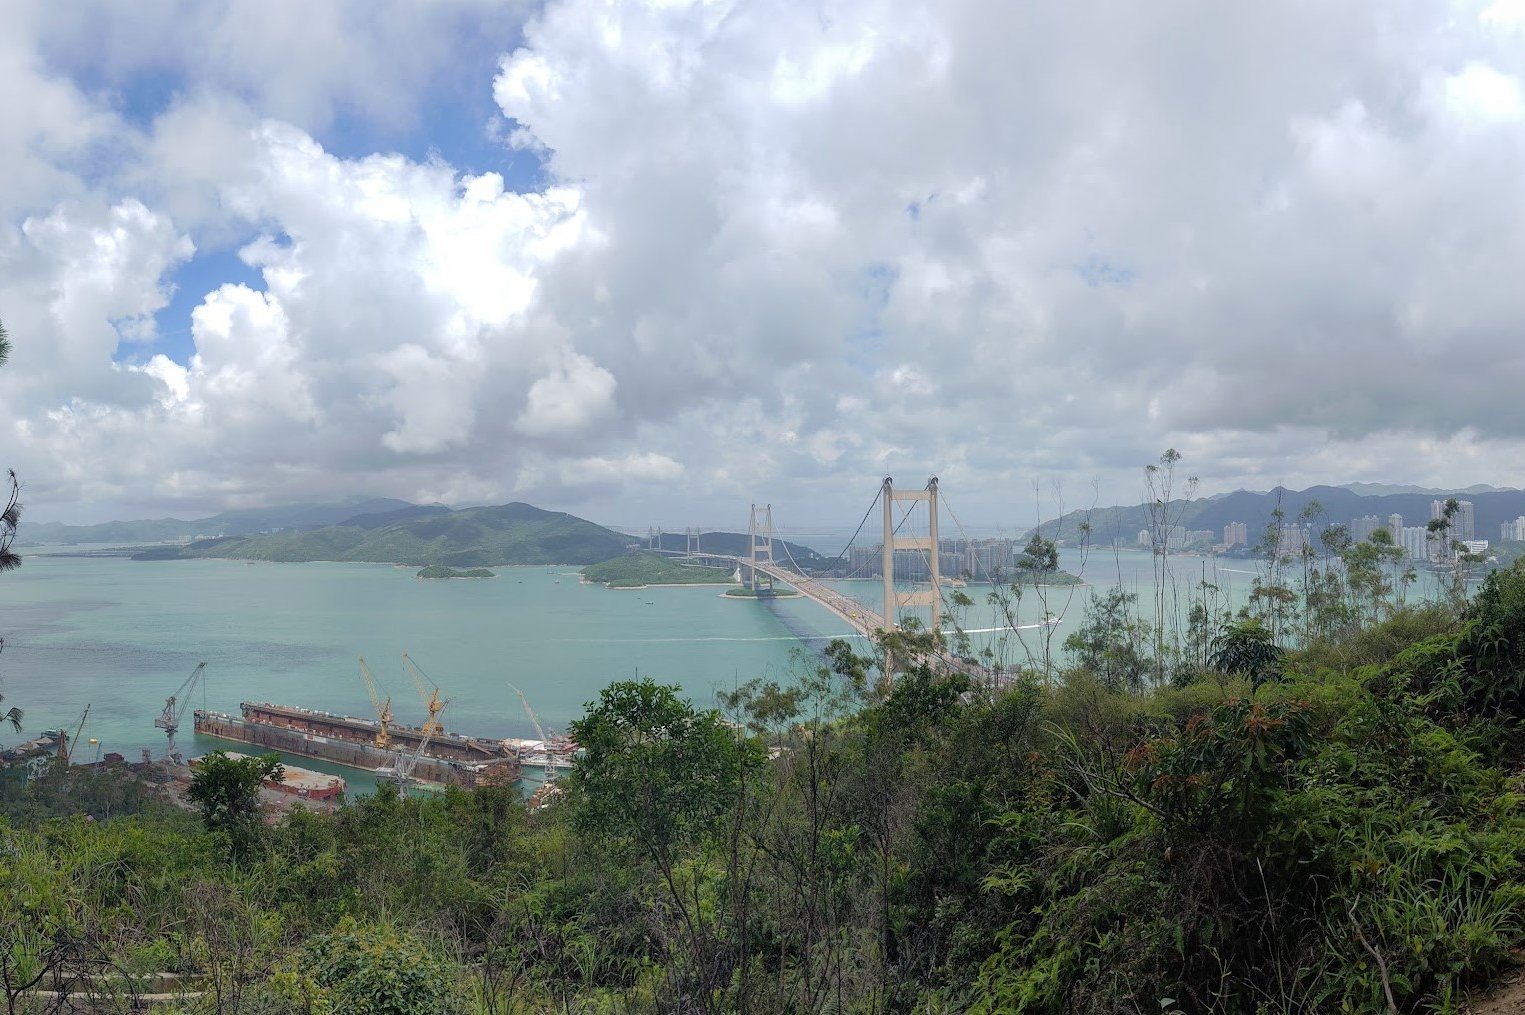
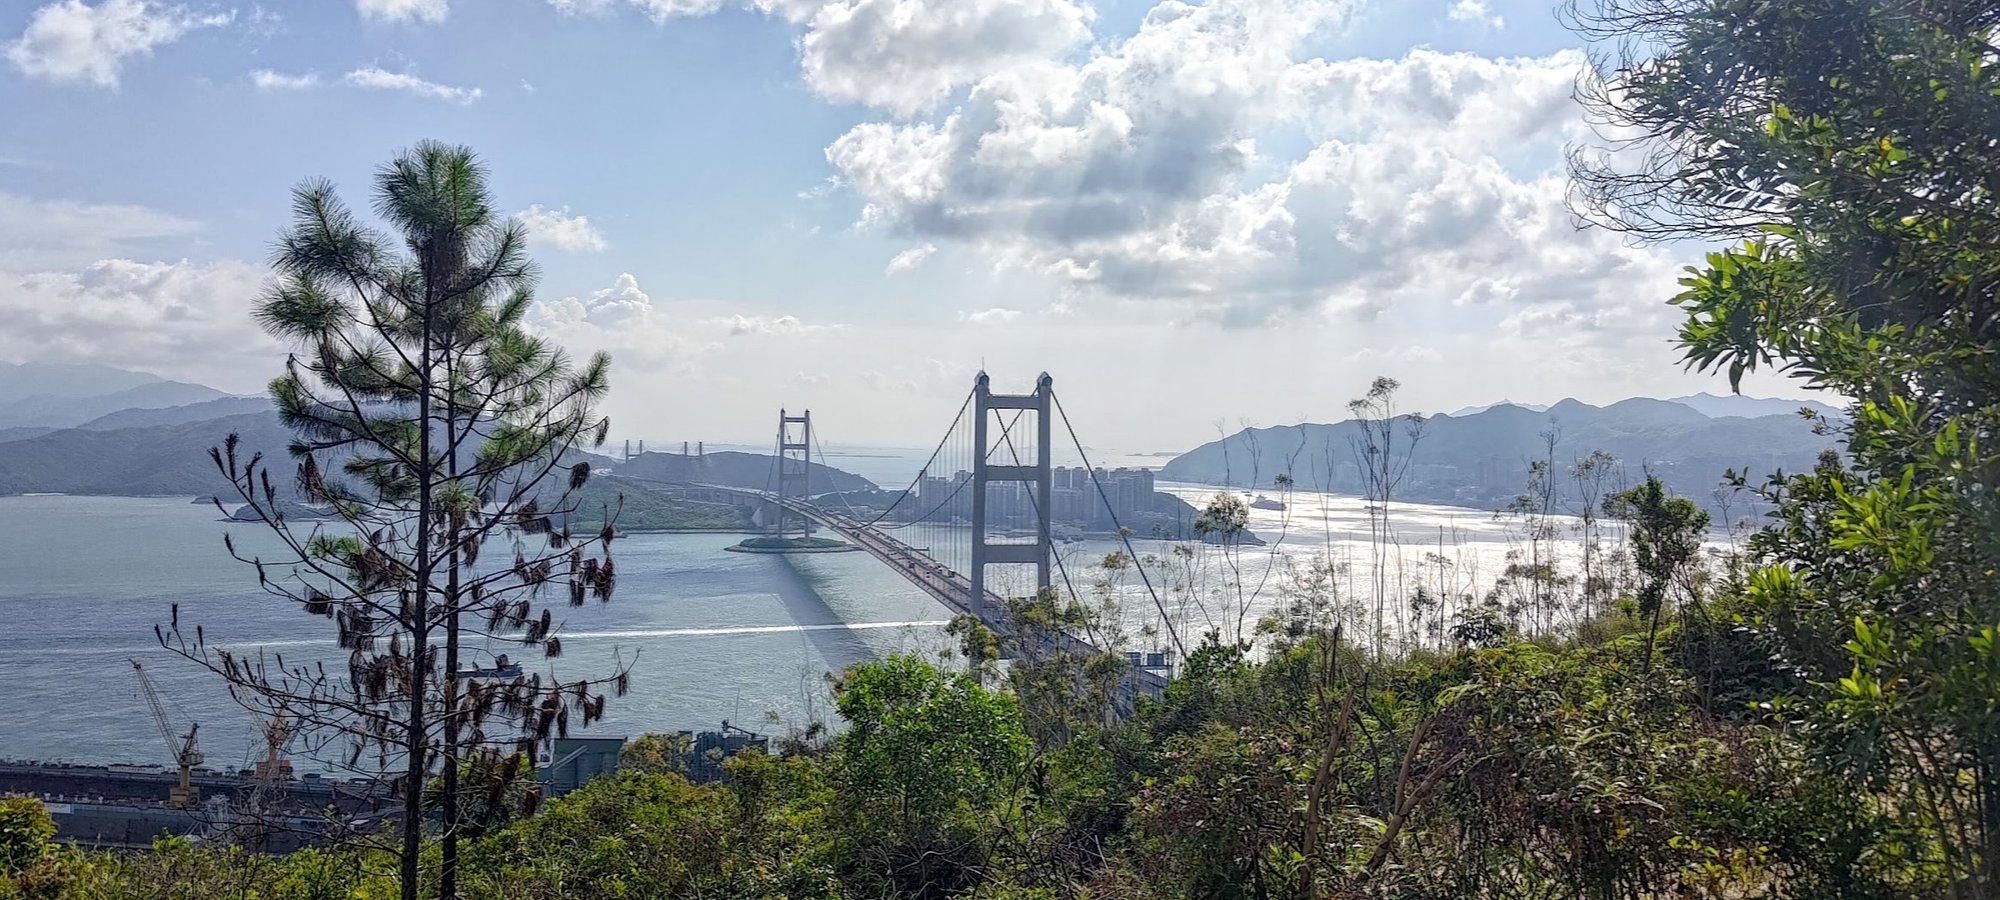
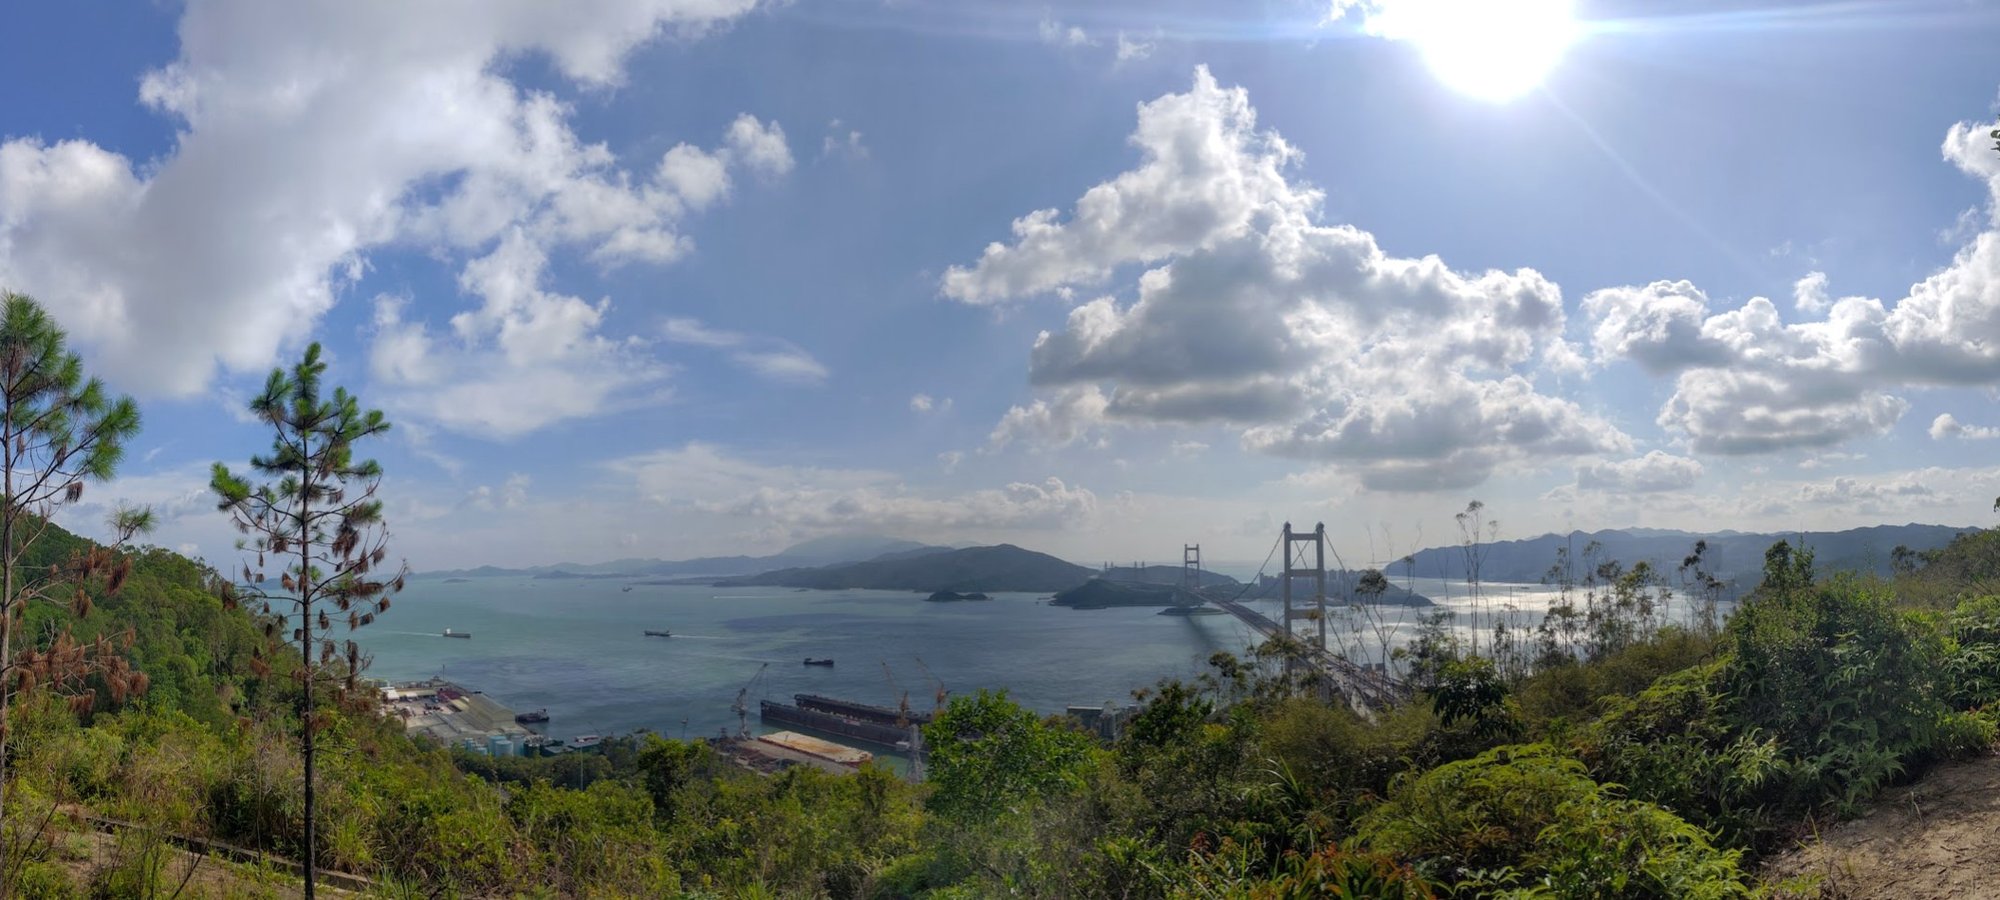
It’s a big claim, but it’s hard to imagine anywhere else (that you can get to legally) that’ll offer better views of Hong Kong’s most famous bridge. You get enough of a bird’s eye view to admire the bridge’s architecture, but also have enough distance away from the bridge to take in the surrounding landscape, too.
This is genuinely a great place for a picnic.
Back to the Crossroads of 6 Signs (Optional Early Escape Route)
When you’re done drinking in those epic bridge and ocean views, head back to the crossroads of 6 signs and decide whether you want to end the hike early or pass by all the pavilions.
If you want to end the hike early, follow the sign that points to Pavilion 4 (the path with no stairs). You’ll eventually see signs for the North Entrance and should be done in no more than 30 minutes.
Otherwise, follow the sign to Picnic Area 2…which leads to Pavilion 5 and 3. Yeah. None of this makes any sense.
Big Stairs and Pavilion 5
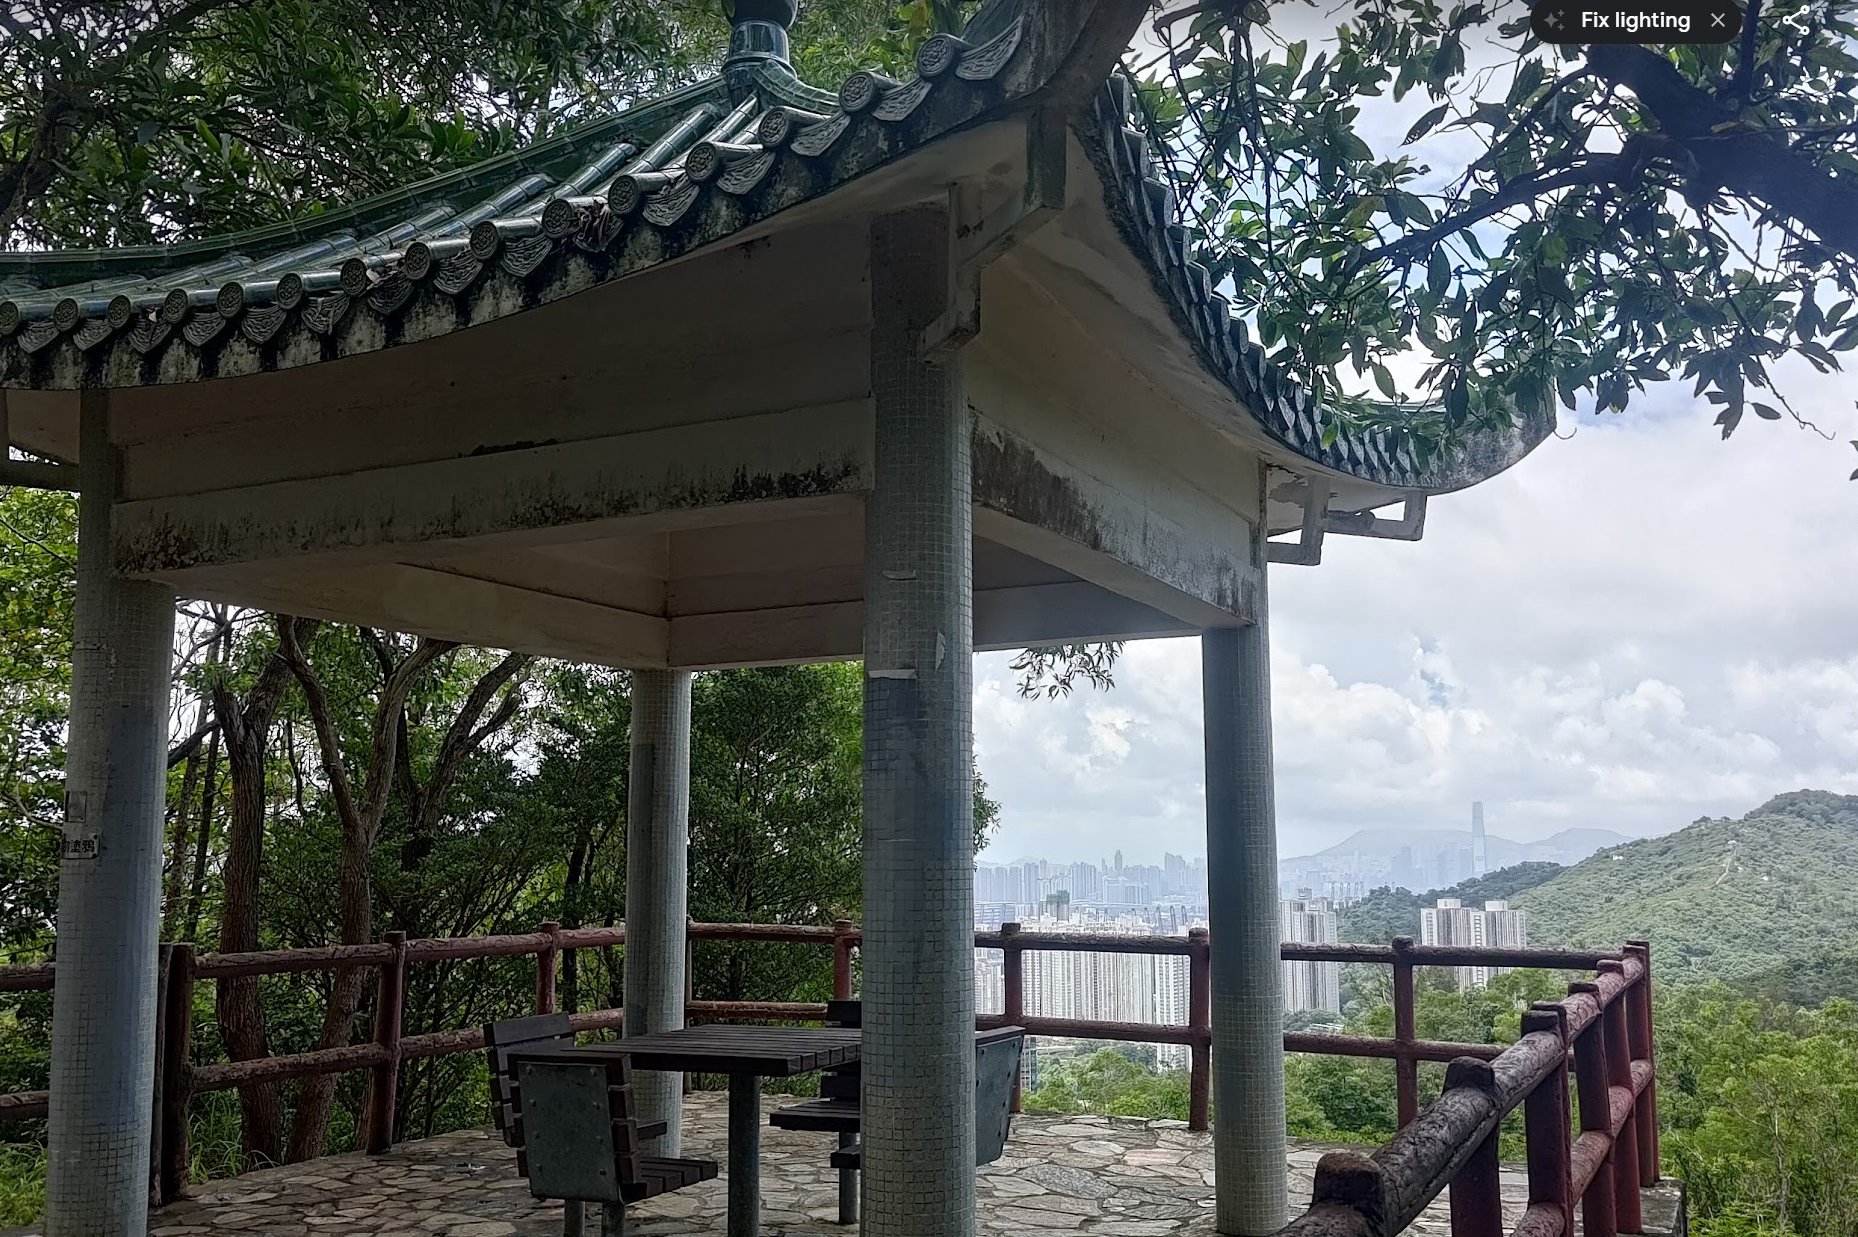

After ascending the large set of stairs that lead to Picnic Area 2, you’ll be confronted by even more signs.
Follow the sign that says Pavilion 4 to reach Pavilion 5 after a minute of walking. I was so frustrated with the insanity of the signs by this point!
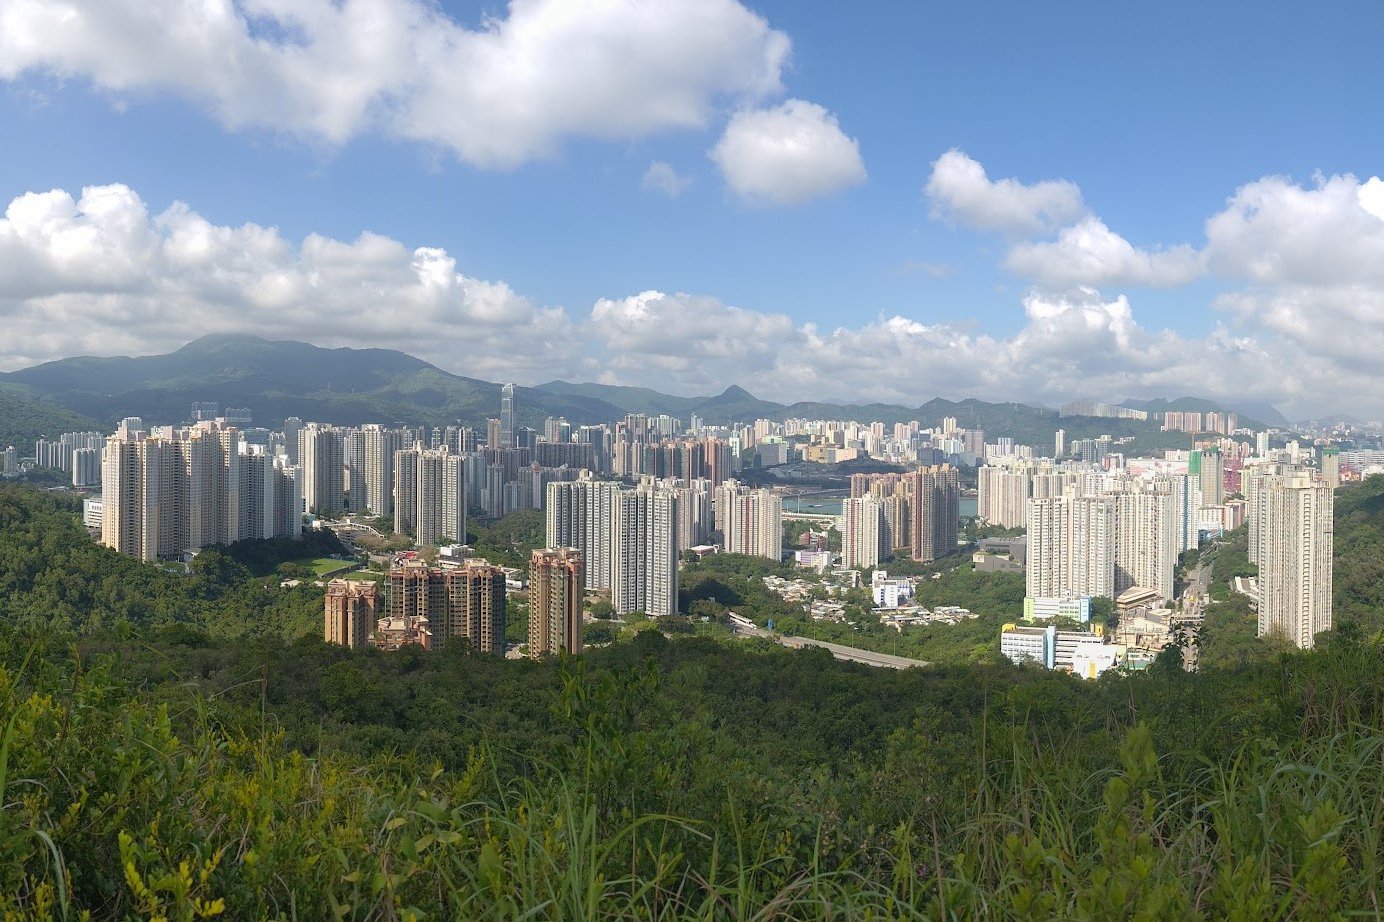
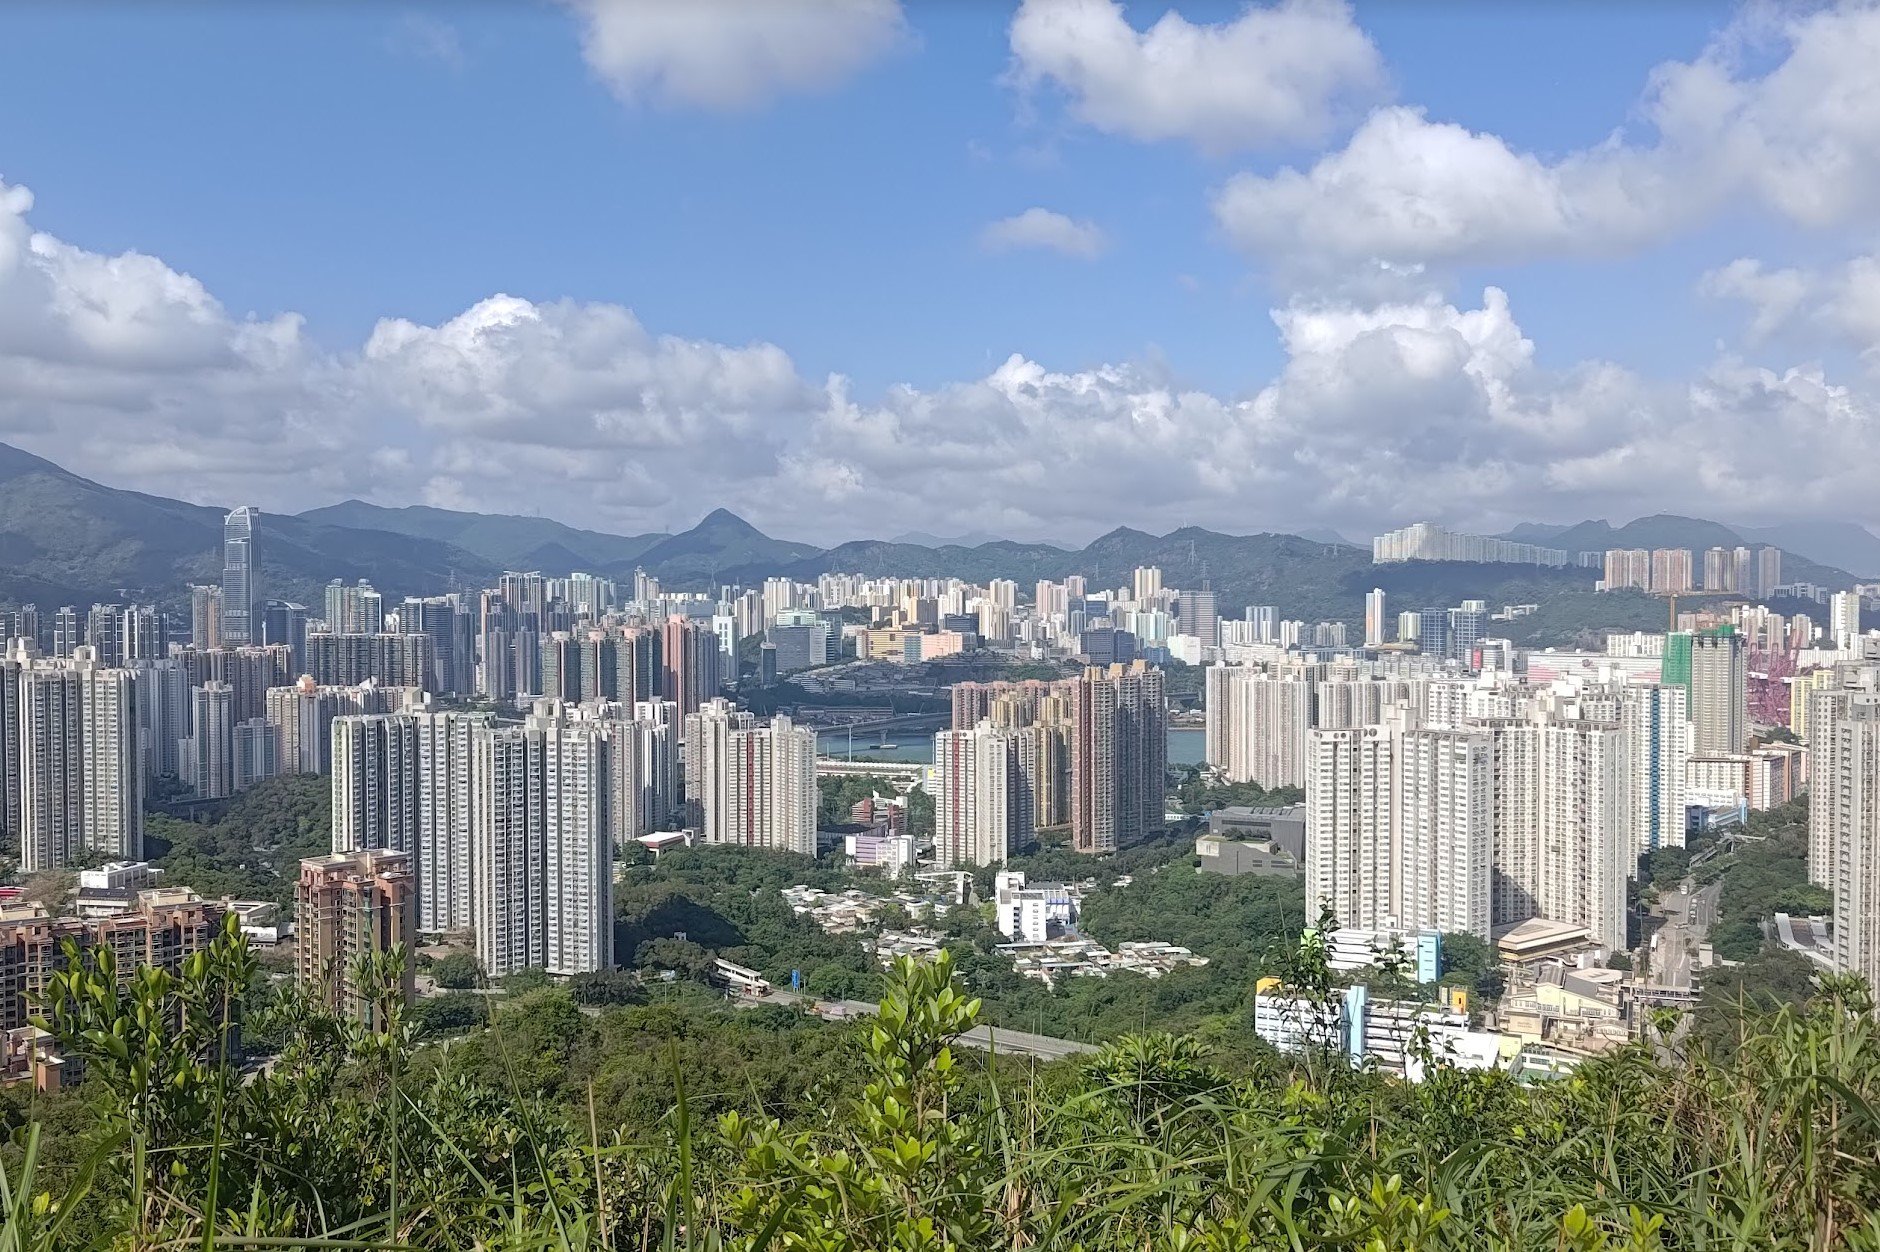
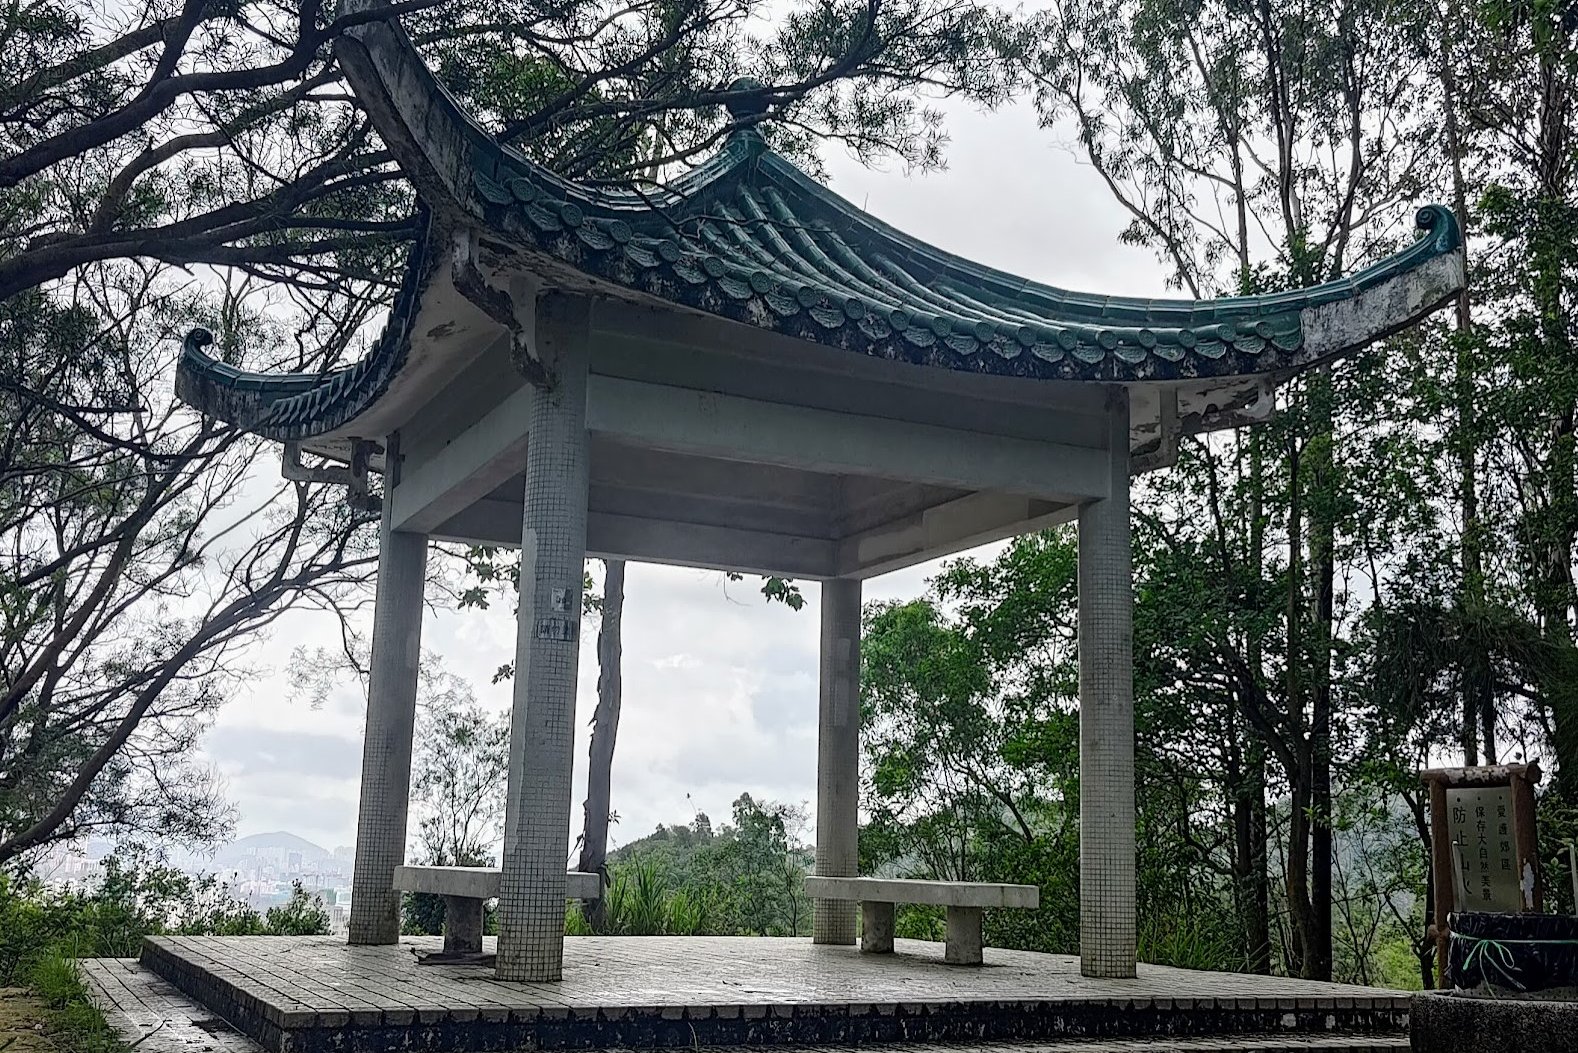
Pavilion 5 isn’t one to miss, though! It has commanding views that stretch as far as Kowloon and Hong Kong Island.
Do not follow the trail forward. Head back to Picnic Area 2, instead.
Pavilion 3…Finally
After seeing the Pavilion 3 signs ages ago, but getting to Picnic Area 1 and Pavilion 5 first, you’re finally ready to reach Pavilion 3!
You’ll follow a shaded path past another trigonometrical marker indicating you’re now 218 meters above sea level!
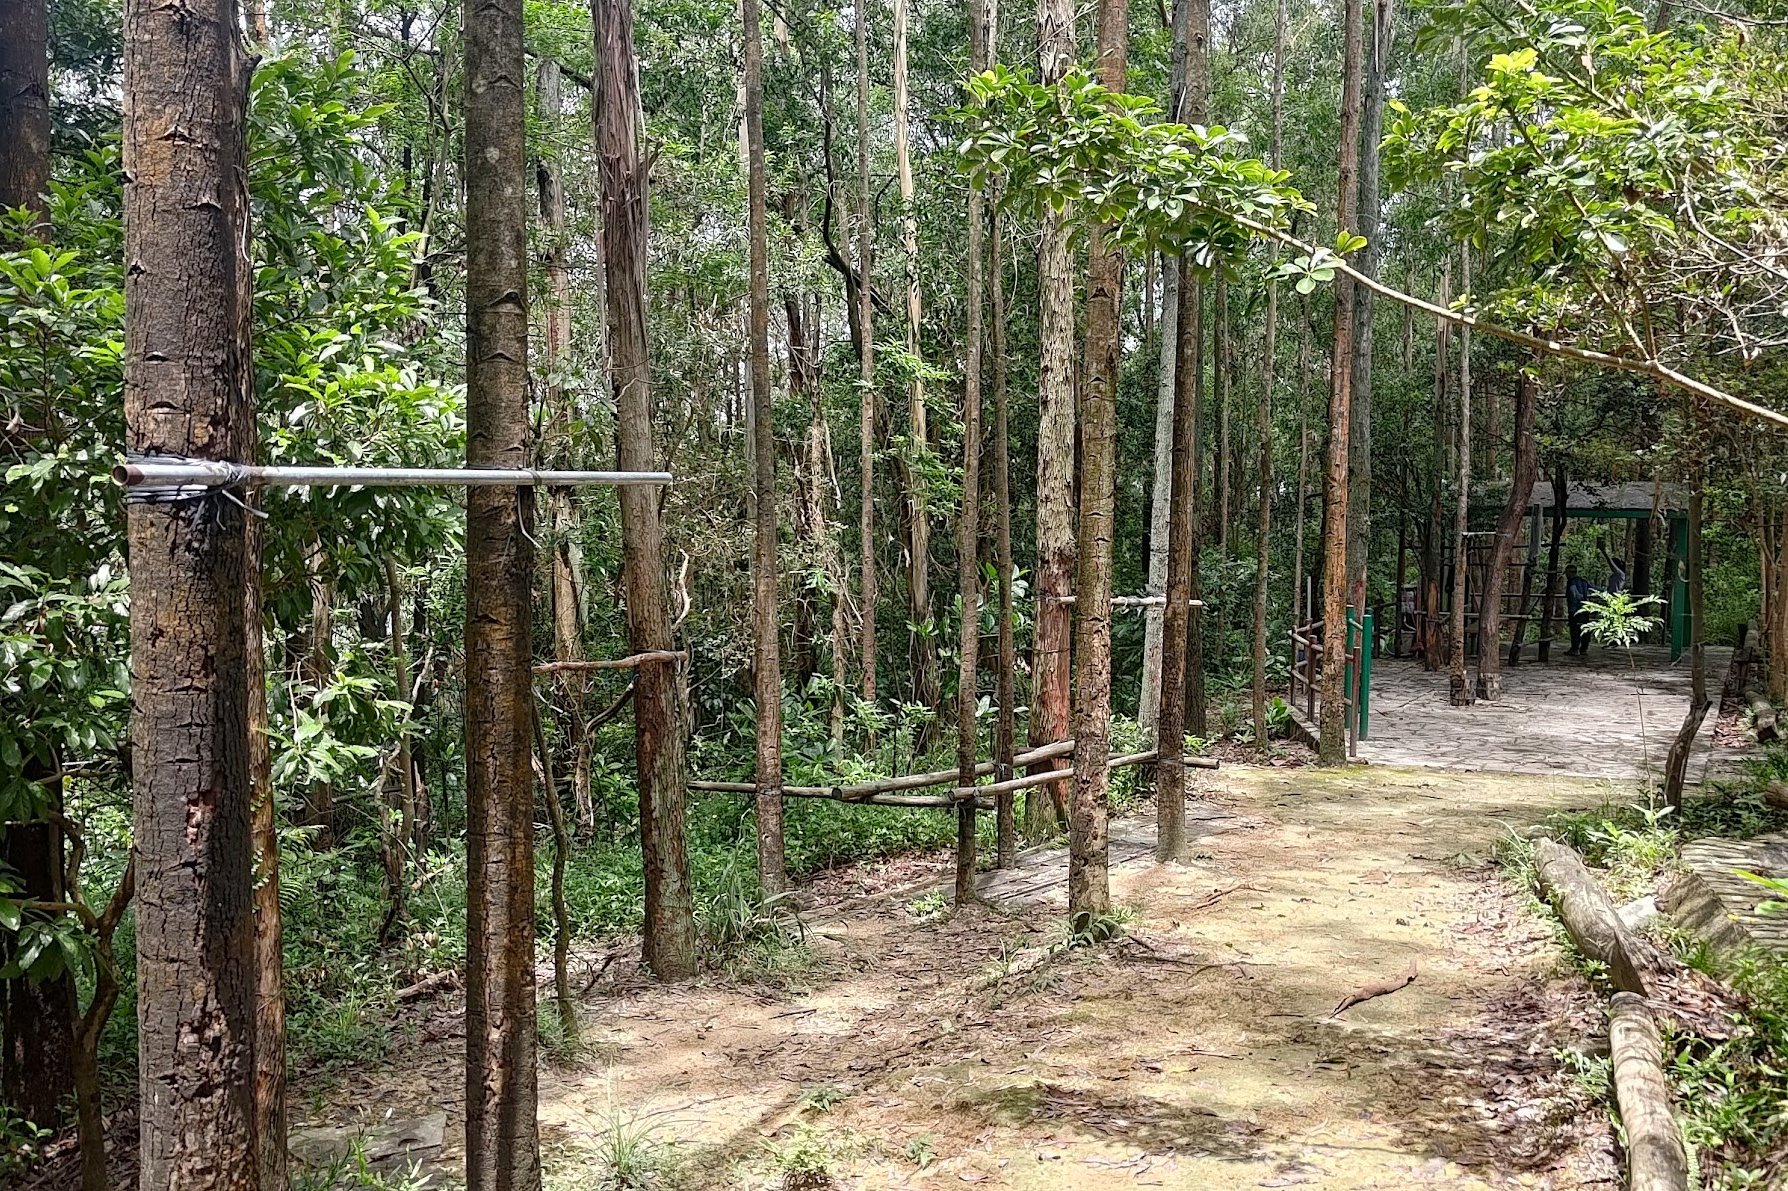
You’ll also pass by a fascinating set of pullup bars that have been fastened to some trees. I tested one of the bars out with an impressive 3 pullups and never felt worried about the stability of the bars. A little way off, an older couple were busy exercising.
Finally, you’ll arrive at Pavilion 3, which is just a shaded area with no viewpoints of note.
Gotta Catch ‘em All: Pavilions!
Follow the sign behind Pavilion 3 that guides you to Pavilion 4. This part of the hike was extremely tranquil and secluded. While the trail itself was concrete, the chirping of birds, dappled sunlight from the trees and the buzzing of insects made me feel insulated from the insane noise of Hong Kong.
It’s only a 10-15-minute walk, but it was extremely enjoyable.
Follow the North Entrance Sign to Pavilion 4
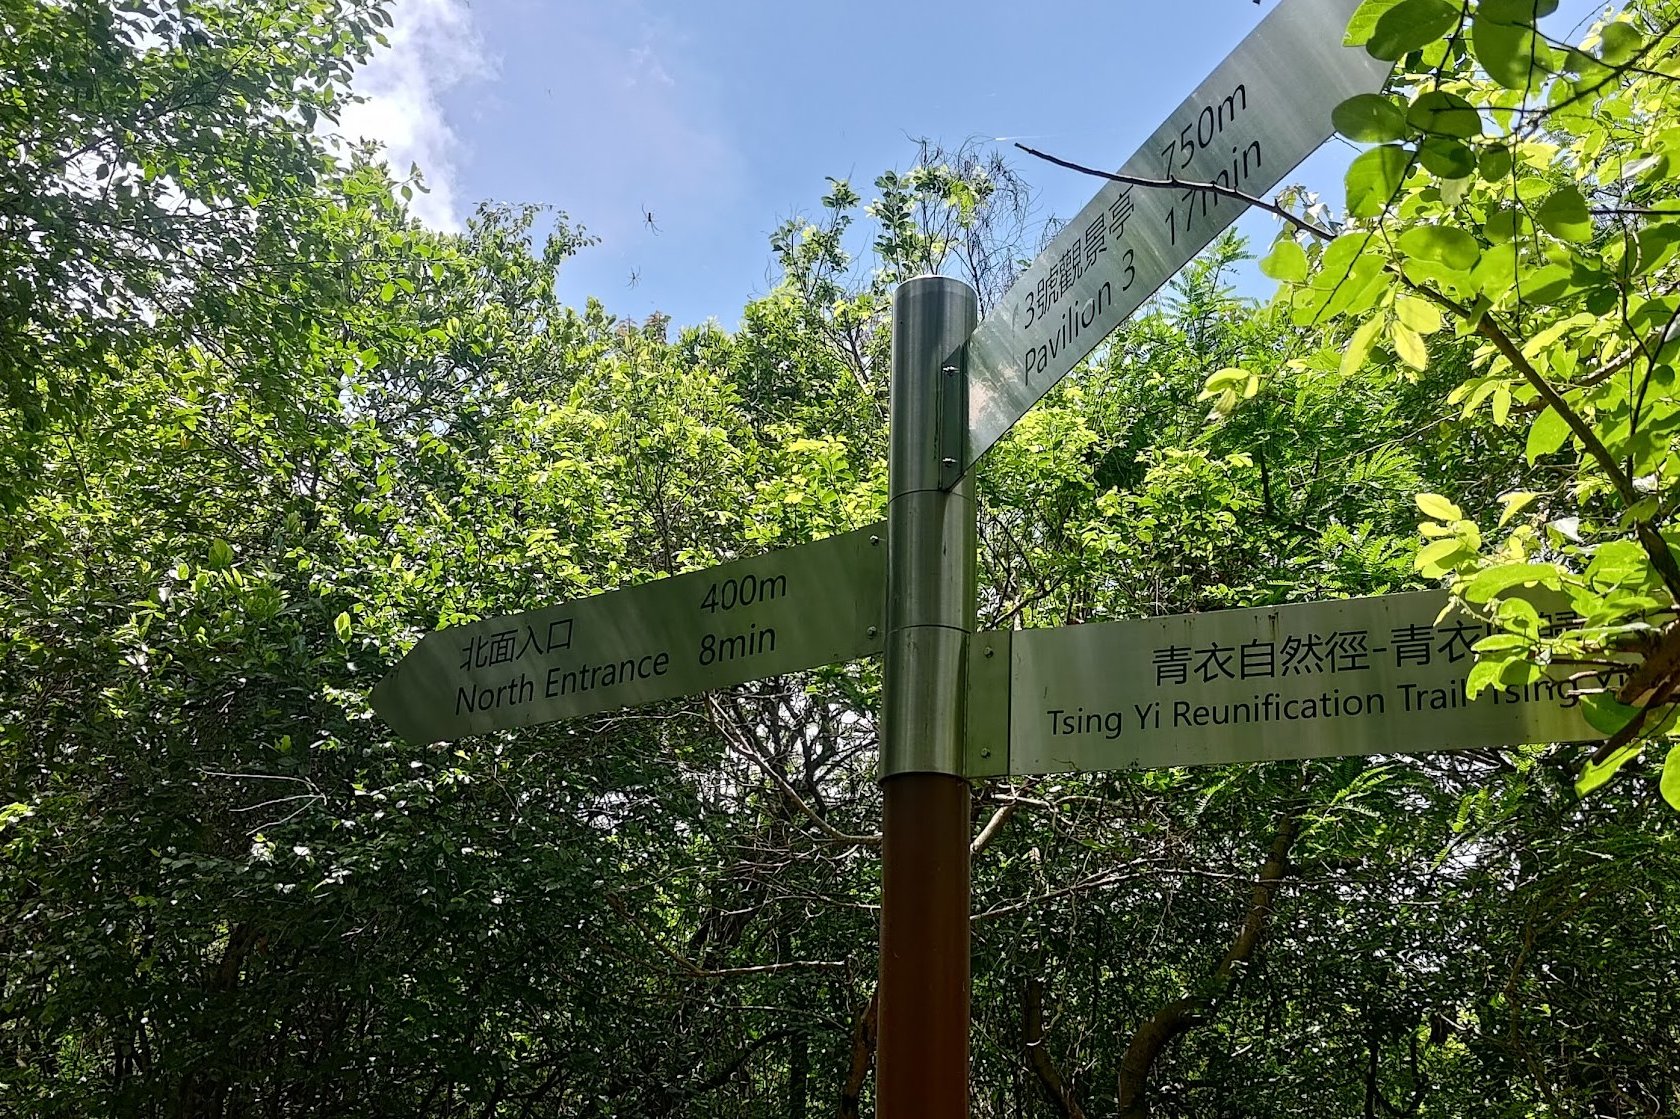
Yep. Don’t be alarmed that you haven’t seen Pavilion 4 yet and there’s already a sign pointing you to the North Entrance. Follow that sign, and you’ll arrive at Pavilion 4 barely a minute later.
Head to the Exit (North Entrance)
Keep heeding the North Entrance signs and you’ll come across a fork in the path with a set of stairs and a continuation of the concrete trail. Take either path, as they both lead to the same place. The stairs are faster.
A few minutes later, and you’ll be on Liu To Road.
The Way Back
Follow Liu To Road down to the Cheung Wang Bus Terminus (there’s a vending machine here) where there are buses back to Tsing Yi Station.
Alternatively, walk past the Cheung Wang Bus Terminus and head right (still on Liu To Road) to Cheung Hang Estate where there are even more buses.
See the above instructions on how to reach the North Entrance start point for buses you can take back home.

